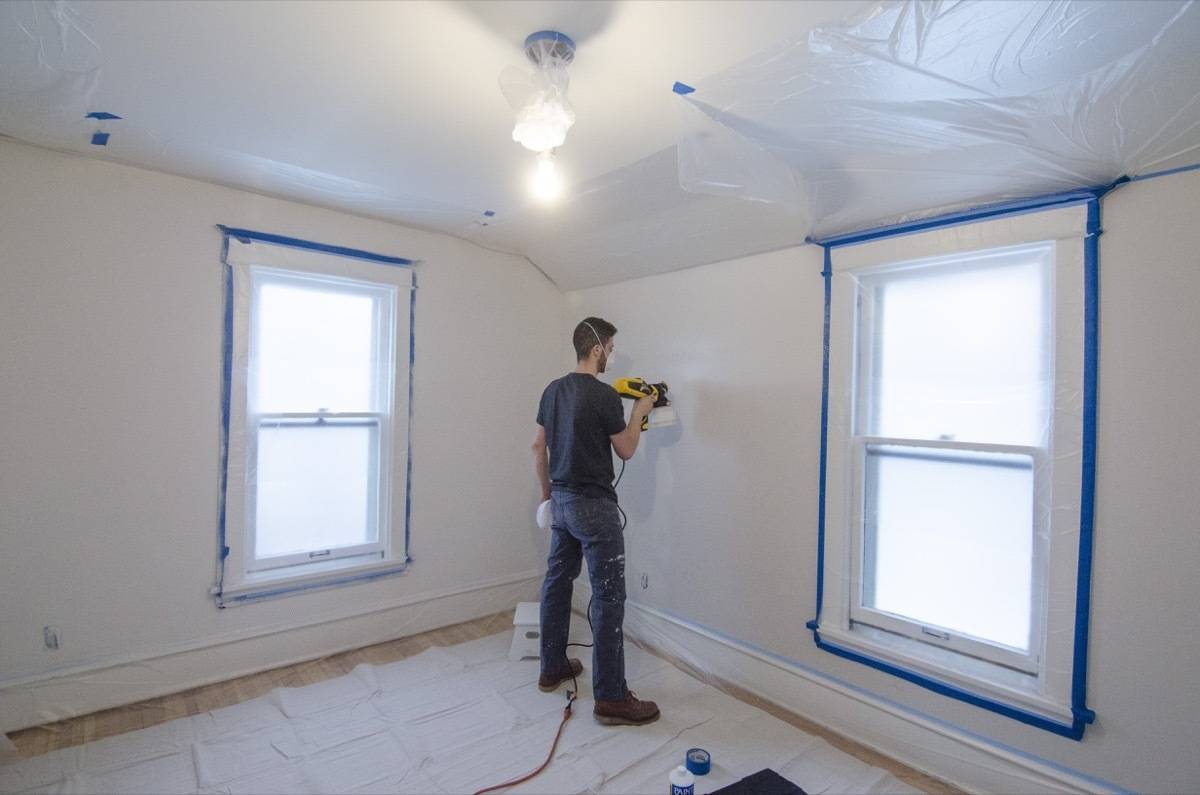
Transforming your interior walls with a fresh coat of paint has never been easier or more fun. Using a paint sprayer can speed up the process and give you a smooth, professional finish that brushes and rollers just can’t match.
Though it may seem daunting initially, especially indoors, with some preparation and guidance, it can be a manageable and highly rewarding task.
This guide outlines the steps involved in using a paint sprayer indoors, from gathering supplies to mastering the technique. This will make your painting project efficient and enjoyable.
The right tools and supplies are essential for a successful indoor paint spraying project. Here’s what you’ll need:
- Paint Sprayer: Opt for an airless paint sprayer for efficient, even coverage.
- Type of Paint: Select interior paint compatible with your sprayer and suited for your specific surface.
- Drop Cloths: Essential for protecting floors and furniture from overspray.
- Painter’s Tape: Perfect for taping around windows, trim, and baseboards to keep those areas clean.
- Masking Film or Plastic Sheeting: Useful for covering large areas and pieces of furniture.
- Gloves and Goggles: Protect your skin and eyes from paint dust and droplets.
- Additive: An additive will help achieve the right consistency if your paint needs thinning.
- Cardboard: Handy for testing your spray settings and adjusting before starting on the walls.
Types of Paint Sprayers
Using a paint sprayer indoors can be a fantastic way to achieve a smooth, even finish on your walls and other surfaces. When selecting a paint sprayer, consider the different types available and their respective benefits and drawbacks.
Airless paint sprayers
Airless paint sprayers are highly efficient and provide great coverage, making them popular for large areas. However, they can produce more overspray, so careful preparation and protective measures are essential.
HVLP Sprayers
HVLP (High Volume Low Pressure) sprayers offer more precision and control, making them ideal for detailed work like trim and furniture, but they may take longer to cover large surfaces.
Handheld Sprayers
Handheld sprayers are convenient for smaller projects and touch-ups but may not be suitable for extensive painting tasks due to their limited paint capacity.
Each type of paint sprayer has unique features, so choose one that aligns with your project’s needs and experience level. You can make your indoor painting project efficient and enjoyable with the right equipment.
– Tape & Drape: pre-taped masking film makes covering windows, doors, and other surfaces super fast and easy.
– Cling Cover: self-adhering protective plastic sheeting. It clings to almost any surface and also attracts over-spray and dust.
Getting Ready to Paint Indoors
Preparation is key when painting indoors to ensure a neat finish without any mess:
- Taping: Use painter’s tape to cover windows, trim, and baseboards. This step prevents paint from accidentally getting on surfaces you want to keep clean.
- Protecting Surfaces: Lay down drop cloths to protect floors and large pieces of furniture. Consider using plastic sheeting or masking film for added coverage and protection.
- Light Fixtures: Remove or cover light fixtures to avoid unwanted stains.
- Furniture: Move smaller furniture out of the room and cover larger pieces that can’t be moved with plastic sheeting. This helps to avoid any damage or stains to your furniture.
- Doors and Cabinets: Remove cabinet doors and hardware if you plan to paint these areas. Label each piece to make reassembly easier.
- Electrical Outlets and Switches: Turn off power to the room, then remove outlet and switch covers—tape over the openings to keep them paint-free.
- Clean Walls: Dust the walls to ensure the paint adheres properly. A simple mixture of soap and water usually does the trick.
- Ventilation Plan: Plan how to keep the room ventilated during and after painting. Open windows and use fans to help circulate fresh air.
Preparing Your Paint Sprayer
To get started, pour your chosen paint into the sprayer’s reservoir. If the paint is too thick, mix in the additive as directed on the bottle to ensure smooth spraying.
Achieving the right consistency is essential, so take your time with this step. Before you paint the walls, do a test spray on a piece of cardboard.
This helps you check the spray pattern and make any necessary adjustments. You might need to tweak the desired spray width and direction settings.
Pay attention to how the paint flows and ensure it’s coming out evenly without any splatters. Proper setup at this stage sets the foundation for a successful painting project.
Helpful Tips and Advice
To make the most of your indoor painting project, here are some practical tips:
Keep a Damp Cloth Handy
Quickly wipe away any drips or errors before they dry and become more challenging to fix. Also, the sprayer can get blocked as the paint begins to harden.
This is important!
You’ll need to wipe the tip more often than you think … but doing so will keep the sprayer from clogging and splattering. If your paint sprayer won’t spray, it’s often because the tip is clogged with dried paint. Keep it clean and you’ll have great results.
Adjust the Nozzle
Familiarize yourself with adjusting the sprayer nozzle to control the spray width and direction, which is crucial for precision.
A horizontal nozzle position creates a vertical pattern; a vertical nozzle creates a horizontal pattern. Putting the nozzle at a diagonal will generate more of a round spray pattern.
Optimal Distance
Position the sprayer about 6-8 inches from the wall for the best application. This distance helps avoid overspray and ensures even coverage.
The further back you go, the wider and thinner your painted area becomes.
Standing close to the wall helps you get a nice, thick coat on the first try. You want to keep the sprayer closer to the wall than you think; if you feel weirdly close, you’re probably doing it correctly.
Steady Movements
Use smooth, even strokes to apply the paint. Start each stroke just before the area you want to paint and release the trigger just after, to avoid pooling and streaks.
Overlap Strokes
Slightly overlap each pass by about 50% to ensure a seamless finish without any lines or gaps.
Test and Adjust
Always start with a test spray on cardboard to fine-tune the settings for your specific project. Make adjustments as needed for the best results.
Keep Moving
Avoid staying in one spot too long, as this can cause drips and uneven layers. Maintain a steady pace for a uniform coat.
By incorporating these tips, you’ll enhance your painting technique and achieve a professional-looking finish.
Maintaining Adequate Ventilation
Ensuring proper ventilation is a critical step when using a paint sprayer indoors.
Good airflow not only helps to disperse fumes but also aids in drying the paint more evenly and quickly. Start by opening all windows in the room to allow fresh air to circulate freely.
If possible, open doors to other rooms to create a cross breeze.
For an extra boost in air movement, place box fans in the windows, pointing outwards to pull fumes out of the room.
Consider using a few standing fans to keep air moving throughout the space. Aim these fans towards open windows or doors to direct airflow effectively.
Remember that maintaining ventilation isn’t just a one-time setup; regularly check and adjust fan positions to optimize airflow throughout the painting process.
This will keep the environment more comfortable and ensure that paint fumes are minimized, making your painting experience safer and more pleasant.
Mastering the Painting Method
When it comes to painting with a sprayer indoors, practice and precision are key. Start by holding the sprayer at a consistent distance of about 6-8 inches from the wall. This helps to avoid overspray and ensures even coverage.
Use smooth, controlled strokes to apply the paint, beginning each stroke slightly before the surface you want to cover and releasing the trigger just after you pass it.
This technique helps prevent pooling and streaks. Slightly overlap each pass by about 50% to create a seamless finish.
Pay attention to your speed. Moving too slowly can result in drips while moving too quickly can lead to uneven coats. Aim for a steady, moderate pace.
If you notice any spots that need more coverage, apply additional light coats rather than a single heavy one.
Adjust the spray tip as needed to control the spray pattern. You might need a narrower spray for detailed areas like trim or edges, while larger wall sections can benefit from a wider pattern.
Keep an eye on the paint flow and make sure it’s consistent. If you encounter any issues, pause to adjust your settings or check for clogs. Taking these steps ensures a professional-looking finish and makes the painting process more enjoyable.

Cleaning and Upkeep
Cleaning and maintaining your paint sprayer is essential for optimal performance and longevity.
Begin by following the manufacturer’s instructions to disassemble the sprayer safely. Thoroughly rinse all components with warm, soapy water, ensuring no paint residue remains.
For stubborn paint, use a brush to gently scrub any buildup from the nozzle, hose, and spray tip.
Next, run clean water through the sprayer to flush out any internal paint remnants.
For oil-based paints, you’ll need an appropriate solvent for this step. Pay special attention to the filters and strainers, as these are common areas where paint can accumulate.
After cleaning, inspect all parts for any signs of wear or damage, such as cracks in hoses or worn spray tips.
Replace any compromised components to maintain efficient operation. Allow all parts to dry completely before reassembling the sprayer.
Store your sprayer in a cool, dry place to prevent rust or other damage.
Regularly check the sprayer for any issues before starting new projects.
By incorporating these cleaning and upkeep habits, you’ll ensure that your paint sprayer remains reliable and ready for future indoor painting tasks.
Solving Common Problems
While using a paint sprayer indoors, you may encounter some issues. Here are practical solutions to common problems:
Clogs
If your sprayer gets clogged, it could be due to paint buildup. Clean the nozzle and filter thoroughly. Sometimes, running water or an appropriate solvent through the sprayer can help clear minor clogs.
Uneven Application
Streaks or patchy coverage can be frustrating. Check your spray settings and ensure you’re maintaining a consistent distance from the wall. Overlapping each pass by about 50% can also help achieve even coverage.
Overspray
This happens when paint lands outside the intended area. To control overspray, adjust the spray tip and ensure you’re holding the sprayer at the right distance. Using painter’s tape and drop cloths can help protect surfaces.
Drips and Runs
If paint drips or runs, you might be moving too slowly or applying too much paint at once. Opt for light, even coats and keep a steady pace.
Pump Issues
If the pump isn’t working correctly, it might be due to air trapped in the system. Try priming the pump as per the manufacturer’s instructions.
Addressing these common problems promptly can make your indoor painting project smoother and more enjoyable. Happy painting!
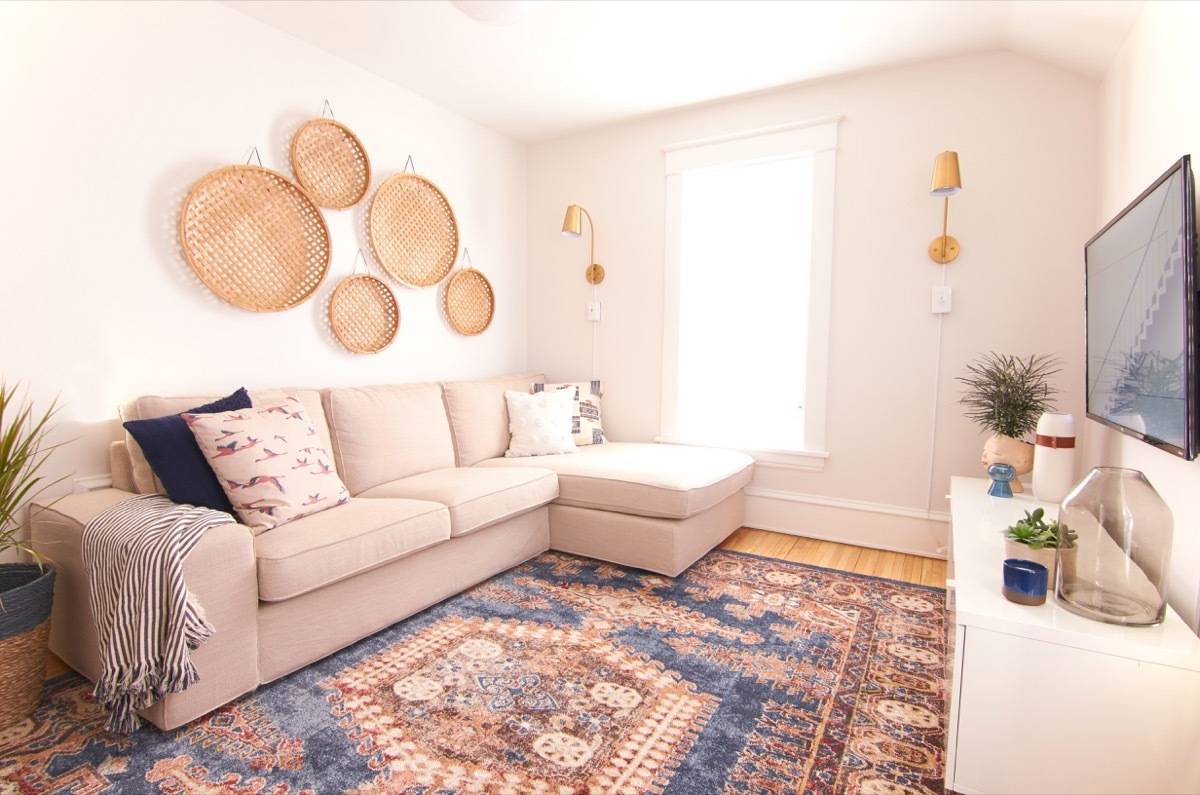
Project Inspiration – Transforming an empty bedroom

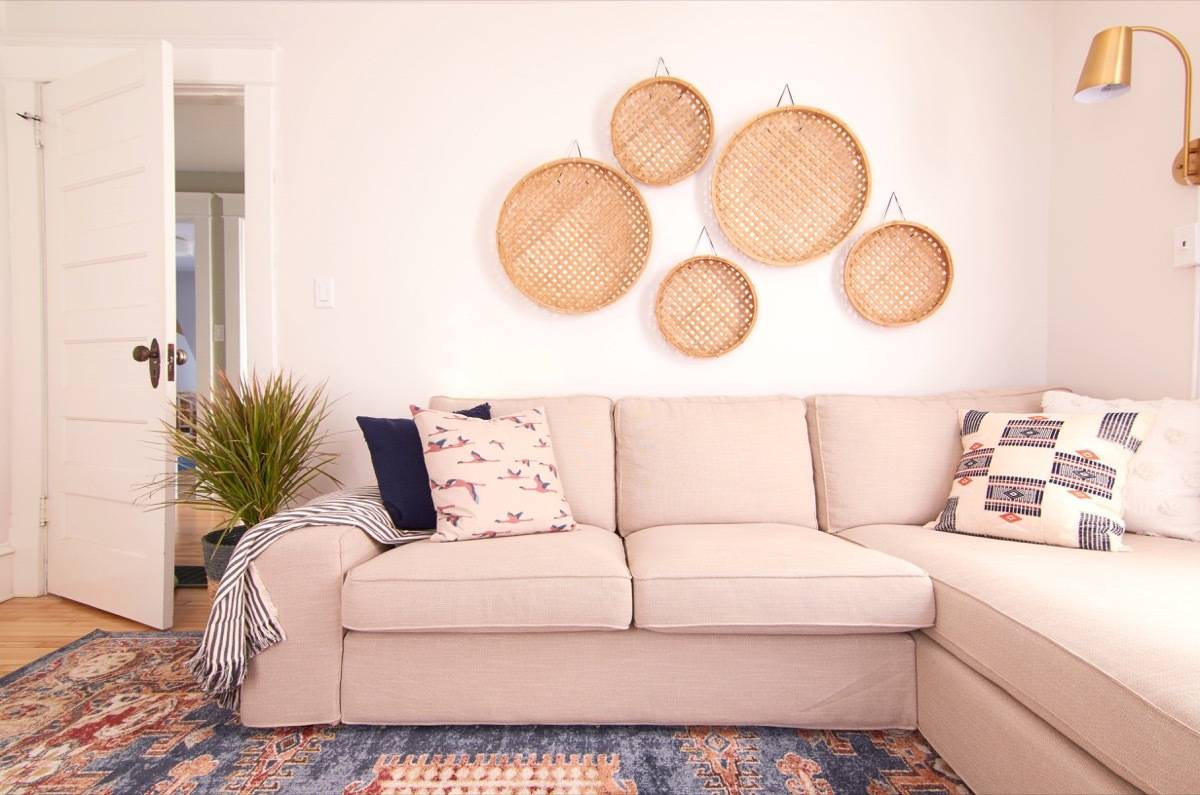
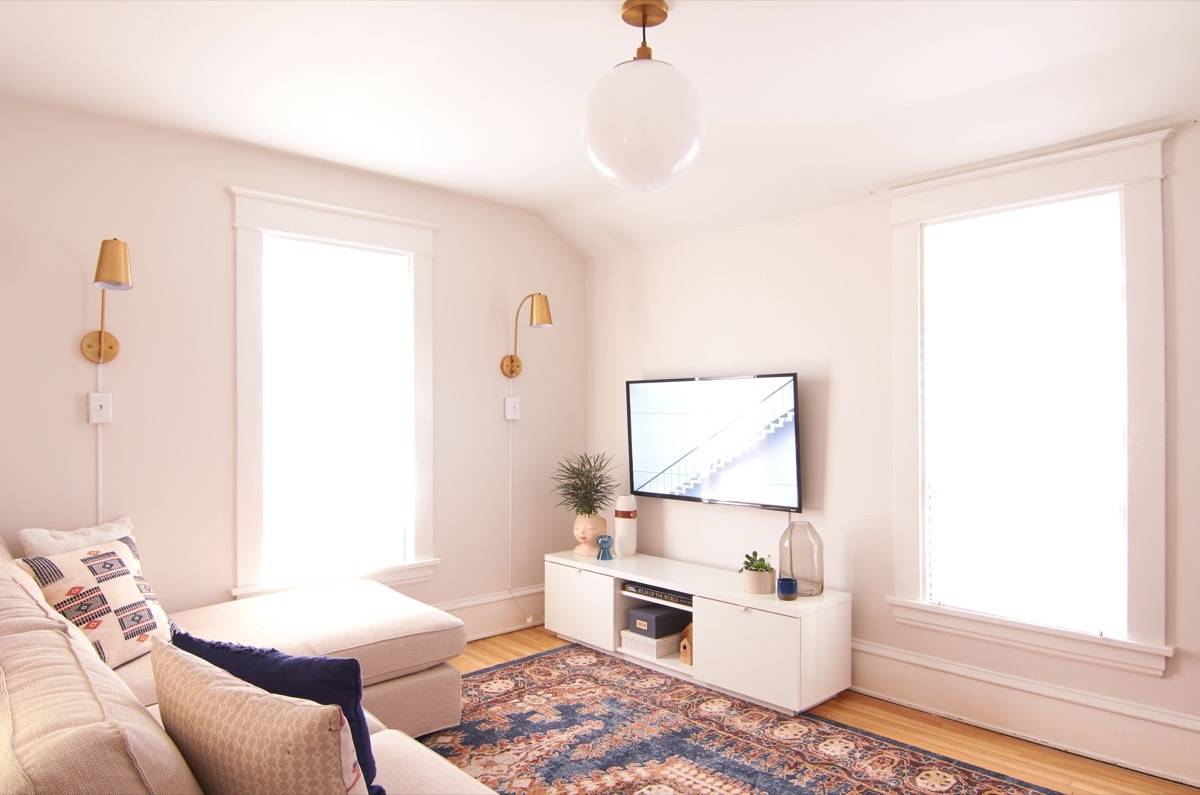
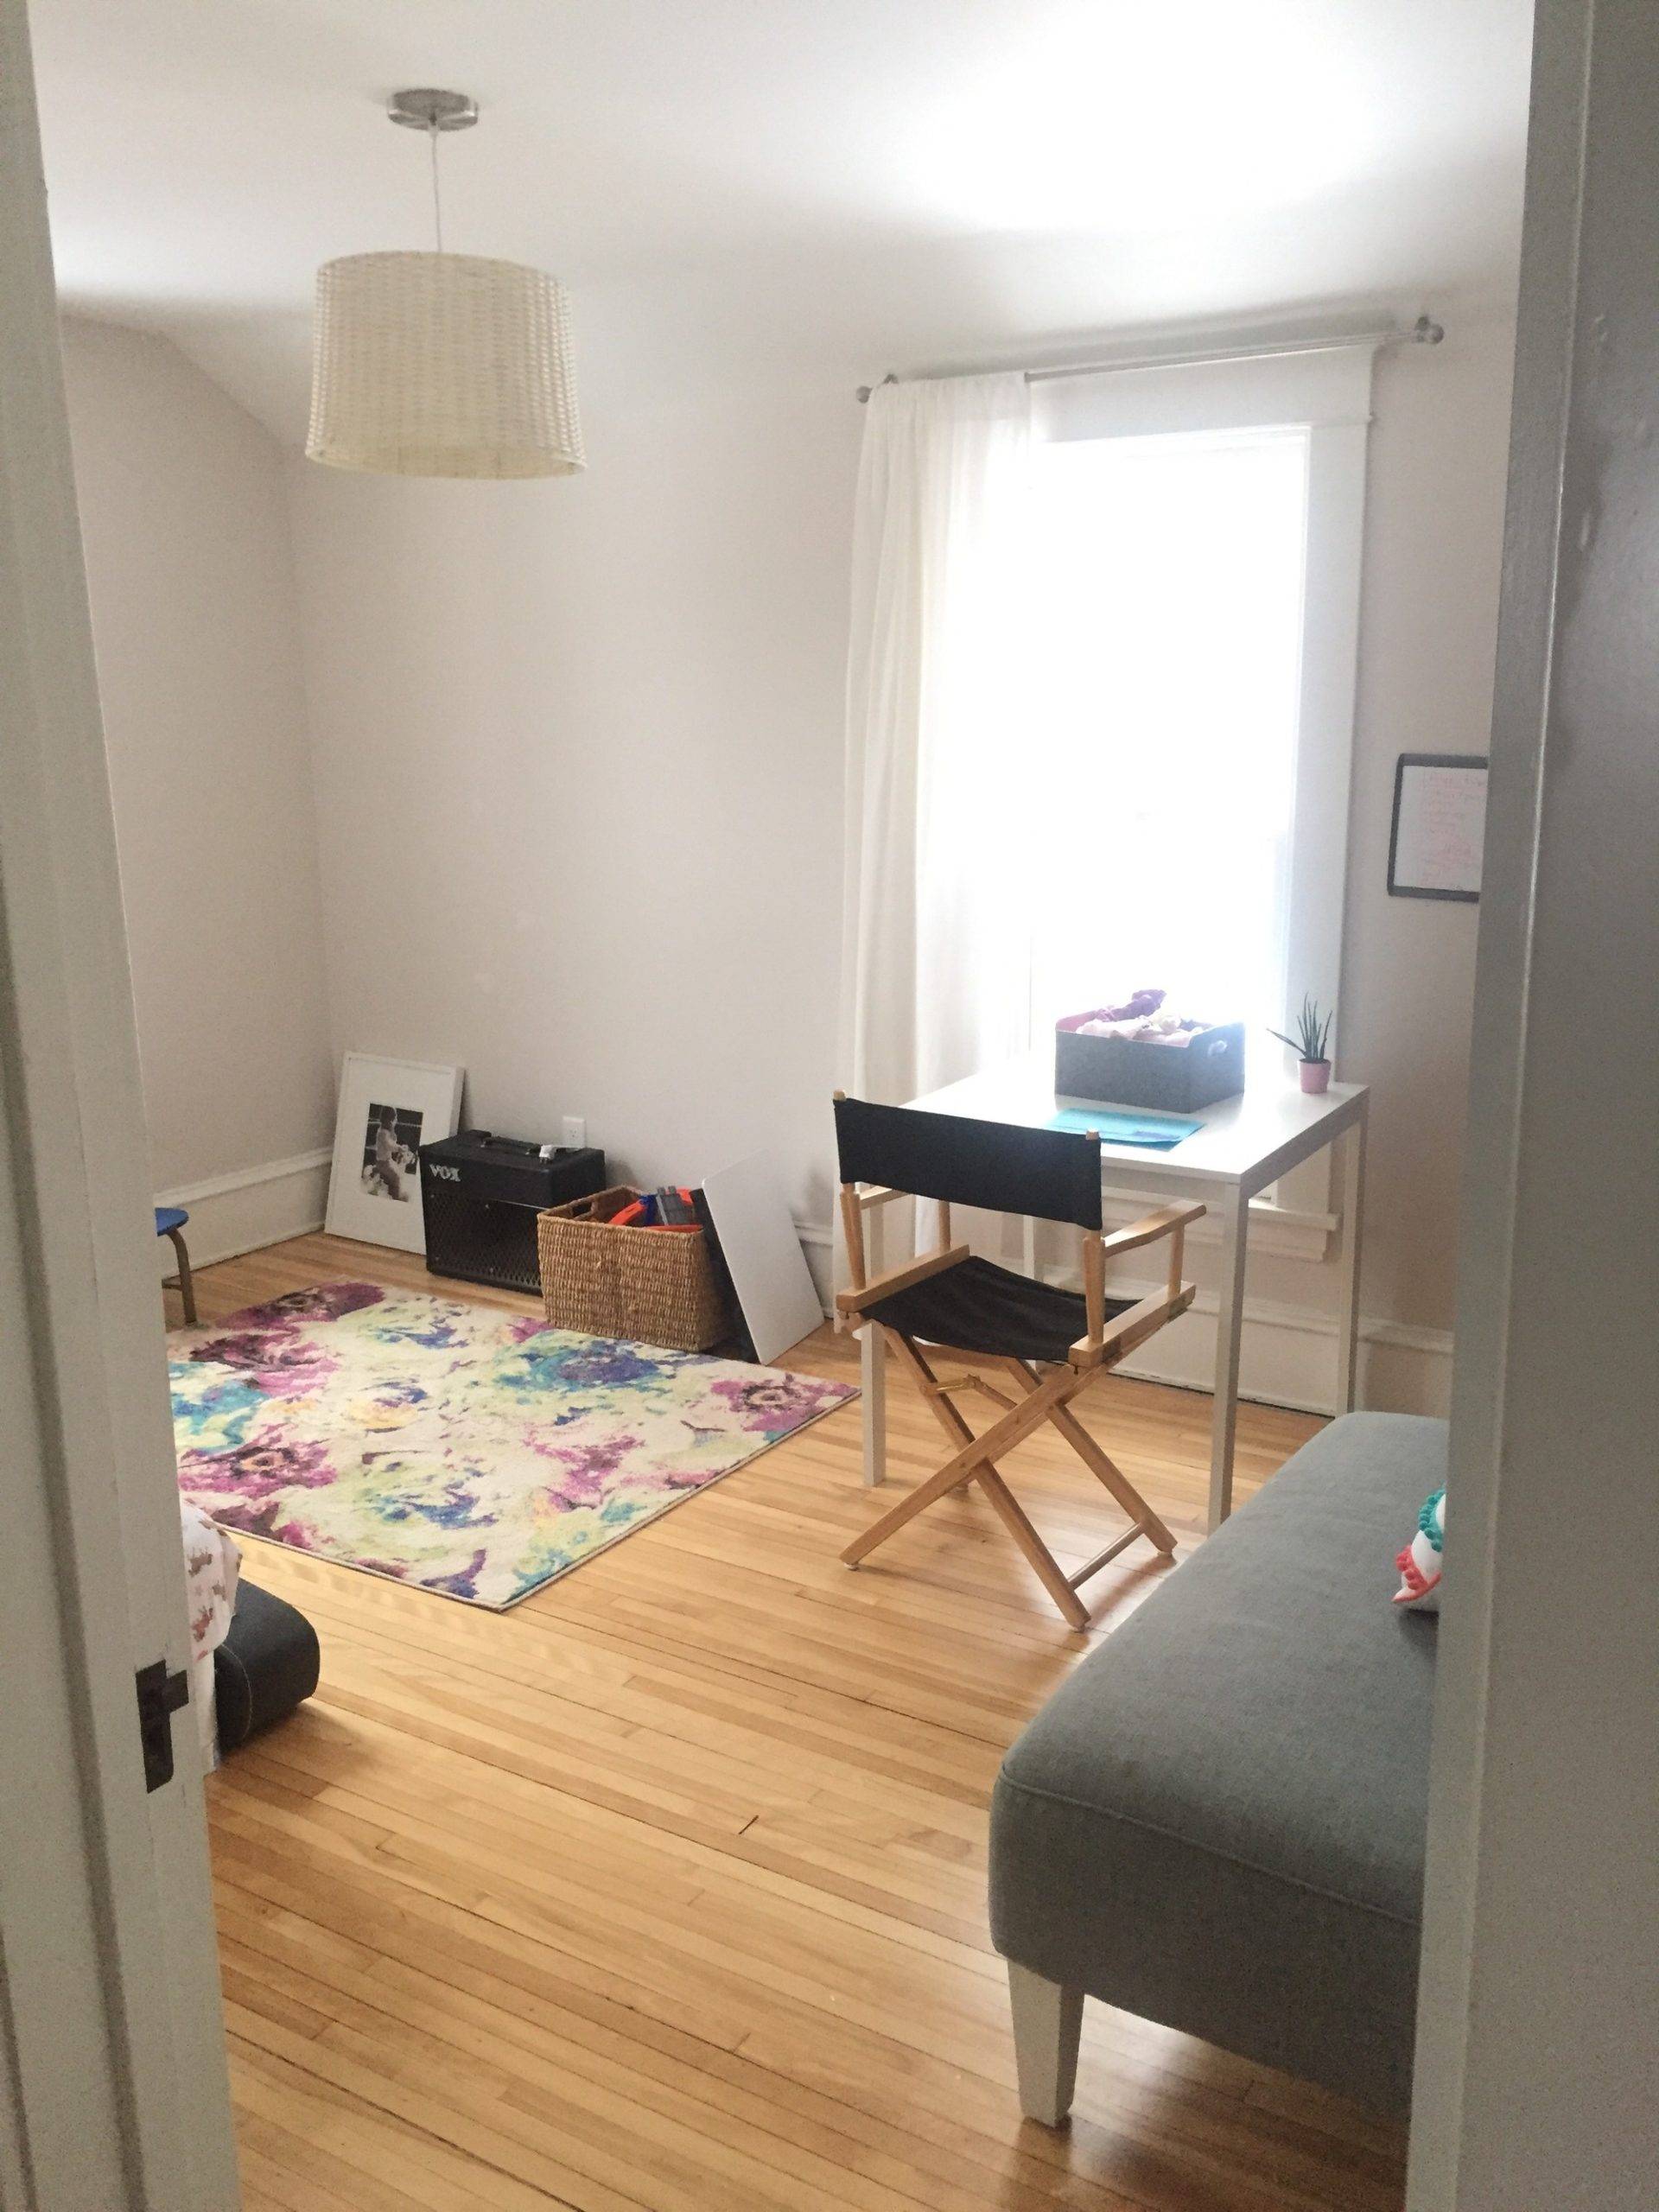
This bedroom served as a storage/play/catch-all nightmare room into a cozy den. The foundation for the whole room was a fresh coat of paint, and we were eager to experiment with spraying the walls vs. rolling and cutting in.
A Little Bit About the Den Transformation
When we first moved in, it served as our baby boy’s nursery, because our house was still under construction and our master bedroom was not complete.
Once our remodel was done, we moved him into a larger bedroom, and this little room met an ugly fate: The room where all the misfit toys and furniture lands.
While it’s a luxury to have a room like this, especially because you can close the door and forget about it, it’s also a big bummer.
Materials
- Paint
- Drop Cloths
- Painter’s Tape
- Masking Film or Plastic Sheeting
- Gloves
- Goggles
- Additive/Thinner
- Cardboard
Instructions
Prep
- We taped around all the windows and baseboards using Trimaco’s Tape & Drape painter’s tape. This tape it the bomb! Why? Because it comes with plastic attached to it. You simply apply the tape to the trim, then pull the plastic out to create big swaths of coverage. We applied this same tape along the ceiling line.
- We covered our floor with a giant, non-slip drop cloth from Trimaco. Adding a tacky back to underside of a drop cloth was somebody’s masterstroke because it stays put!
- We wore plastic coverings on our feet. This was not totally necessary for a job like this, but this floor guard for shoes is what we used.
Using a Paint Sprayer in an Interior Space
- Before spraying, we added our paint to the sprayer and mixed in a bottle of Wagner’s Paint Easy additive to thin the paint and help it go on smoothly. Don’t let the notion of thinning your paint fool you into thinking the coverage will be poor. When the paint is applied through a sprayed mist, the super-fine droplets land and attach, making the finish smoother than the voice of Barry White.
- A mask is also important – it keeps the misty-fine particles out of your lungs. The Flexio 590 doesn’t overspray nearly as much as you might guess. You won’t feel like you’re painting in the clouds.
- We painted all four walls of the room in 20 minutes. That’s it. Twenty minutes, and he was D-O-N-E. No second coats, no touch-ups.
Notes
We used a few key supplies from Trimaco to make sure our room was prepped correctly. Trimaco makes all the painting jobsite protection products professionals use, and they have something for everything you can think of.
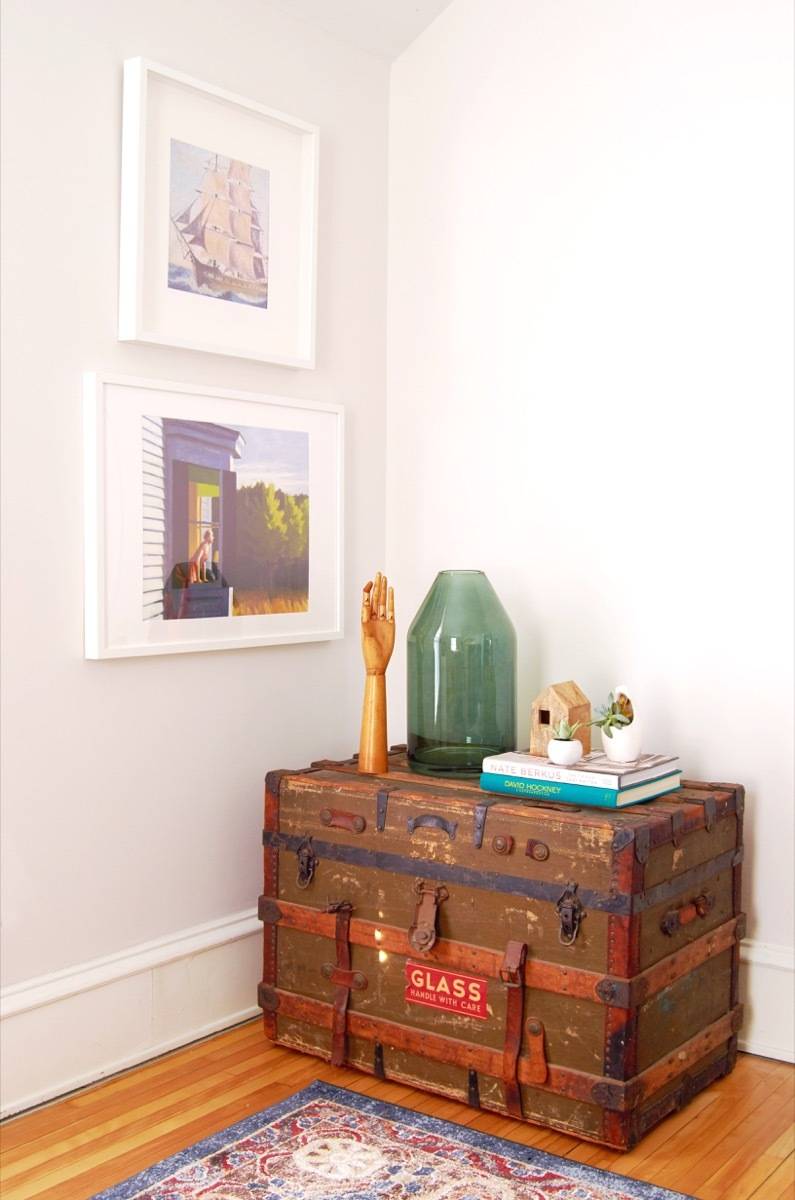
Here’s how the room came together:
