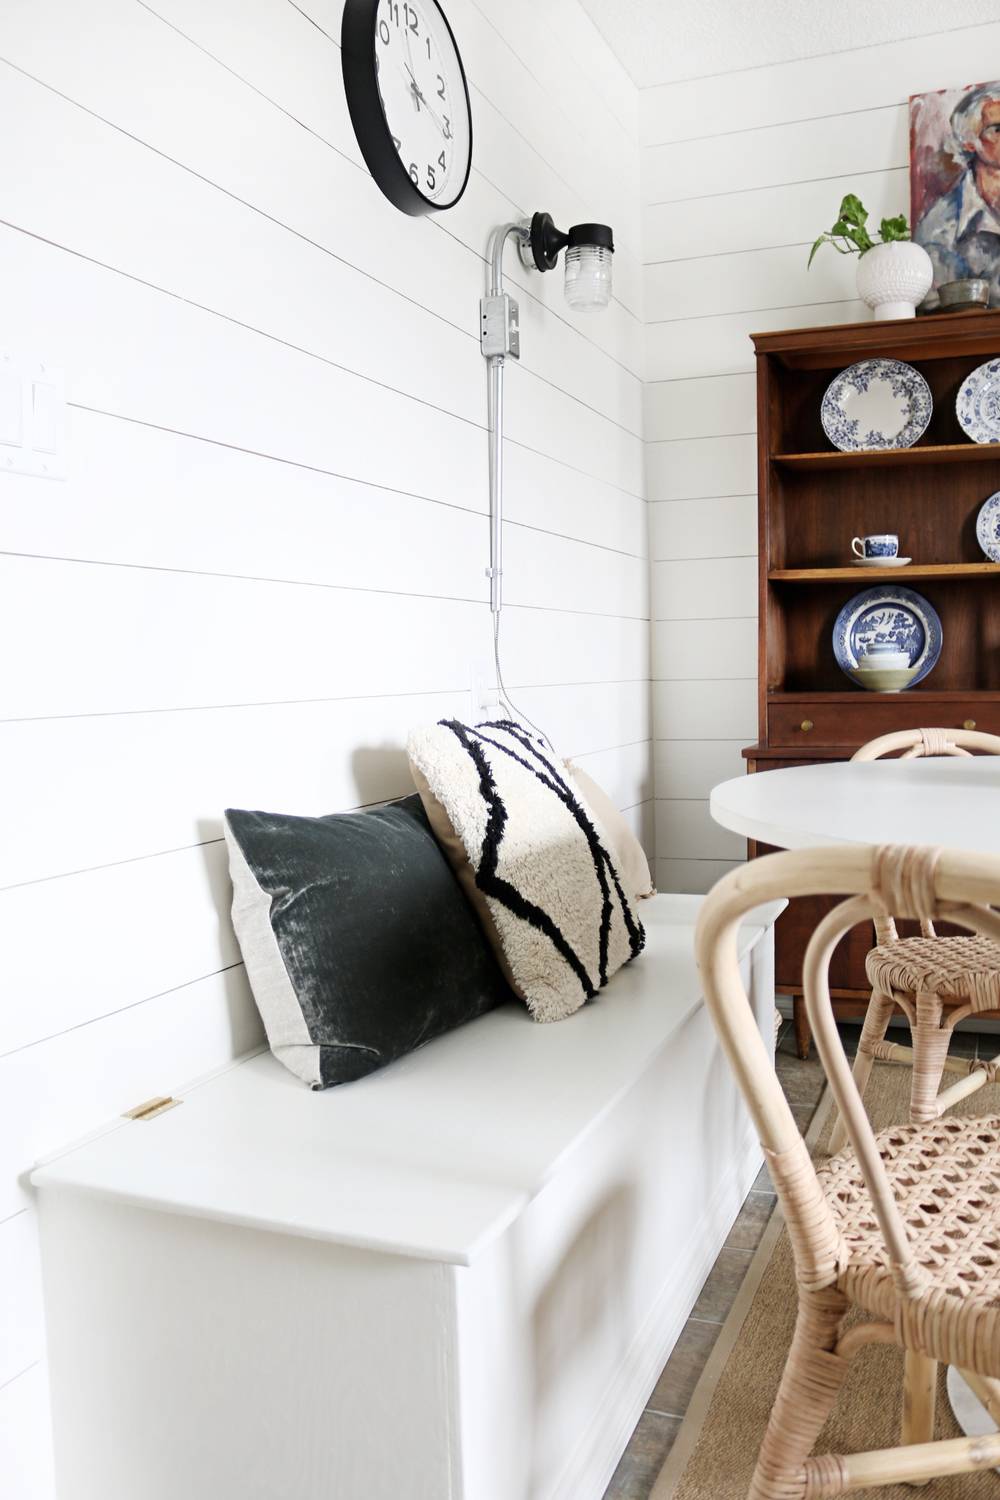
We’d had enough of our dated kitchen, so we decided to give it a full-on facelift, while staying on a budget. Follow along with our whole series: Lidy’s Kitchen Makeover.
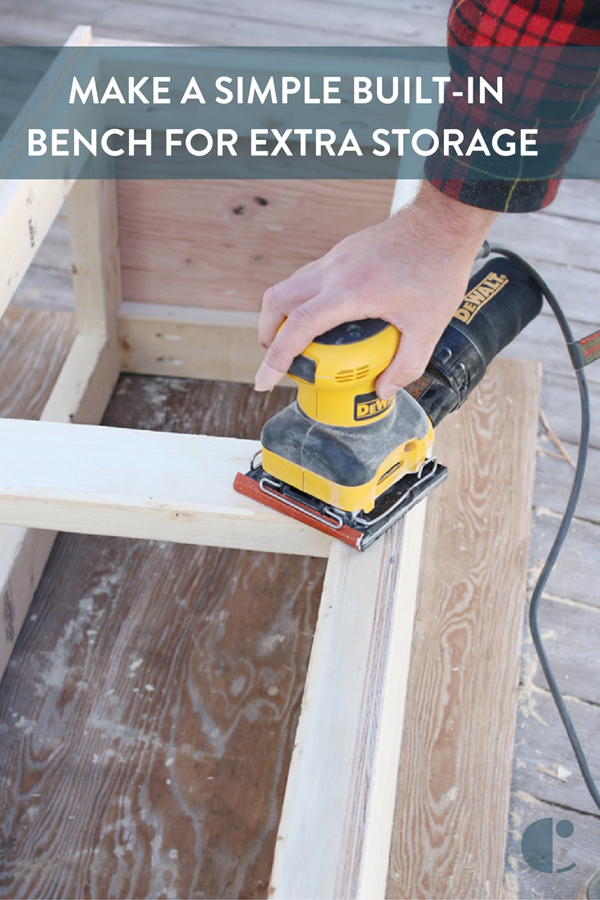
One of the more practical issues we faced with our current kitchen was inadequate storage. Because installing more cabinets was a bit out of our budget, we decided to make a simple built-in bench for a two-for-one punch: a place to sit AND a place to put things. Bonus!
materials
- 2x4s (we used 6)
- One sheet 1/2″ Plywood
- Miter Saw
- Kreg pocket hole jig
- Drill
- Kreg right angle clamp
- Table saw
- Brad nailer
- Wood glue
- Round-over router bit
- Palm sander (in medium and fine grit)
- Stud Finder
- 2.5” Wood screws
- Pocket hole drill
- Caulk
- Paint (same as walls)
- Hinges (including accessories)
- Screwdriver
- Measuring Tape
- Tack cloth
A note before we begin: The finished dimensions of the bench were 18”X18”X60”, since the 2×4 frame needed to be slightly shorter due to the 1/2” plywood on the sides, front, and top (actual dimensions of a 2X4 are 1.5X3.5”).
Step 1

First, using your miter saw, cut the 2x4s to length. You will need:
- 4 X 59”
- 6 X 10.5”
- 5 X 14.5”
Step 2

Using a Kreg pocket hole jig, drill holes for assembly.
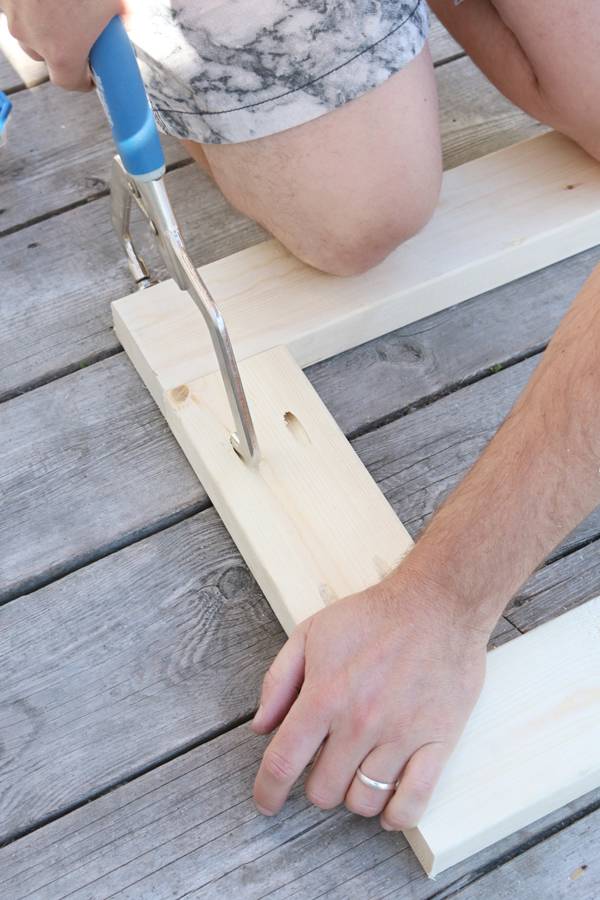
Use a kreg right angle clamp to stabilize the 2×4.

Attach with pocket hole screws to construct the frame of the bench (refer to picture below).
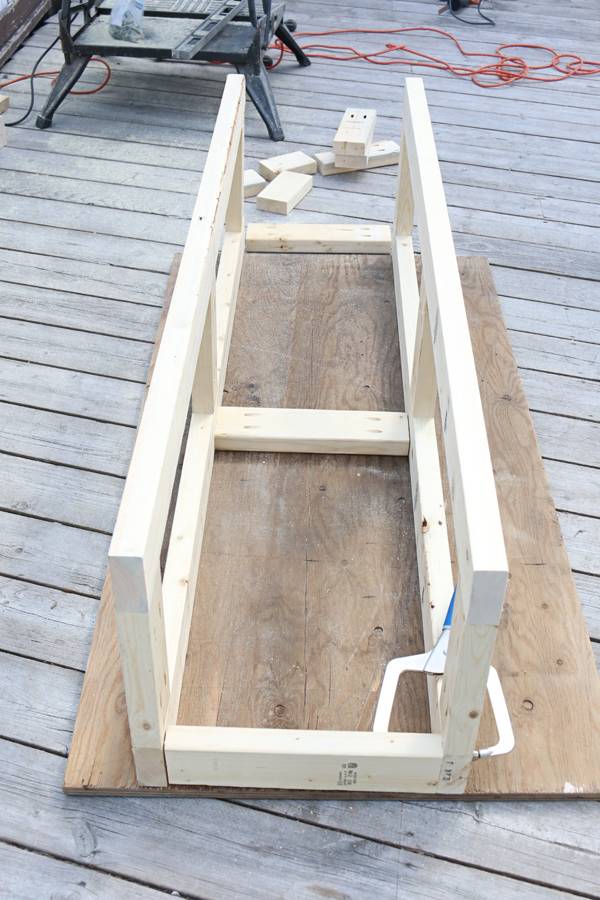
Repeat until complete.
Step 3
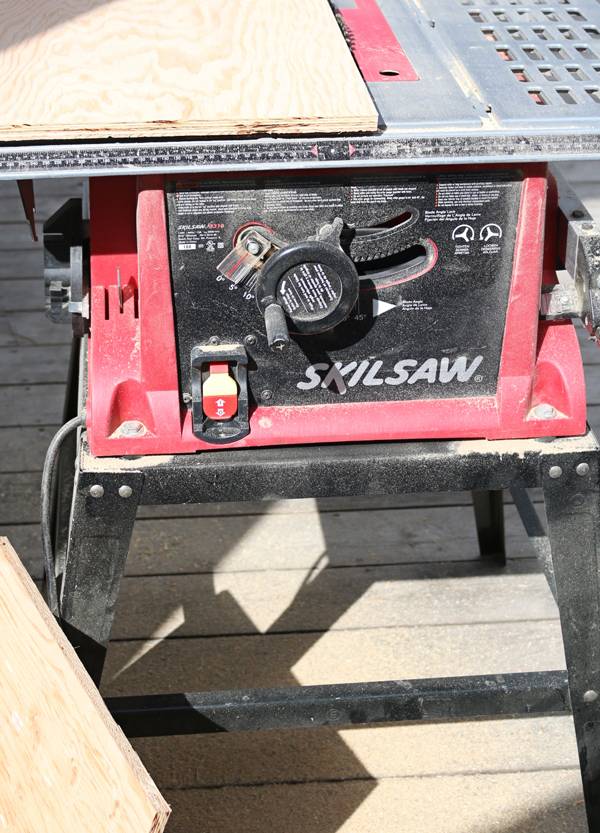
Using 1/2” Plywood for the walls of the bench, cut with table saw accordingly:
Sides: 2 X 17.5X17.5″
Front: 1 X 17.5X60”
Top: 1 X 62X19” (1” overhang on sides and front)
Step 4

Cut a 3/4” strip off the top with table saw to accommodate hinges. We chose 3/4” hinges so that both sides of the joint are supported by the 2X4 underneath. Trim the overhang off of this thin strip so that the ends are flush to sides of the bench (60”).
Step 5

Use wood glue and a brad nailer to attach the plywood front, sides, and 3/4” hinge strip.

Step 6

Use a round-over router bit and rout all edges of the bench and lid to prevent splintering.
Step 7
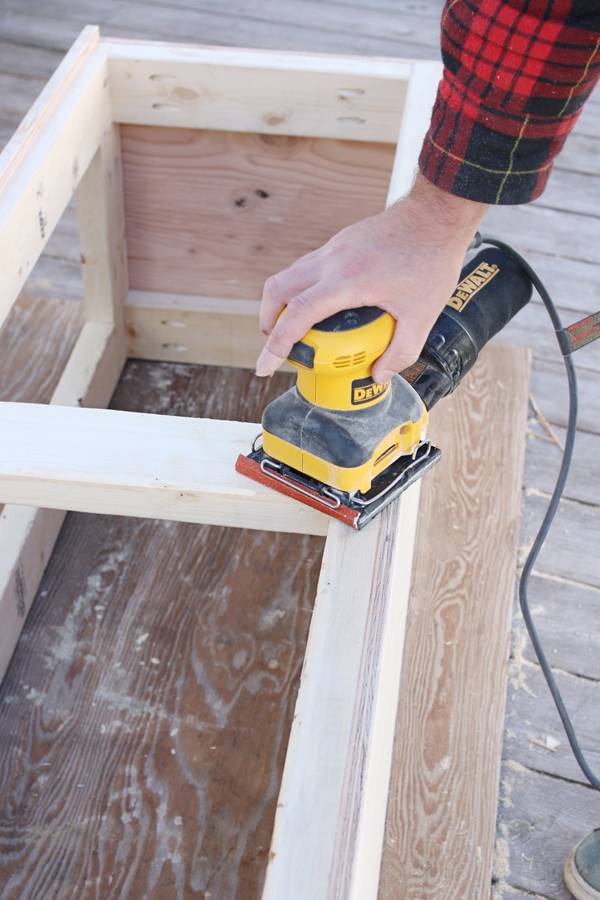
Use a palm sander to sand entire project. Medium grit first, then fine grit. Wipe down with tack cloth.
Step 8

Use a stud finder to mark studs in the walls. Place the bench where it belongs and mark and drill pilot holes for the screws to anchor the bench to the wall studs and the sub-floor. We used 2.5” wood screws and the pocket hole drill bit for pilot holes.
Step 9

Caulk seams and nail holes and wipe clean with a damp cloth. Allow to dry.
Step 10

Paint bench and lid separately, allowing to fully dry between coats.
Step 11

Mark holes for attaching hinges to bench and lid.
Step 12

Drill pilot holes.
Step 13

Use screwdriver to fasten (avoid stripping, tear-out).
Step 14

Finish off bottom of bench with painted baseboards in conjunction to the rest of the wall using a brad nailer. Caulk seams and nail holes and touch up with paint.

Having a built-in bench is a game changer for our little kitchen nook. It provides enough extra seating for 2-3 people and plenty of storage for all our many pots, pans and more. Just one more little DIY that you don’t want to miss before the big reveal, so stick around!


