Sharing some easy and creative art ideas for big walls that will transform your space into a stylish and cohesive masterpiece. So, let’s get started and turn those blank walls into a statement piece!
Are you struggling to decorate a large wall in your home? Don’t worry—you’re not alone!
Many homeowners face the challenge of filling an oversized bare wall space. But before you start panicking and heading to the nearest home decor store for things like wallpaper, why not consider some DIY wall art ideas for large walls?
Not only will this save you money, but it also gives you the opportunity to personalize your space with unique and one-of-a-kind pieces, texture, abstract art, or whatever your heart desires.
Understanding the Scale – What Constitutes a Large Wall?
When we talk about decorating, understanding the dimensions you’re working with is crucial.
So, what exactly constitutes a large wall?
Generally, a wall that is wider than 12 feet or taller than 8 feet falls into the category of a large wall. Because of its expansive blankness, it might feel daunting at first glance.
But here’s the exciting part: a large wall offers a canvas full of potential. It’s an opportunity to make a bold statement and experiment with size and scale in ways that smaller walls simply can’t accommodate.
Consider art ideas for big walls beyond single, small frame pieces.
This is your chance to go big with large scale art ideas or create a gallery wall that truly captivates. Remember, the key to effectively decorating a large wall is to embrace its size and use it to your advantage.
With the right approach, what once seemed like an overwhelming expanse can become the focal point of your room, imbued with personality and style. So, let’s move forward with enthusiasm and tackle that big wall with some creative flair!
The Benefits of DIY Wall Art Over Store-Bought Options
Choosing DIY wall art ideas for large walls over store-bought pieces has several notable benefits that can enhance your decorating experience and outcome. First and foremost, undertaking a DIY project allows you to activate your creativity and tailor your art piece exactly to your taste and the aesthetics of your space.
There’s something genuinely satisfying about creating something with your own hands that perfectly matches your vision and home decor. Another advantage is cost efficiency.
Large scale art often comes with hefty price tags when sourced from galleries or home decor stores. DIY projects, on the other hand, can be significantly less expensive, allowing you to allocate your budget elsewhere or perhaps create multiple pieces for the cost of one pre-made item.
Moreover, DIY projects offer a unique opportunity for personal growth and skill development. Not only do you end up with a beautiful piece of art for your big walls, but you also gain new abilities and the confidence to tackle more projects in the future.
Plus, the story behind your handmade creation adds a layer of personal significance and conversation to your space that simply can’t be replicated with store-bought art. In essence, opting for DIY when decorating a large wall not only personalizes your space but also brings an array of other benefits that store-bought options lack.
Whether it’s the cost-saving aspect, the joy of creating, or the personal touch it adds to your home, DIY projects offer a rewarding path to beautifying your large wall spaces.
Before you dive into the creative process, let’s ensure you have everything you need to bring your DIY wall art ideas for a large wall to life.
Gathering your tools and materials beforehand will make whatever project you decide on to run smoothly and efficiently.
Here’s a checklist to get you started:
- Measuring Tape. Precision is key, so measure your wall space to plan your artwork accordingly.
- Sketch Pad and Pencils. Jotting down your ideas and sketching preliminary designs can help visualize your project.
- Paints or Markers. Choose high-quality paints or markers suited for your chosen medium, whether it be canvas, wood, or another material.
- Canvas or Base Material. Depending on your project, you might need a large canvas, reclaimed wood, or even a fabric backdrop.
- Brushes and Art Supplies. Have a variety of brushes and art tools on hand to achieve different textures and effects.
- Hanging Hardware. Ensure you have the right hooks, nails, or mounting tape for secure hanging, especially considering the weight of your artwork.
- Protective Gear. Don’t forget gloves, masks, or aprons to protect yourself and your workspace, especially for messier projects.
Remember, this list is a starting point.
Your specific project may require additional items, but this checklist covers the basics for most DIY wall art undertakings.
DIY Large Wall Decor Ideas: Inspiring DIY Wall Art Ideas for Large Wall Space
Turn a Shower Curtain into Art
Turn a shower curtain into a unique piece of large-scale wall art using this genius (and simple) tutorial. [Photo: House of Jade Interiors]
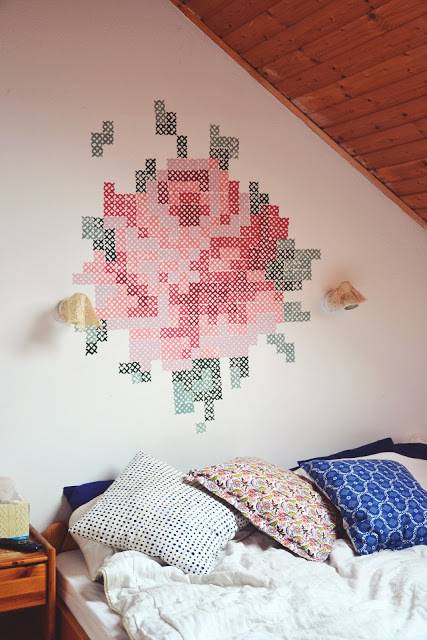
A Cross-stitched Wall
A cross-stitched wall?! How creative! Learn more about it right here. [Photo: Mrs. Ferguson]
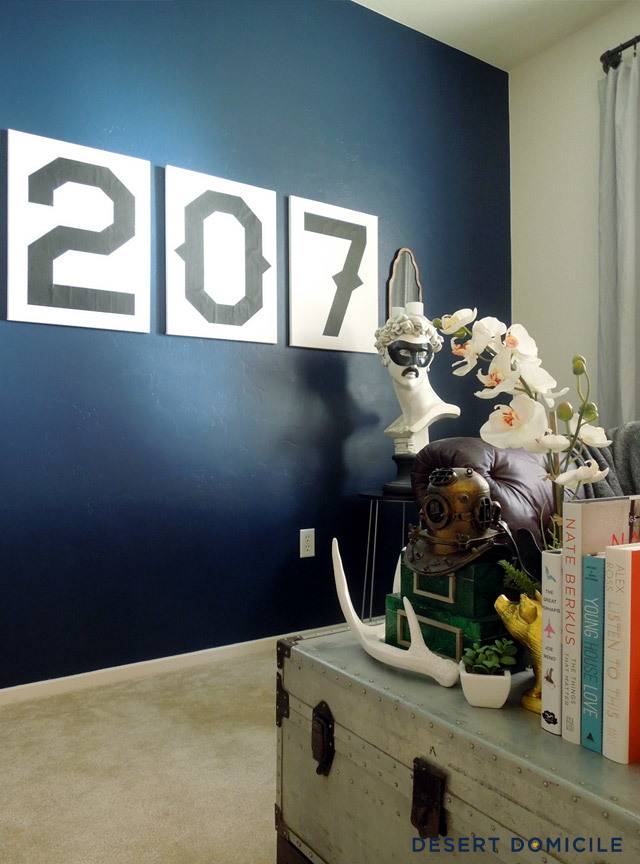
Use Numbers or Letters
Turn letters or numbers into a cool series of wall decorations. Get the tutorial here. [Photo: Desert Domicile]
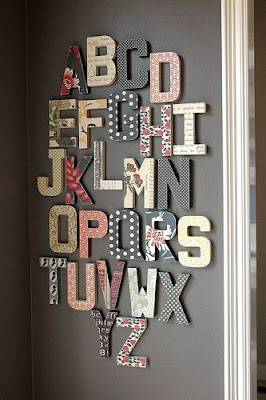
Paper Maché Letters
Paper maché letters from the craft store can make a super fun piece of wall art too! [Photo: Jenni Bowlan Studio}
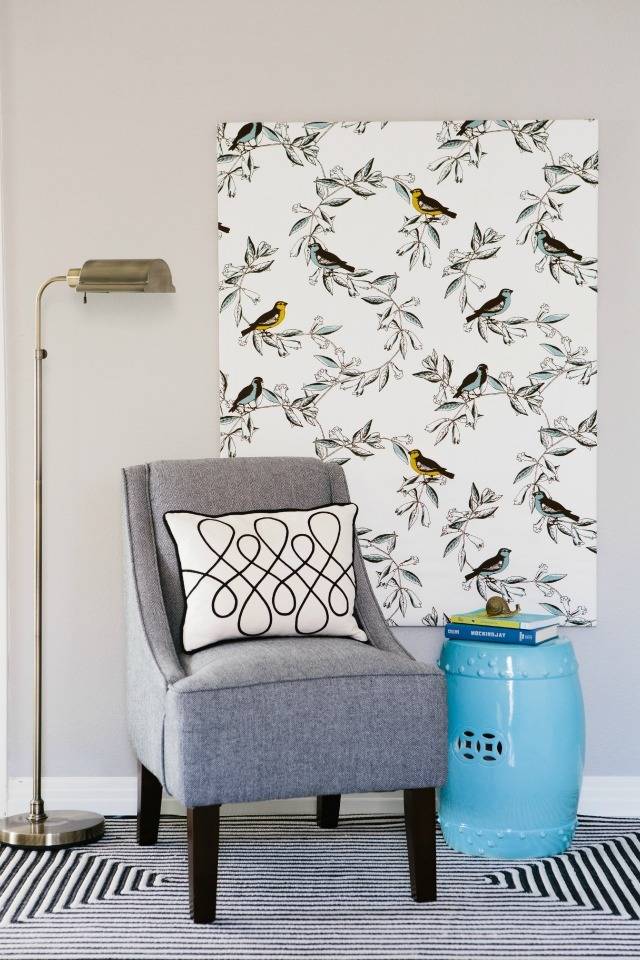
Repurpose an Old Tablecloth
This, believe it or not, is an old tablecloth! Find out how she turned it into wall art here. [Photo: Design Improvised]
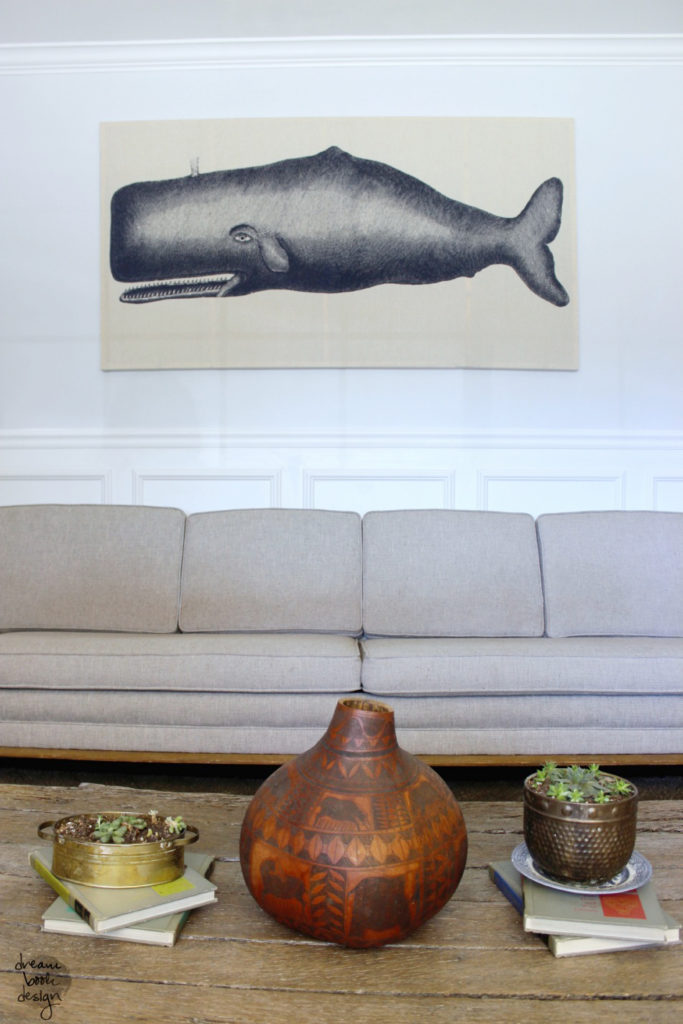
Another Way to use Fabric to Create Cool Wall Decor
Here’s another way to use fabric to create cool wall decor. Check it out here. [Photo: Dream Book Design]
How to Securely Hang Your Masterpiece
Securing your newly created DIY art piece on a large wall might seem like an overwhelming task, but no fear!
With a few tips and the right materials, you can confidently display your artwork for all to admire. First, consider the weight of your masterpiece.
Heavier pieces will require sturdy hanging hardware, such as wall anchors or heavy-duty hooks, to ensure they stay in place. For lighter artworks, simple nails or picture hanging strips that don’t damage walls might suffice.
Use a level to make sure your artwork hangs straight, and don’t shy away from asking for a second pair of eyes or hands to help you with positioning.
If your piece is exceptionally large, you may want to use more than one hanging point to distribute the weight evenly and add stability.
Lastly, take a step back and ensure your artwork is hung at eye level, which typically means the center of the piece should be about 57 to 60 inches from the floor. This height aligns with the average human eye level and creates a harmonious viewing experience for most people.
With your artwork securely and strategically hung, it’s ready to be the centerpiece of your room, complementing your decor and showcasing your creative prowess.


