In this blog post, we will guide you through the process of making your own round cement planter. Whether you have a green thumb or are just looking for a new craft project, this DIY is sure to add a stylish and modern touch to your space. Let’s get started on creating your very own round planter!
If you’re looking to add a touch of greenery to your home or garden, patio or deck, or even your porch creating your own DIY cement planters is a fun and cost-effective way to do so.
This tutorial will guide you through the steps to making large-scale DIY concrete planters at home.
This summer, we moved into a new studio space on a bustling avenue. It cuts right through the heart of St. Paul and Minneapolis.
We love it!
Our huge floor-to-ceiling-windows look out into the sun-filled street and sidewalks where we can watch the light-rail trains go rolling by.
But the people looking back at us don’t have as much to look at. Our storefront is still looking a little shabby and unloved.
So we decided to start out office transformation from the outside in: with a few large-scale DIY concrete planters.
Ahh… concrete. It’s kind of a miracle substance. Look around, and you’ll start to notice that practically everything is made of concrete. It’s strong, durable, infinitely moldable, easy to work with, and looks oh so sharp!
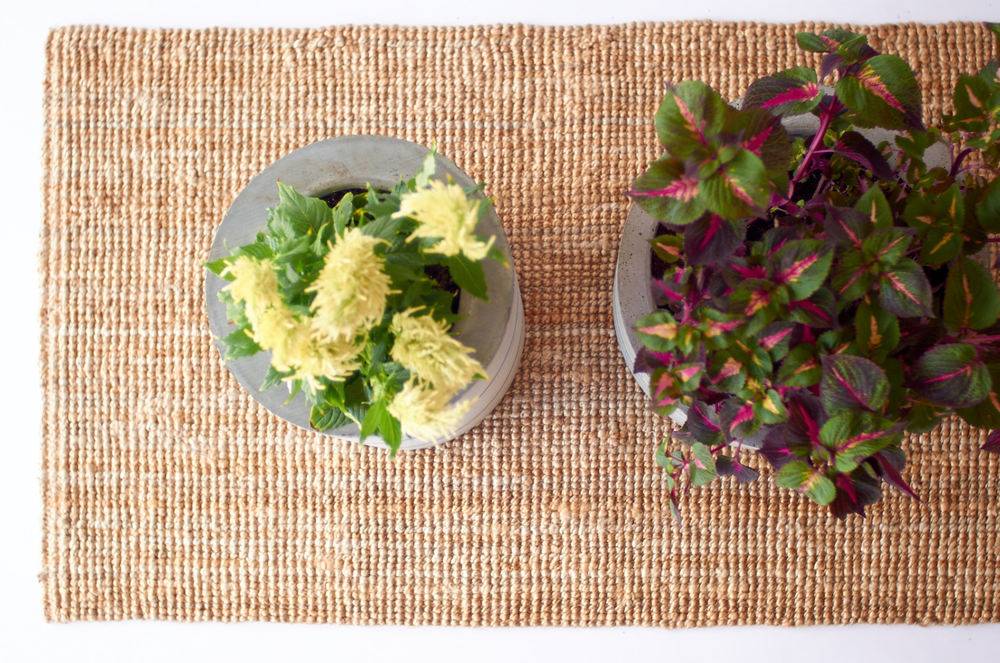
We partnered with Quikrete for this project, so we wanted to try out their countertop concrete mix, which has an additive that lets the mixed concrete flow and consolidate better at a lower water-to-cement ratio. It’s great for, duh, countertops, but also any other concrete project where you want a really nice finish.
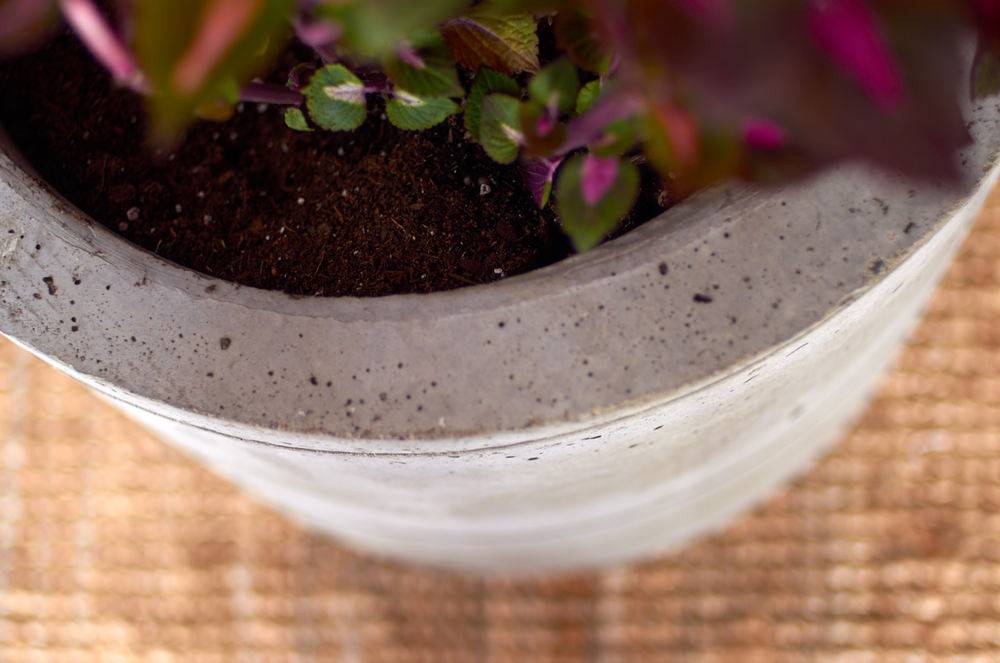
For this project, we wanted to build some planters that were large and impressive. They’re going to go out on the street in front of our office, where lots of people will see them.
And we didn’t want to just go to the big box hardware store and buy a few faux Tuscan jobs; where’s the fun in that?!
This is a DIY site, and it wouldn’t do to have some generic store-bought planters sitting in front of our HQ.
So we came up with the idea of using concrete footing tubes … you know, those cardboard concrete tube forms you can use to make fence post footings?
They’re perfect because they come in lots of sizes, and are easy to cut down to length. They make perfect concrete planter molds. We went with a basic cylinder-shaped planter; simple but stylish. Here’s how we did it:

Materials
- 3 – 80-lb. bags of Quikrete® Countertop Mix
- 3 Quikrete Quik-tube® building forms (16″, 12″ and 8″ diameters)
- 2 PVC drain caps (2″ diameter)
- 3 sheets of corrugated plastic, smooth-top
- Non-stick cooking spray
- Duct tape
- Silicone caulk
- 1 length 2″ PVC (we actually didn’t end up needing this)
- 1 roll of wire mesh
- Plastic garbage bag or sheeting
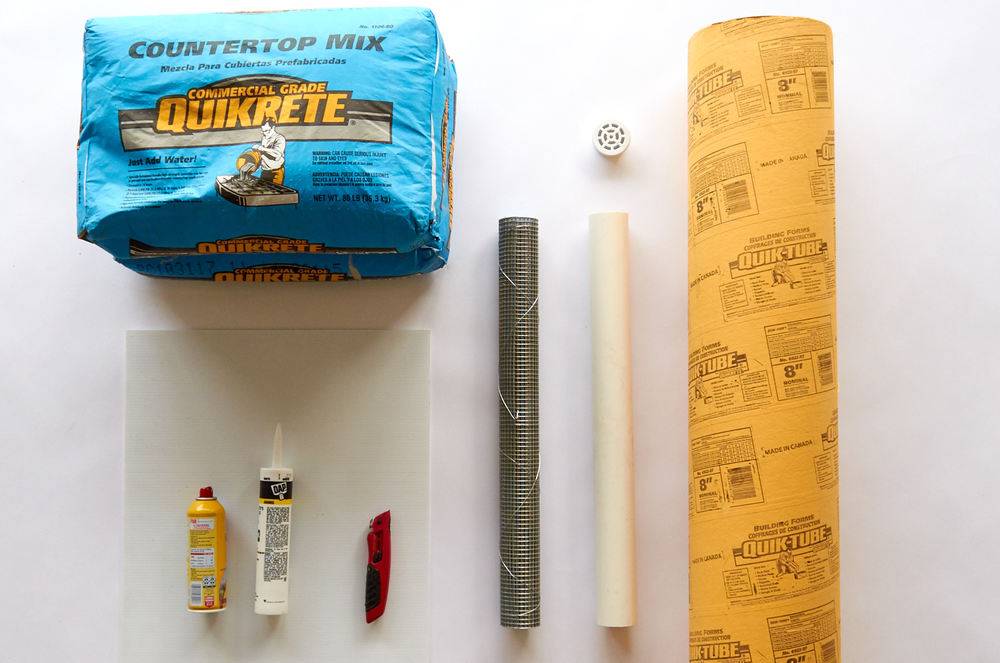
- A large concrete mixing tray
- A shovel (for mixing)
- Caulking gun
- A utility knife (or circular saw, optional)
- A tape measure
Step By Step: How to Make Your Own DIY Concrete Planters
Preparing Your Mold for the Round Planter
Selecting the perfect mold is crucial in creating your round cement planter. For a variety of size and shape options, consider utilizing common household items like bowls, old planters, or any round container that fits your vision. Here’s the process to prepare your chosen mold:
- To ensure an easy release of your cement planter, liberally apply cooking spray on the inside surface of your outer mold and the outside of your inner mold, if using one.
By meticulously preparing your mold with these instructions, you’re setting the stage for a smooth crafting process, bringing you one step closer to unveiling your bespoke round cement planter.
Step 1
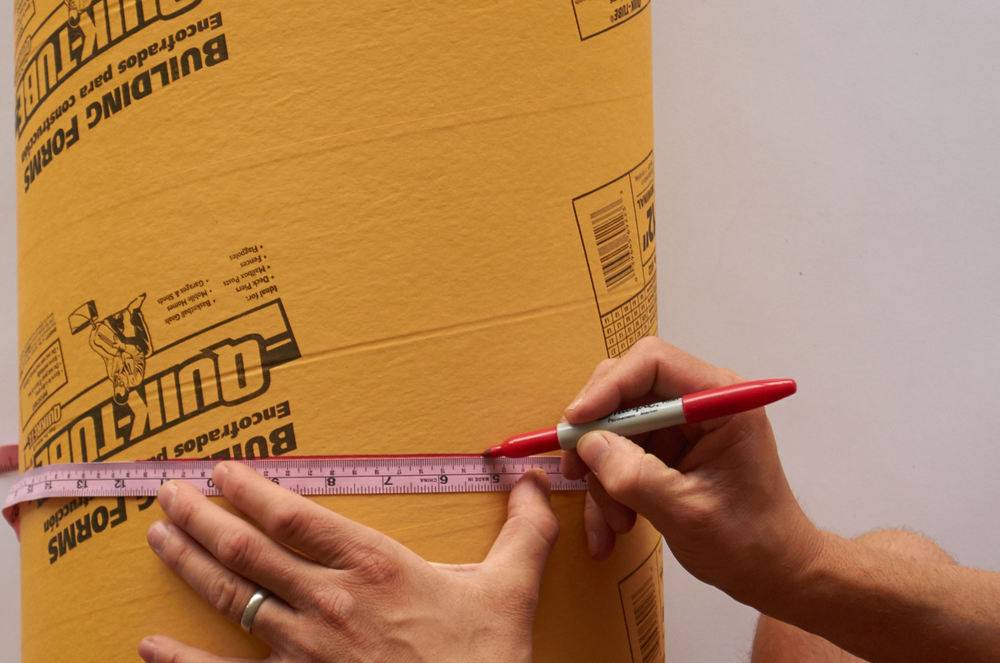
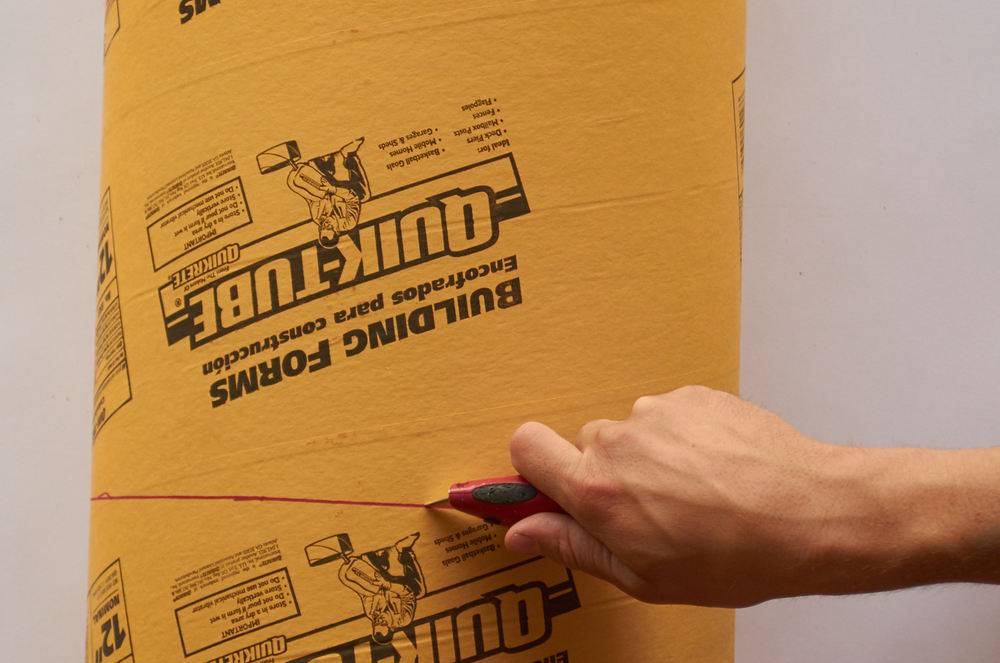
Decide how tall you want your planter to be. We made our first one 24″ tall. Then mark that on the tube (in our case, I started with the 12″ diameter tube), and cut the tube at that length. You can use a sharp utility knife, or, to go faster, use a circular saw to carefully make the cut.
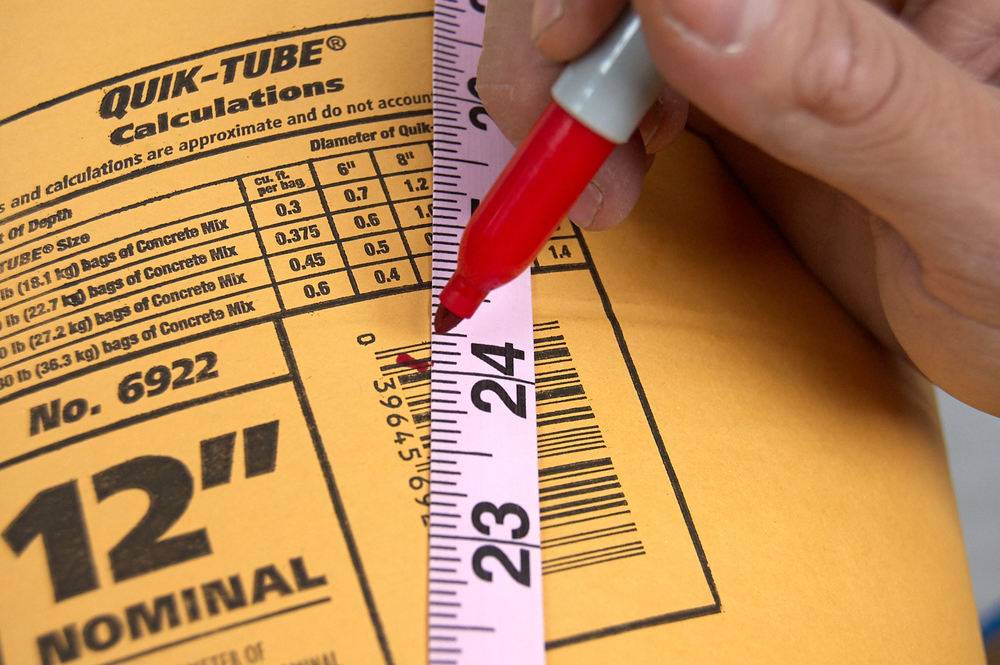
Step 2
To make the inside part of the form, mark your smaller tube at a length 1.75″ shorter than the first (this will account for the height of the PVC drain cap and also makes up the base of the planter. For example:
Our first planter was 12″ in diameter and 24″ in height. So our inner tube (8″ diameter) was cut to 22.25″ in height.
Step 3
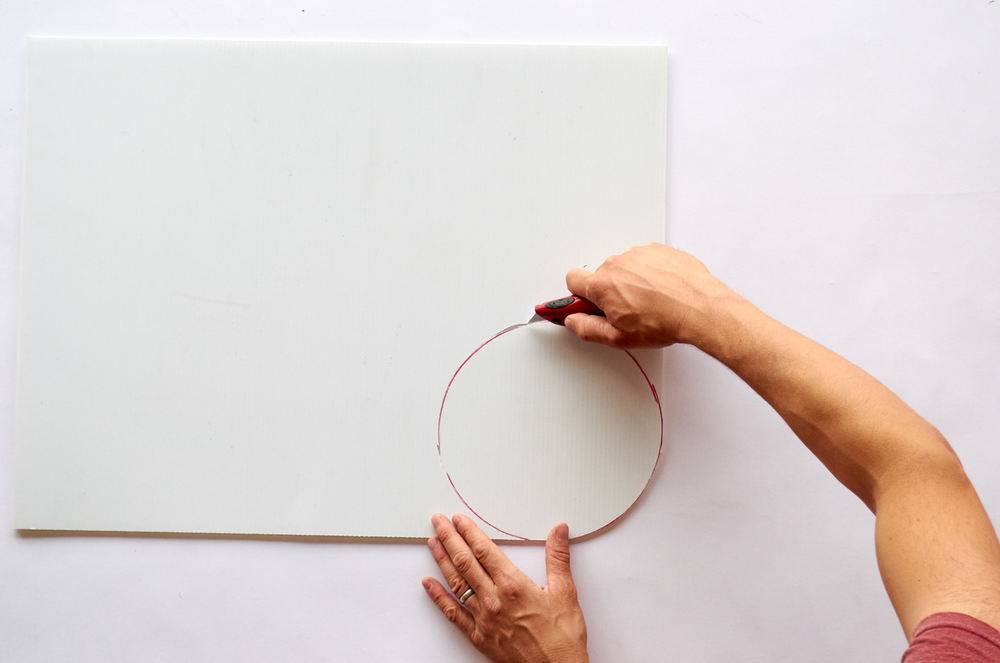
Now place the smaller tube (the one that will end up inside the larger one) on your plastic sheet and trace it. Then cut out that circle with a utility knife. This will be the base of the smaller tube.
Step 4
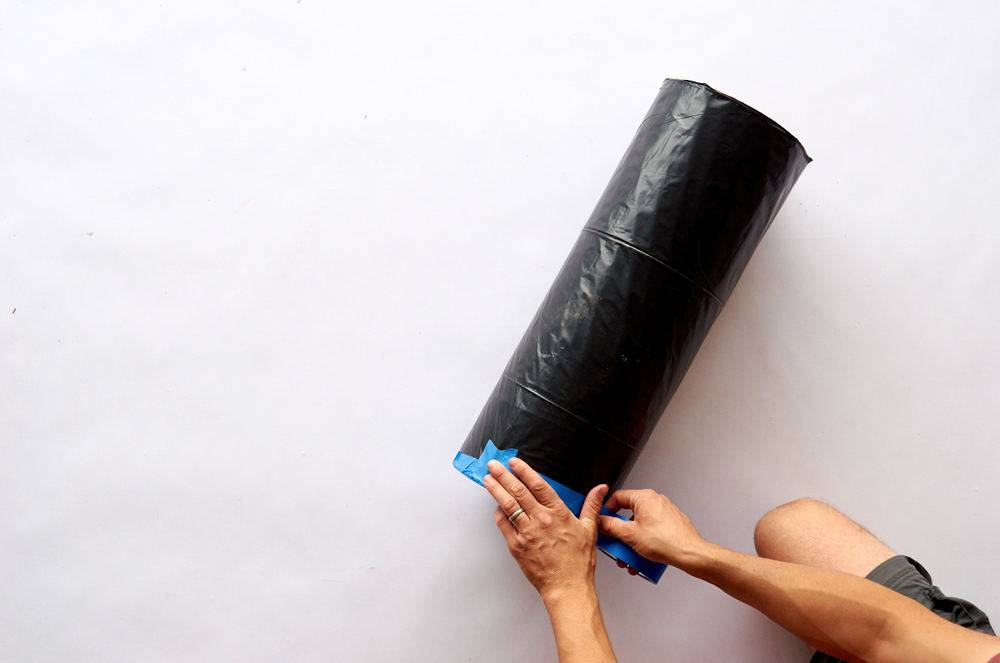
Tape the plastic circle you just cut out to the bottom of the smaller tube, taping it neatly all the way around so that it won’t let concrete through. Then wrap the whole cylinder in plastic, taping it on. This isn’t strictly necessary, but it’ll make the form easier to pull away from the concrete later.
Step 5
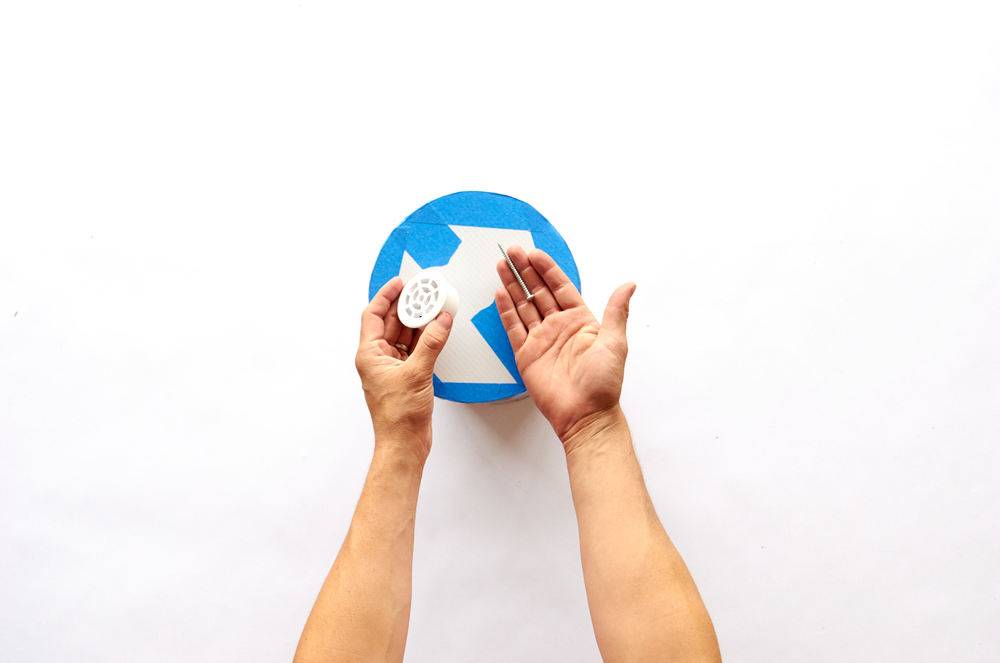
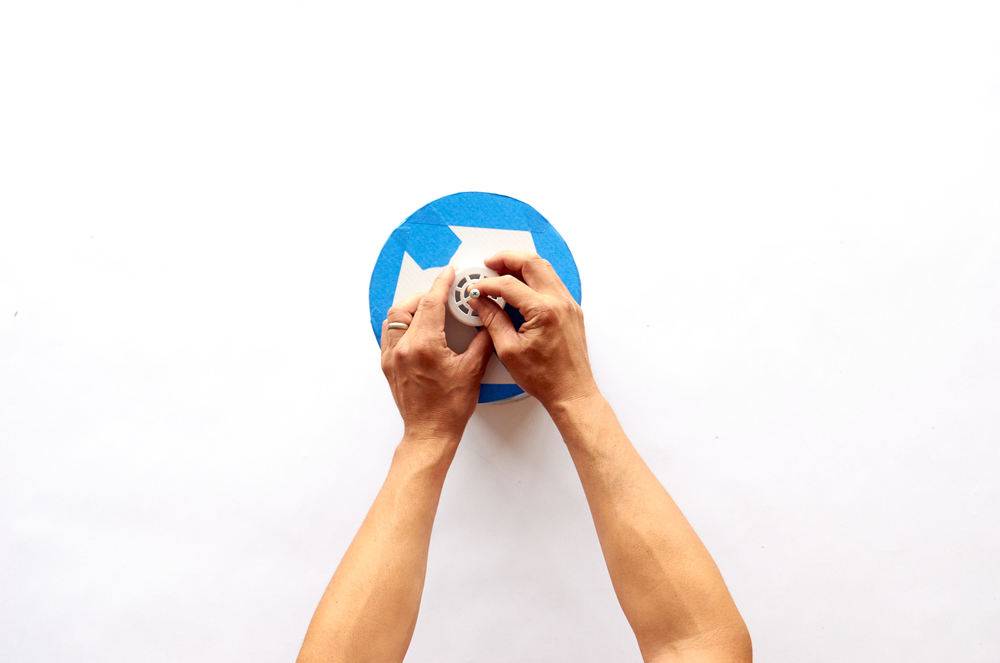
Now place the PVC drain cap in the center of the cylinder’s plastic ‘lid’, and screw it in place. Now your interior form is ready to go.
Step 6
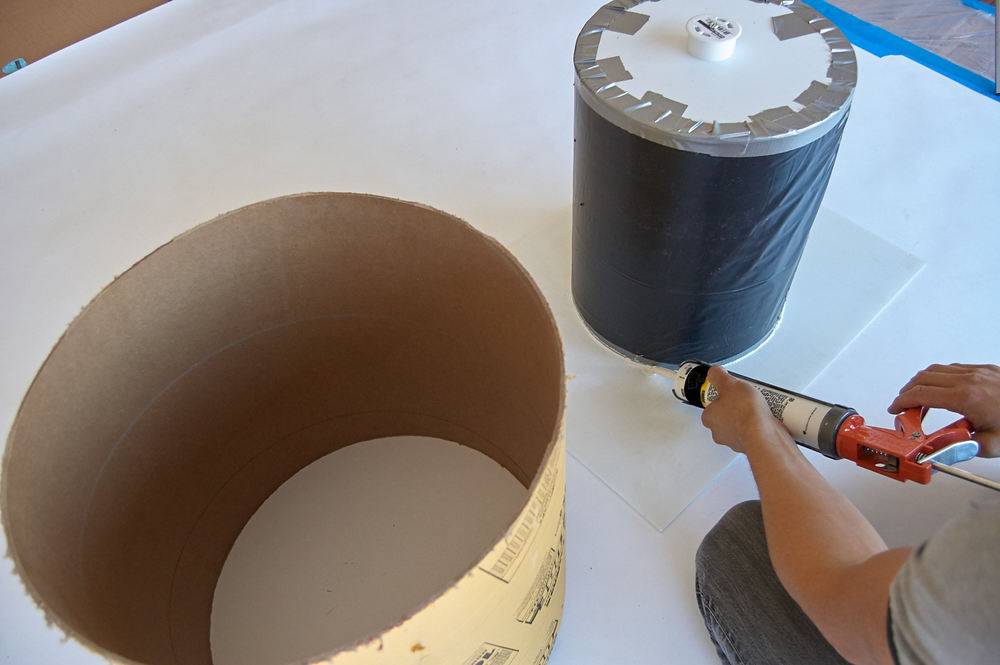
Place the smaller tube on top of a clean sheet of the corrugated plastic, with the ‘cap’ side up. You’ll adhere it to the plastic using the silicone caulk.
Don’t do this!
Believe it or not, we often make mistakes when doing DIY projects! Here’s something we tried that you shouldn’t: putting a wire mesh into the mold.
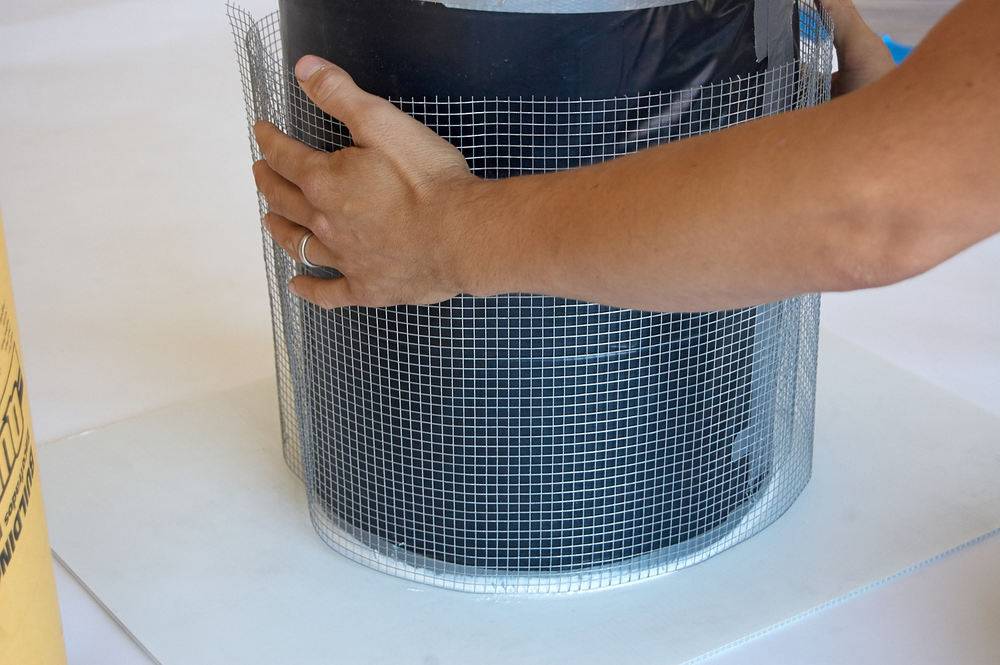
I thought this would add strength to the planter. It probably would’ve, but it also made it really hard to get the concrete distributed evenly within the mold, and, honestly, it’s a planter … it’s not like anyone’s going to be standing on it. So, if I were you, I’d leave the wire mesh out … the planters will be plenty strong without it.
Here’s how the whole mold comes together:

Step 7
After spraying the interior tube with cooking spray, set the outside tube down around it and adhere it to the base with silicone caulk. Once the caulk has dried, your form is ready for concrete.
Step 8
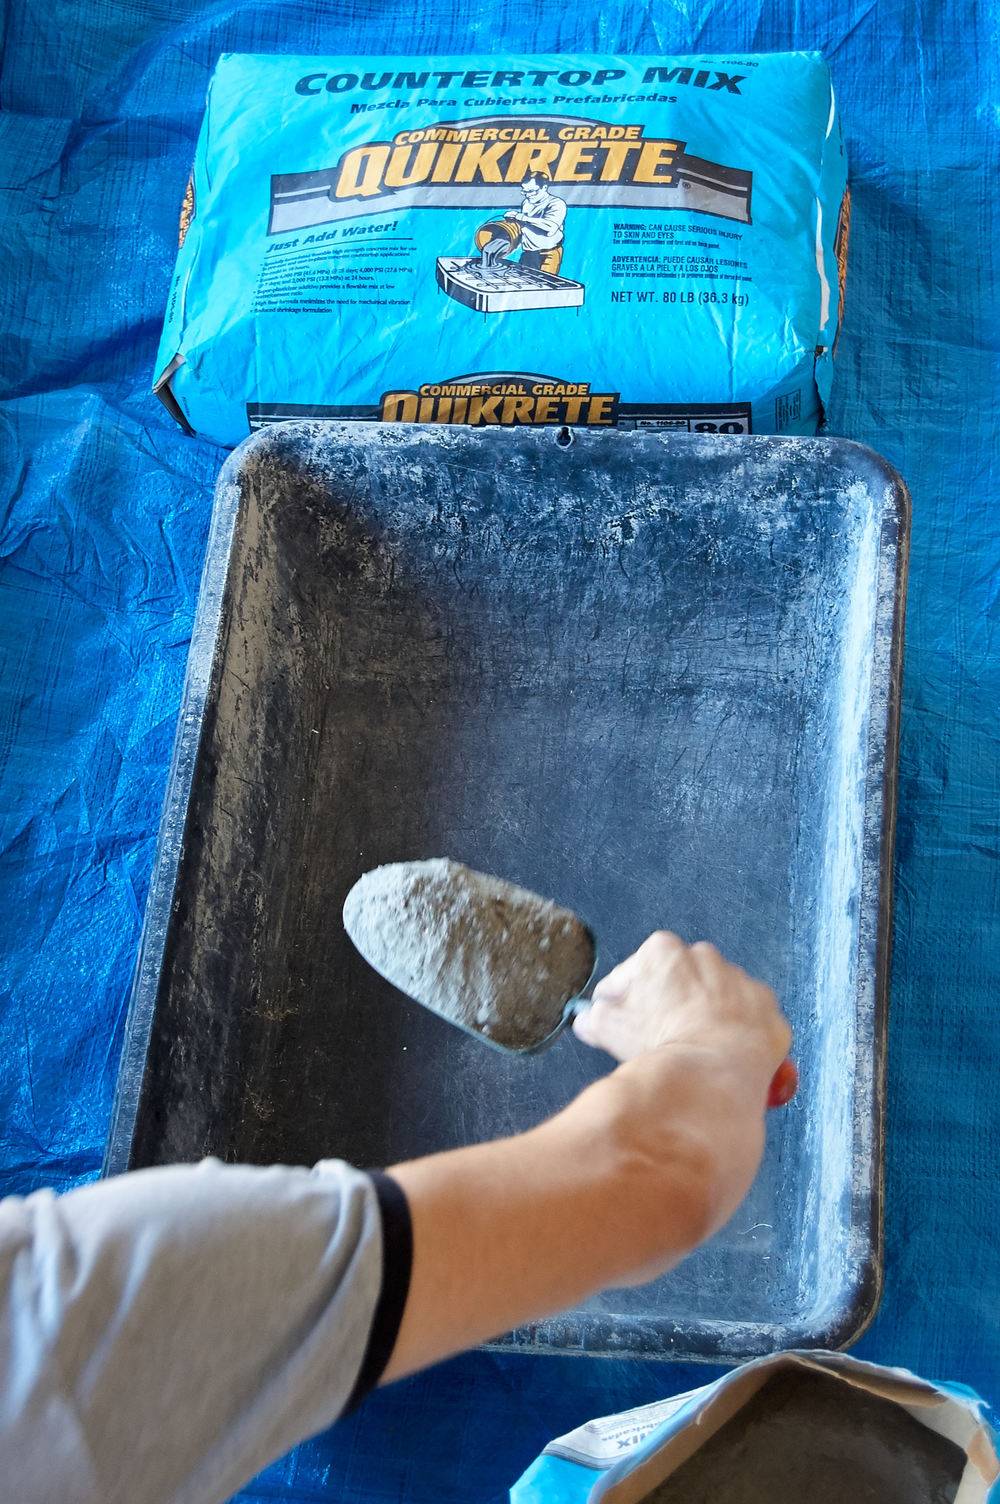
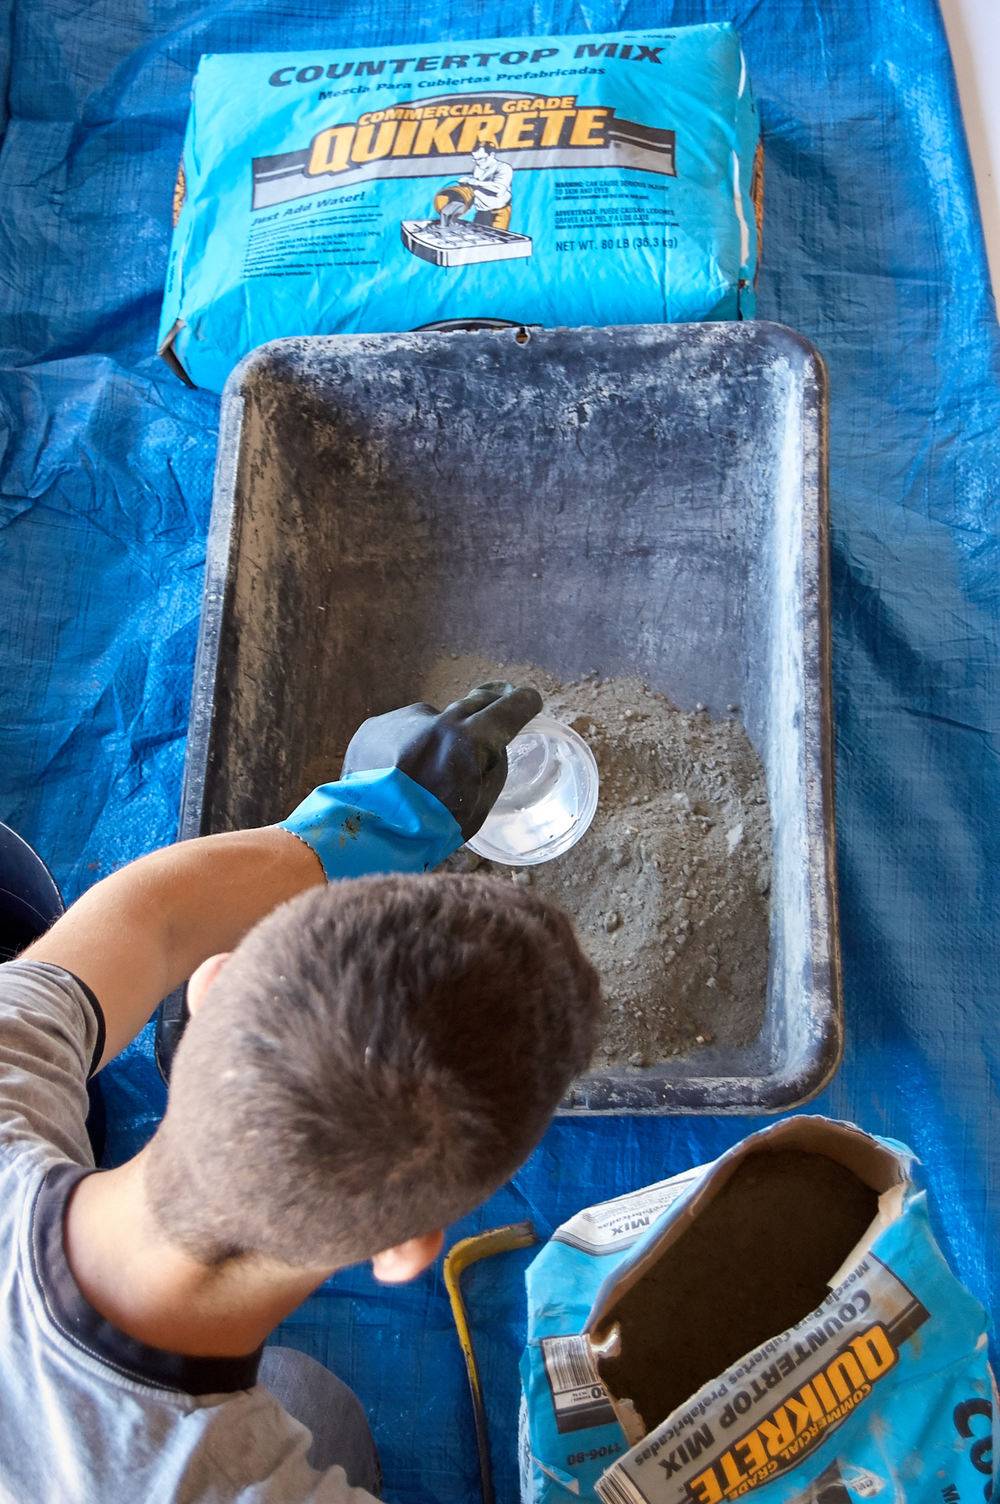
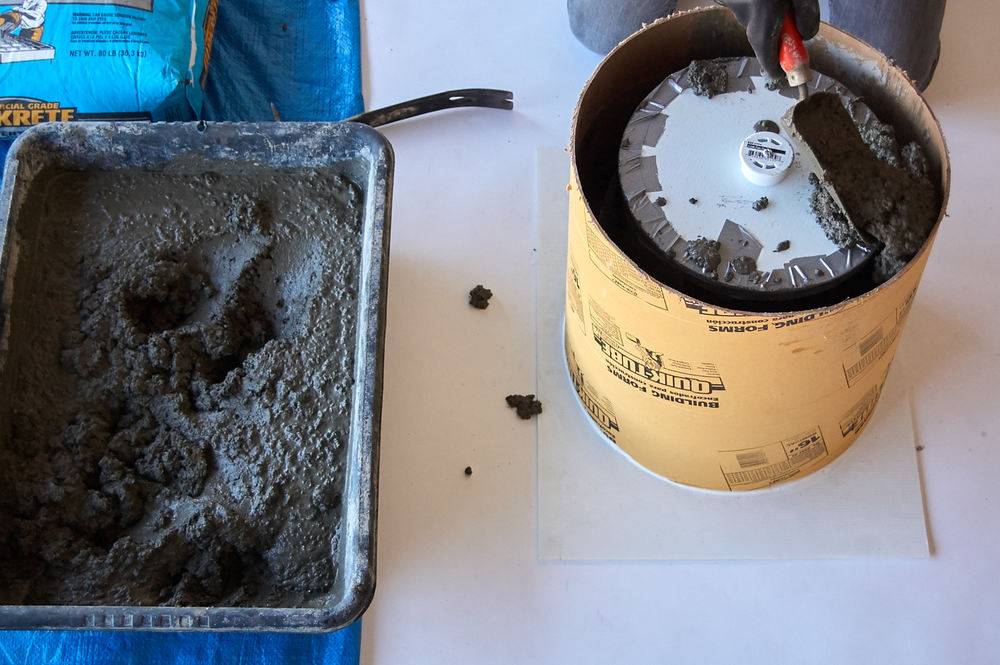
Open a bag of Quikrete and mix it according to the directions on the back! I can’t stress this enough; unless you’re an expert concrete-mixer-guy/gal, just swallow your pride and follow the directions. Things will turn out much better. For a project like this, where a nice, even, smooth finish is most important, you want the concrete to be pretty wet (wetter even than it looks in my photos below). A wetter mix will flow into the form better and give a smoother, more even surface finish.
Step 9
Fill the form all the way to the top, making sure to pack the material in well (you can use a dowel to make sure it all gets in there).
At this point, you’ll want to vibrate the form with a rubber mallet, an orbital sander, or even a reciprocating saw (with the blade taken out). Vibration helps the concrete compact, eliminating air bubbles in within the mix.
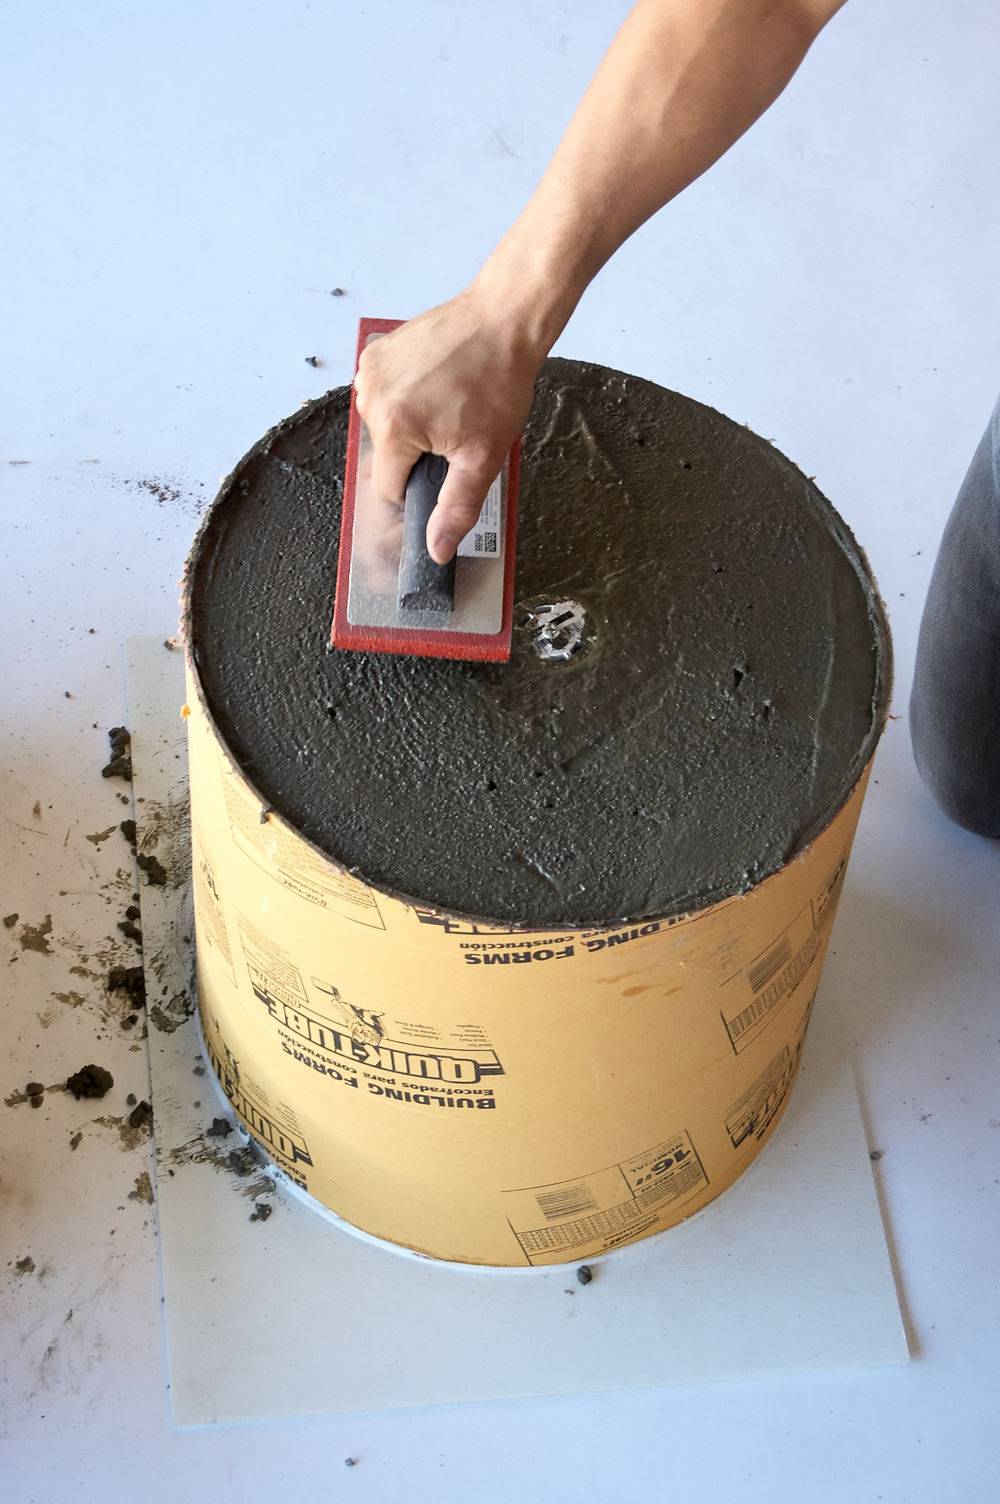
The ‘top’ here will actually be the base of the planter. Smooth it out with a trowel or rubber concrete float, making sure not to cover the drain (this face won’t be visible, so don’t worry about making it too perfect).
Step 10
After letting your planters dry for 48 hours, take them out of the molds! You can cut the cardboard away with a utility knife, and then the mold should just peel off pretty easily by hand.
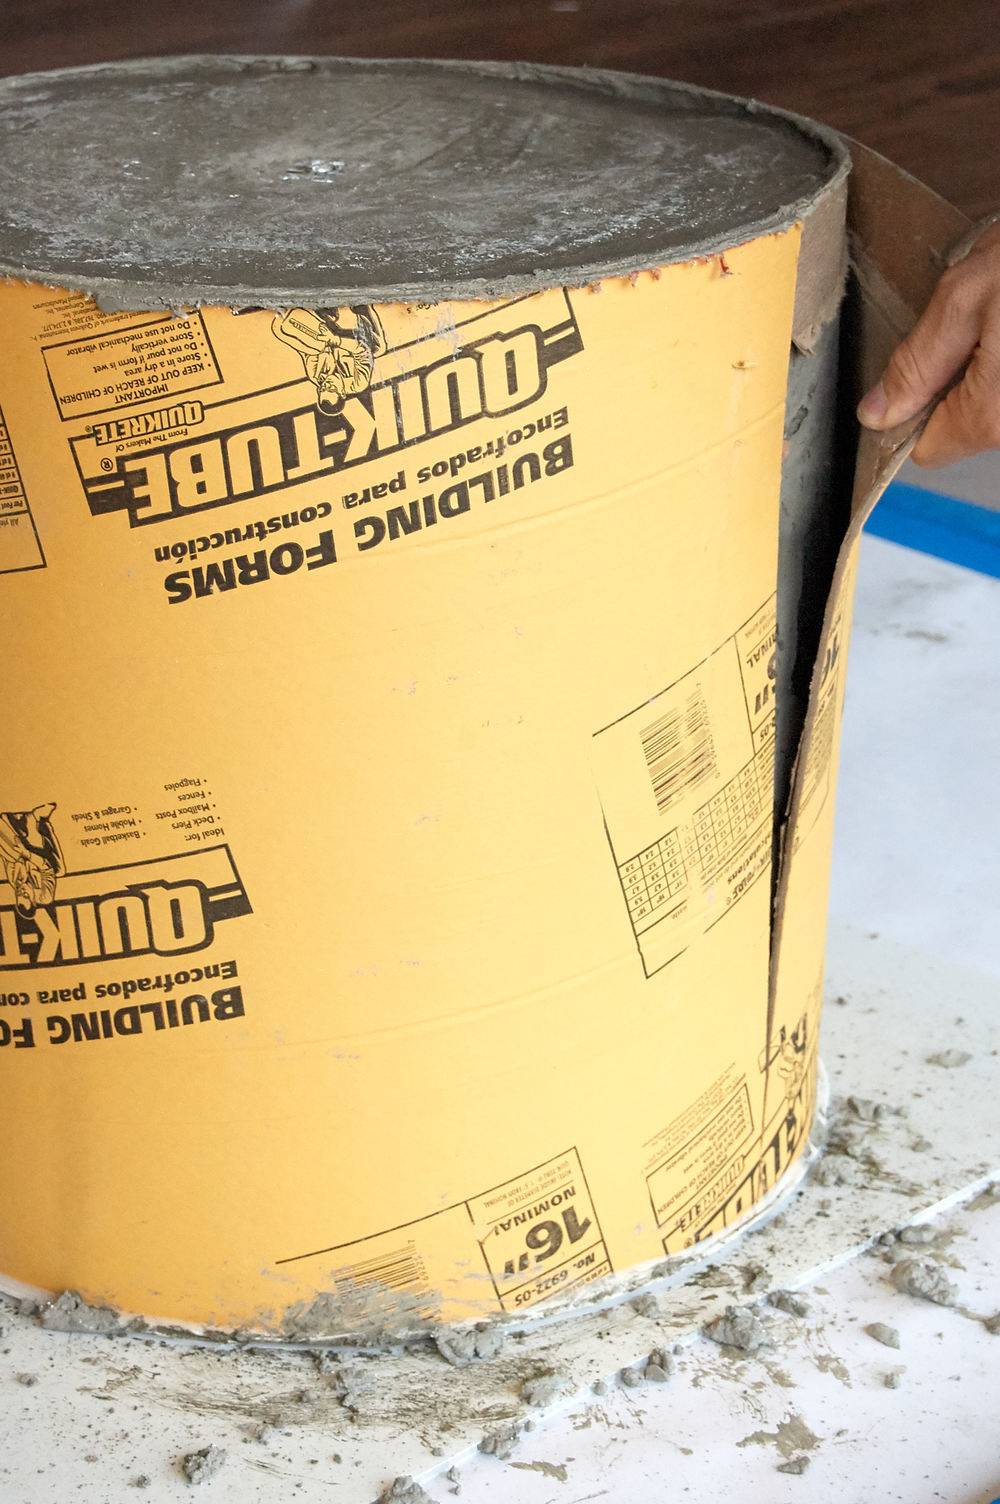
This phase also opens up the opportunity for creative embellishments.
If you choose to paint your planter, ensure it’s completely dry before applying any paint to avoid moisture trapping.
Whether you decide on a uniform color, intricate patterns, or simple designs, the paint can significantly transform and elevate the appearance of your round cement planter, making it a unique piece that reflects your personal style.
Personalizing Your DIY Round Cement Planter
Transforming your newly crafted round cement planter into a piece that mirrors your personal aesthetic is an exciting next step. Consider embedding a mosaic of broken tiles or colored glass shards into the exterior before the cement fully sets for a vibrant, eye-catching effect.
Alternatively, wrapping twine or rope around parts of the planter can add a rustic charm, contrasting beautifully with the smooth cement.
For those who appreciate minimalism, a simple but elegant approach could be to coat your planter in a waterproof sealant, leaving the cement’s natural texture to stand out. Imprinting leaves or other natural elements into the wet cement offers an organic, one-of-a-kind pattern that truly makes your planter unique.
Lastly, incorporating a variety of plants—from lush foliage to striking succulents—completes the customization, turning your round cement planter into a living work of art that complements your living space or garden.
That’s it! Your planter is done. If there are any rough or sharp edges, you can knock them down with a bit of hand sanding.
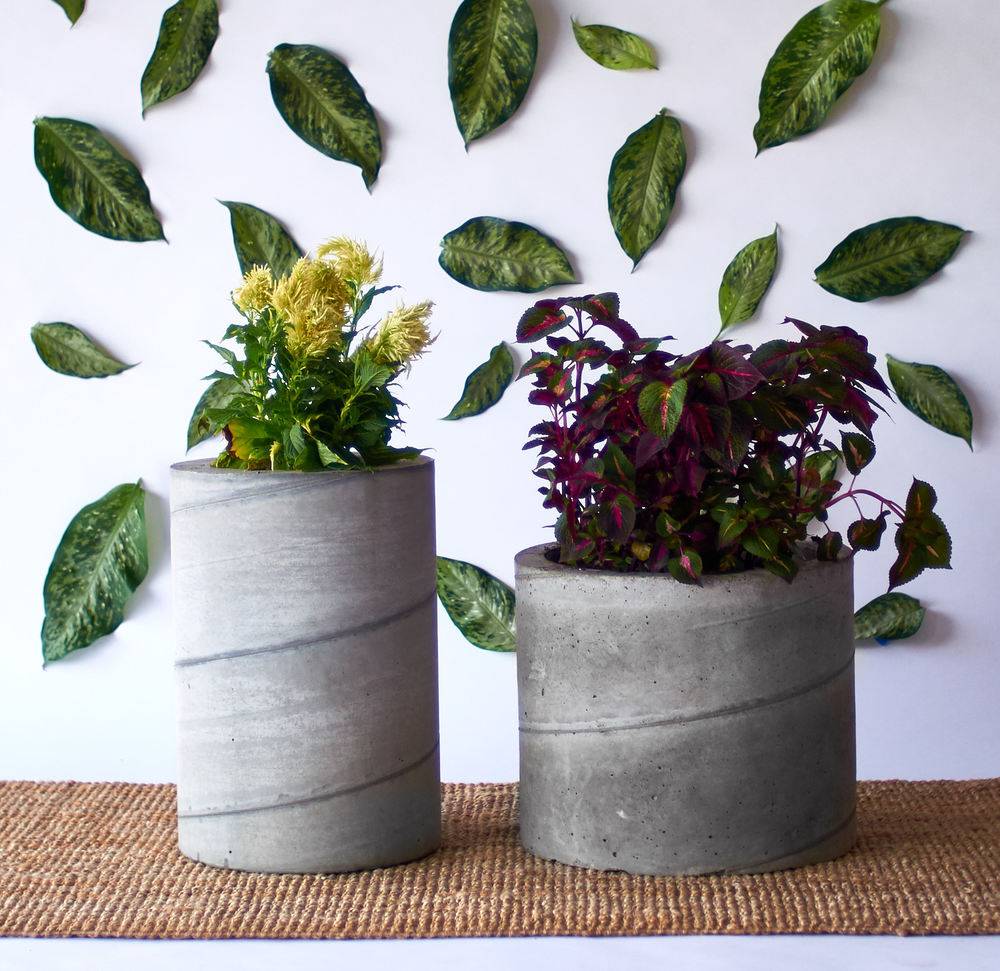
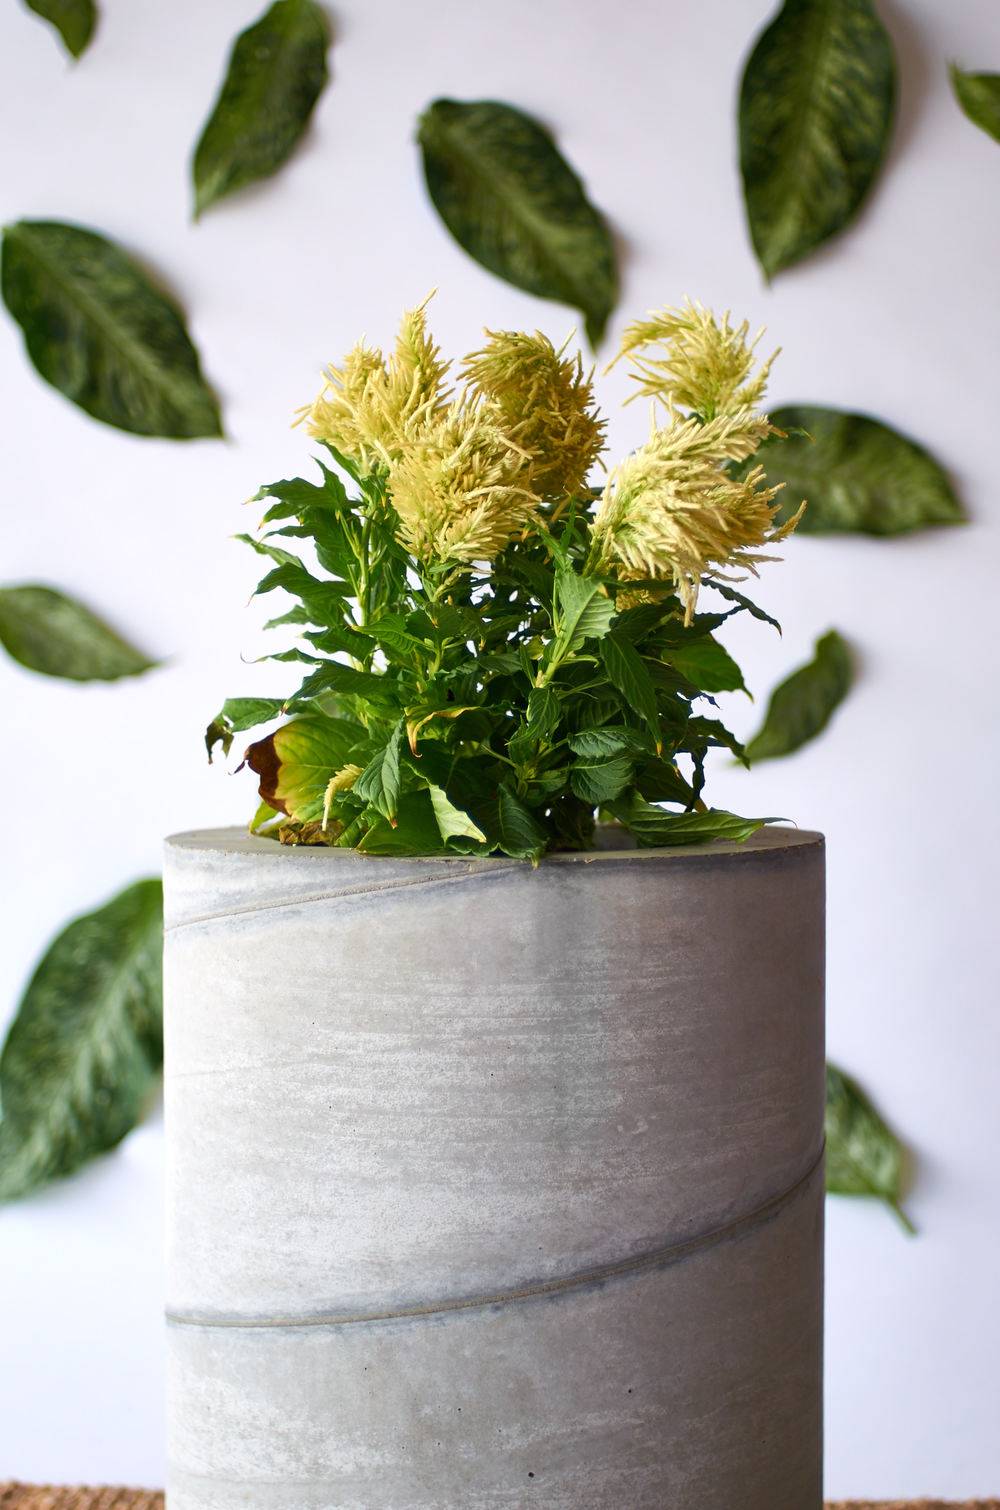
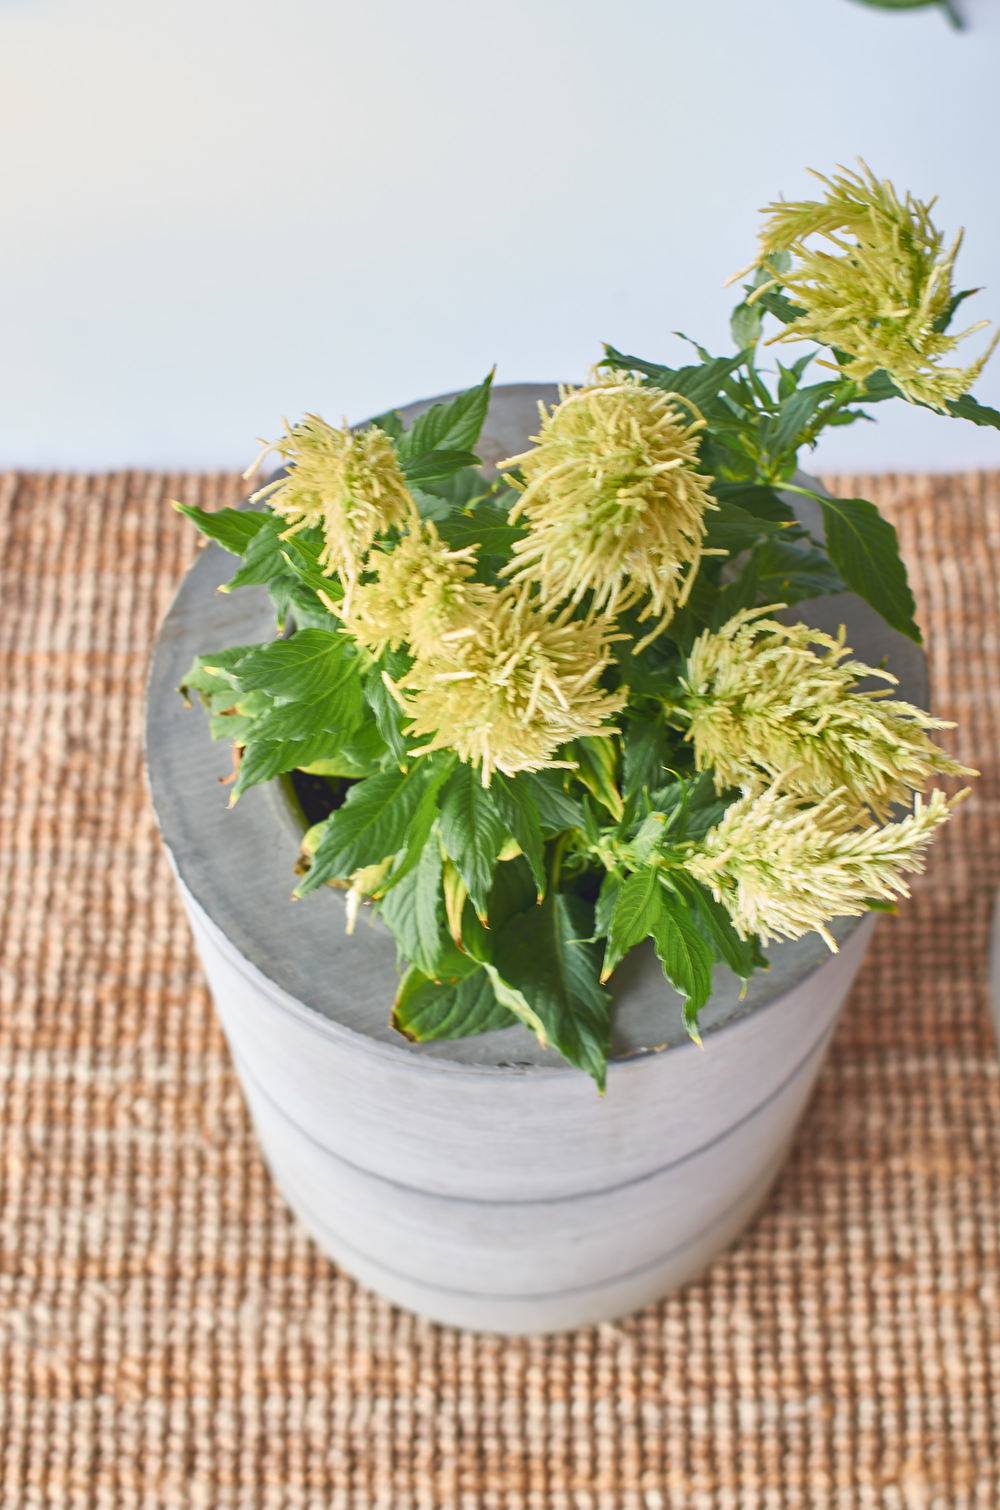
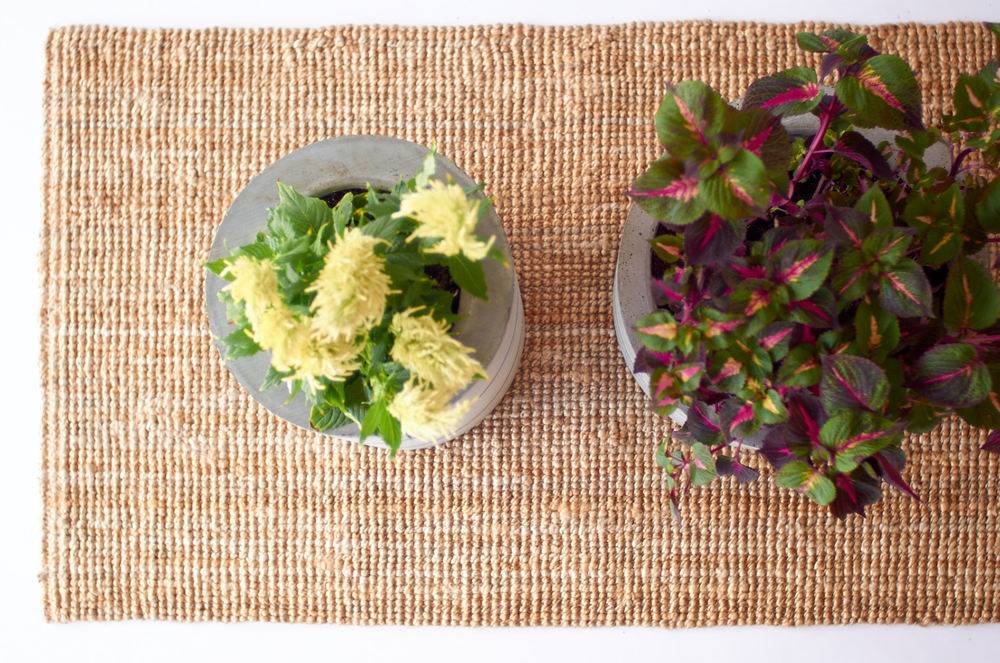
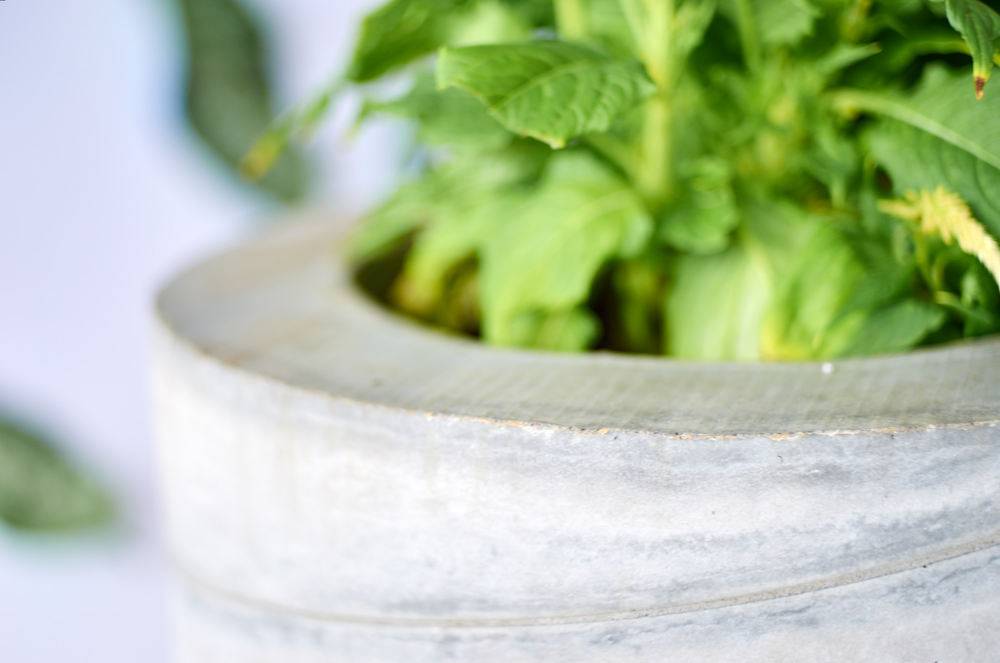
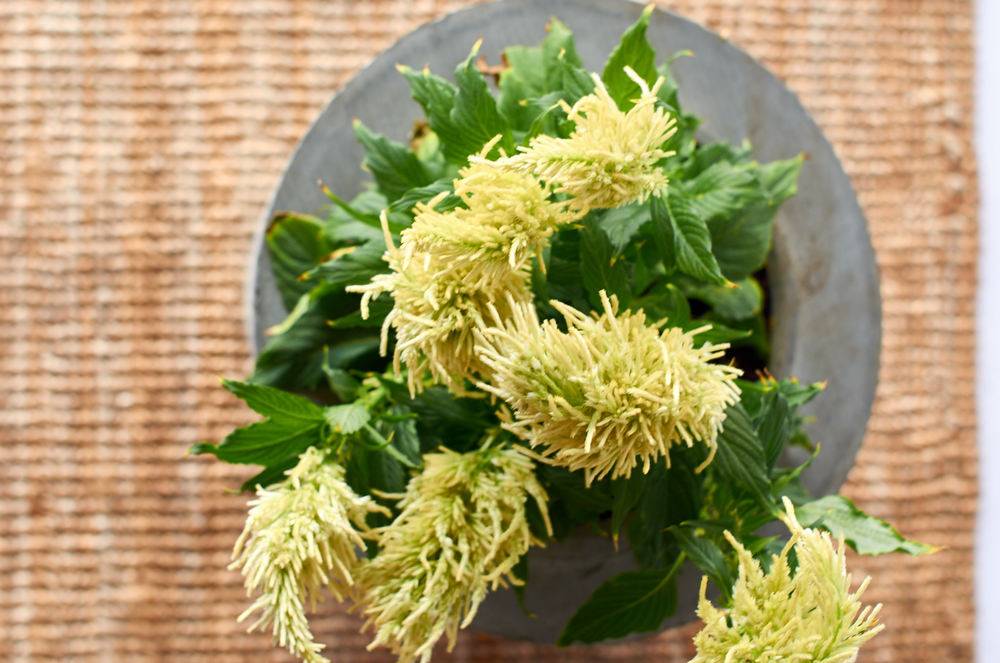
We love how our planters turned out. They’re crazy heavy, which makes them hard to move around, but perfect for an outdoor, public location. Once we get them into place, we’ll be ready to move on to our next office transformation DIY project: custom-printed window signage!
This post was sponsored by Quikrete, but all opinions are mine alone. Thanks for supporting the brands help that make Curbly possible.
Materials
- 3 – 80-lb. bags of Quikrete® Countertop Mix
- 3 Quikrete Quik-tube® building forms (16″, 12″ and 8″ diameters)
- 2 PVC drain caps (2″ diameter)
- 3 sheets of corrugated plastic, smooth-top
- Non-stick cooking spray
- Duct tape
- Silicone caulk
- 1 length 2″ PVC (we actually didn’t end up needing this)
- 1 roll of wire mesh
- Plastic garbage bag or sheeting
Tools
- A large concrete mixing tray
- A shovel (for mixing)
- Caulking gun
- A utility knife (or circular saw, optional)
- A tape measure
Instructions
- Decide how tall you want your planter to be and mark that on the tube. You can use a sharp utility knife or, to go faster, use a circular saw to carefully make the cut.
- To make the inside part of the form, mark the smaller tube at a length 1.75″.
- Place the smaller tube on your plastic sheet and trace it. Then cut out that circle with a utility knife. This will be the base of the smaller tube.
- Tape the plastic circle to the bottom of the smaller tube, making sure to tape it neatly all the way around so that it won’t let concrete through. Then wrap the whole cylinder in plastic, taping it on. This isn’t strictly necessary, but it’ll make the form easier to pull away from the concrete later.
- Place the PVC drain cap in the center of the cylinder’s plastic ‘lid’, and screw it in place. Now your interior form is ready to go.
- Place the smaller tube on top of a clean sheet of corrugated plastic, with the ‘cap’ side up. Adhere it to the plastic using the silicone caulk.
- After spraying the interior tube with cooking spray, set the outside tube down around it and adhere it to the base with silicone caulk. Once the caulk has dried, your form is ready for concrete.
- Open a bag of Quikrete and mix it according to the directions on the back.
- Fill the form all the way to the top, making sure to pack the material in well (you can use a dowel to make sure it all gets in there).
- Let your planters dry for 48 hours.
- After they have dried, take them out of the molds. You can cut the cardboard away with a utility knife, and then the mold should just peel off pretty easily by hand.


