Restaining and sealing outdoor wood isn’t just about aesthetics (though a freshly stained deck does look amazing!) – it’s essential maintenance that extends the life of your wooden surfaces and protects your investment.
The arrival of warmer weather always has me itching to refresh my outdoor spaces. If you’ve noticed your deck, porch, or wooden furniture looking a bit weathered after enduring months of harsh conditions, you’re not alone!
As someone who’s learned through plenty of trial and error, I’m excited to walk you through this process step-by-step.
Whether you’re a seasoned DIYer or tackling this project for the first time, my goal is to make this task approachable and absolutely doable.
Let’s transform those tired wooden surfaces into refreshed outdoor features you’ll be proud to show off!
Why Restaining and Sealing Matters
Before diving into the how-to, let’s talk about why this maintenance is so important. Outdoor wood faces some tough challenges:
- Constant exposure to sun’s UV rays causes fading and drying
- Moisture from rain and humidity leads to warping and rot
- Temperature fluctuations create expanding and contracting that weakens wood over time
- Dirt, mold, and mildew can permanently stain unprotected surfaces
Properly staining and sealing creates a protective barrier that guards against these elements while enhancing the natural beauty of the wood.
Plus, it’s significantly more affordable than replacing your deck or furniture down the road!
Gathering Your Supplies
Here’s what you’ll need to get started:
- Broom and brush for cleaning
- Garden hose or pressure washer
- Wood cleaner (look for one specifically for outdoor wood)
- Sandpaper in medium-grit (80-120)
- Wood stain in your chosen color (oil-based or water-based)
- Waterproof sealant compatible with your stain
- Paint brushes, rollers, or paint sprayer
- Clean rags
- Plastic tarps to protect surrounding areas
- Gloves and eye protection
I recommend checking the weather forecast before starting this project.
You’ll want at least 2-3 days of dry weather with temperatures between 50-90°F for optimal results.

Step 1: Clear and Clean the Surface
First things first—we need to start with a clean slate. Here’s how I approach this important prep work:
- Remove all furniture, planters, and other items from the area.
- Sweep away loose dirt, leaves, and debris.
- Cover nearby plants and surfaces with plastic tarps to protect them from cleaning solutions.
- Apply wood cleaner according to the product instructions. I find that a deck brush with stiff bristles works wonders for scrubbing away built-up grime.
- For stubborn areas with mold or mildew, you might need a specialty cleaner with a bit more power.
If you’re using a pressure washer, remember this is one time when more power isn’t necessarily better!
Set it to a low pressure (under 1500 PSI) to avoid damaging the wood fibers.
Keep the nozzle moving and maintain a consistent distance from the surface.
Give the wood plenty of time to dry completely—at least 24-48 hours depending on humidity levels.
This waiting period is crucial—applying stain to damp wood is a recipe for peeling and poor adhesion later.
Step 2: Inspect and Repair
Once your surface is clean and dry, it’s time for a thorough inspection:
- Walk the entire area and look for damaged boards, loose nails, or protruding screws.
- Replace any rotted or severely damaged sections.
- Hammer down any popped nails or replace them with deck screws for a more secure hold.
- Sand rough areas, splinters, or spots where the previous finish is flaking. You don’t need to sand the entire surface—just focus on problem areas.
I like to get down at eye level with the surface when inspecting—it’s amazing what you can spot from that angle that you might miss when standing!

Step 3: Apply the Wood Stain
Now for the transformative part—applying fresh stain! Here’s my approach:
- Stir (don’t shake) your stain thoroughly before and occasionally during application to ensure consistent color.
- Test the stain on an inconspicuous area to confirm you’re happy with the color.
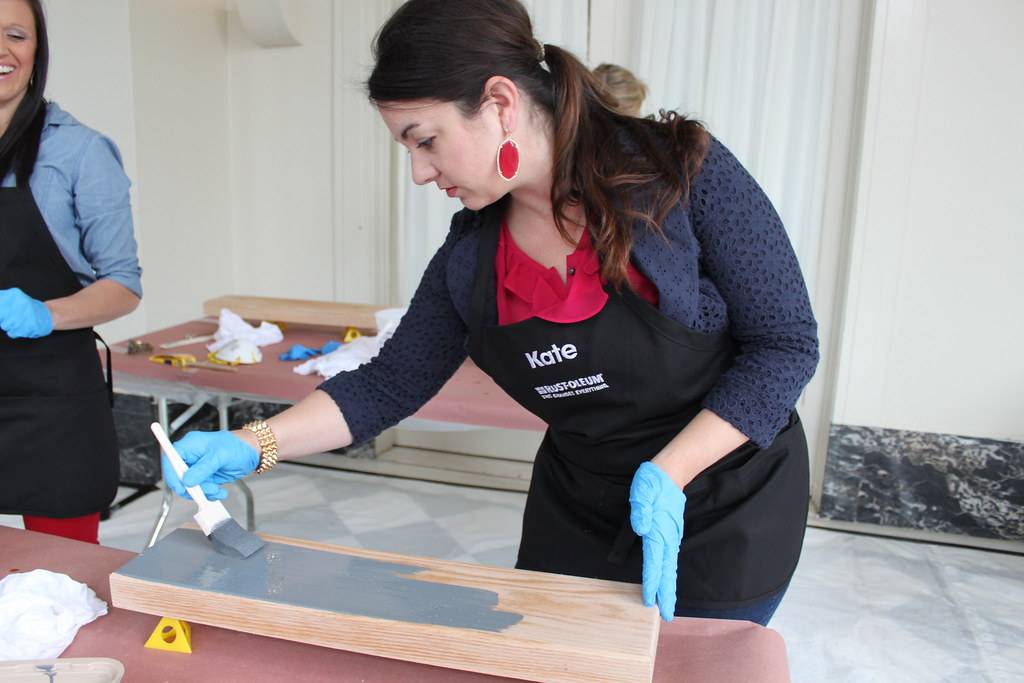
- Work in manageable sections, applying stain with your chosen tool—I prefer a brush for better control, but rollers or sprayers work well for larger areas.
- Always follow the wood grain for the most natural-looking results.
- Allow the stain to penetrate for the time recommended on the product (usually 5-15 minutes).
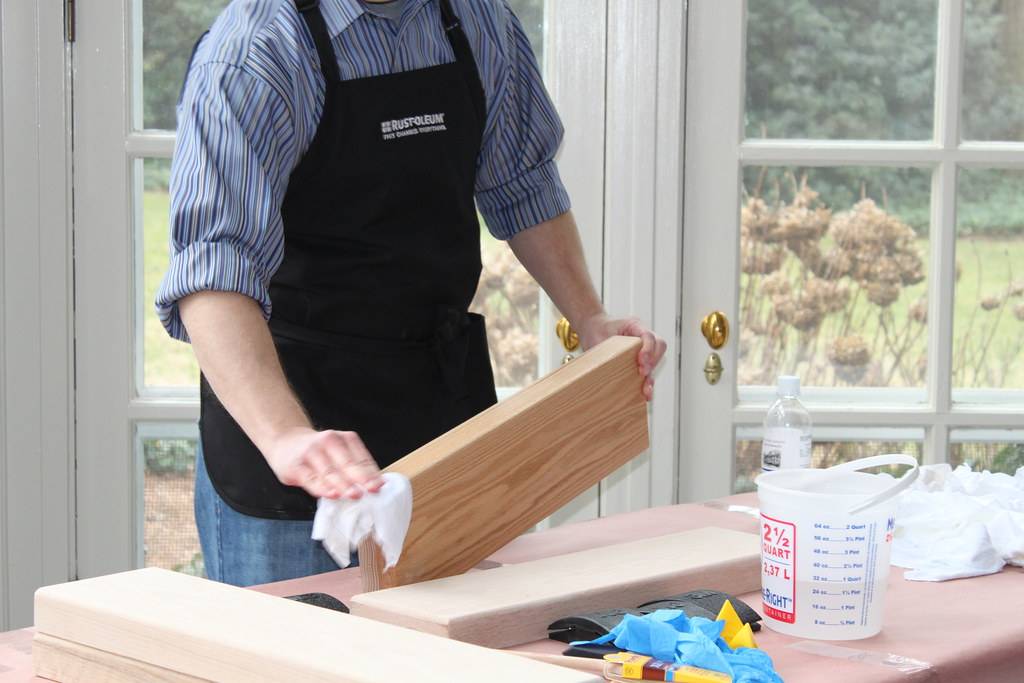
- Wipe away excess stain with clean cloths. Don’t skip this step! Excess stain that puddles or sits too long creates a sticky, uneven finish that’s difficult to fix.
For even coverage, maintain a “wet edge” by slightly overlapping with your previous section. This prevents lap marks and ensures a uniform appearance.
Remember that wood acts like a sponge—the first coat may soak in quickly, especially if your wood is older or hasn’t been treated in a while.
You might need a second coat for deeper color, but always allow the first coat to dry completely according to the manufacturer’s instructions.
Step 4: Seal for Protection
The final and crucial step is applying a waterproof sealant. This creates the protective barrier that will shield your wood from moisture damage:
- Choose a sealant compatible with your stain. Many products now combine stain and sealant, but if you’re using separate products, verify compatibility.
- Apply sealant evenly with a brush, roller, or sprayer, following the grain of the wood.
- Pay extra attention to end grains, joints, and high-traffic areas, which typically need more protection.
- Apply at least two coats for maximum durability, allowing proper drying time between coats.
When applying sealant, less is often more. Thin, even coats provide better protection than one thick layer that may not cure properly.
And don’t forget those vertical surfaces!
Railings and post are often the first to show wear because water runs down and pools at the base.
Maintenance Tips to Extend the Life of Your Work
Now that you’ve invested the time and effort into restaining and sealing your outdoor wood, here’s how to make those results last:
- Clean your wooden surfaces regularly with a mild soap and water solution
- Remove leaves and debris that can trap moisture against the wood
- Touch up high-traffic areas as needed rather than waiting for a complete redo
- Plan to reapply sealant every 1-2 years, even if you don’t need to restain
- Consider applying a water repellent annually in regions with heavy rainfall
In my experience, doing a quick yearly assessment each spring helps catch small issues before they become big problems.
When to Call in the Professionals
While restaining and sealing is definitely a DIY-friendly project, there are times when calling in the pros makes sense:
- If you have an extremely large or multi-level deck
- When dealing with exotic hardwoods that require specialized products
- If your wood has significant damage needing structural repairs
- When physical limitations make the project difficult to complete safely
Don’t hesitate to get quotes from professionals if you’re unsure—sometimes the time and stress saved are worth the investment!
The Reward of Your Efforts
There’s something incredibly satisfying about stepping back and admiring a freshly restored wooden deck or porch.
Beyond the practical benefits of extending the life of your outdoor spaces, the visual transformation is immediate and impactful.
I love how a well-maintained wooden surface adds warmth and character to outdoor living areas that simply can’t be matched by synthetic materials.
Have you tackled this project before? I’d love to hear your experiences in the comments below!


