It’s no secret that one of the best stargazing spots in Southern California is Joshua Tree National Park. The park is an International Dark Sky Place — meaning that aside from some light pollution coming from Palm Springs and the Morongo Basin, it has some of the darkest skies in the region — and it’s just a two- or three- hour drive from Los Angeles.
But the best way to see the stars there isn’t with your eyes — it’s with a camera.
“As it gets dark, you’ll see there’s a kind of light, mottled appearance where the Milky Way band is,” said Jon Norris, who has taught photography workshops in the park for four years. “You will be able to perceive the Milky Way, but the image your digital camera will take will be much, much clearer than what your eyes can perceive.”
Norris, a former aerospace engineer turned landscape photographer, teaches some of his dark-sky photography workshops via the Desert Institute at Joshua Tree National Park, a nonprofit cooperating association that provides educational programming for the park.
“We’re here to provide specialized or in-depth opportunities for people to explore the park and understand this resource from a more specialized perspective,” said Sarah Witt, Desert Institute program director of Desert Institute.
Joshua Trees along the Cap Rock Trail in Joshua Tree National Park.
(Julia Carmel / Los Angeles Times)
The educational programs can range from school trips to field classes on local insects, flora and fauna. And though the institute has offered classes and workshops for 24 years, Witt said it’s now trying to provide more short-form, entry-level activities for people to engage with.
“When we come to a desert, we want to do everything,” Witt said. “You know, we want to get our chakras cleansed, and we want to go to Pappy & Harriet’s and wear cowboy boots. We don’t want to go bird-watching for two days, necessarily, right? But we do want to educate people on birds!”
Relative to some of the multi-day programs that the Desert Institute offers, these dark-sky photography workshops are pretty low commitment. During my six-hour class, I took hundreds of photos in the same amount of time that my partner had a rack of ribs and watched a Grateful Shred show at Pappy & Harriet’s in nearby Pioneertown.
Astrophotography workshops are usually scheduled around the new moon — when the sky is darkest — during the Milky Way season, which is February to October in the Northern Hemisphere. So just two days after September’s new moon, I found myself fumbling with a camera in a pitch-black field of Yucca brevifolia, trying to capture a few decent photos for this story.
Want to take your own photos of the night sky? Here are some night photography tips and tricks from Norris — and if you’d like to try the workshop yourself, his last sessions of the year are happening on Friday and Saturday.
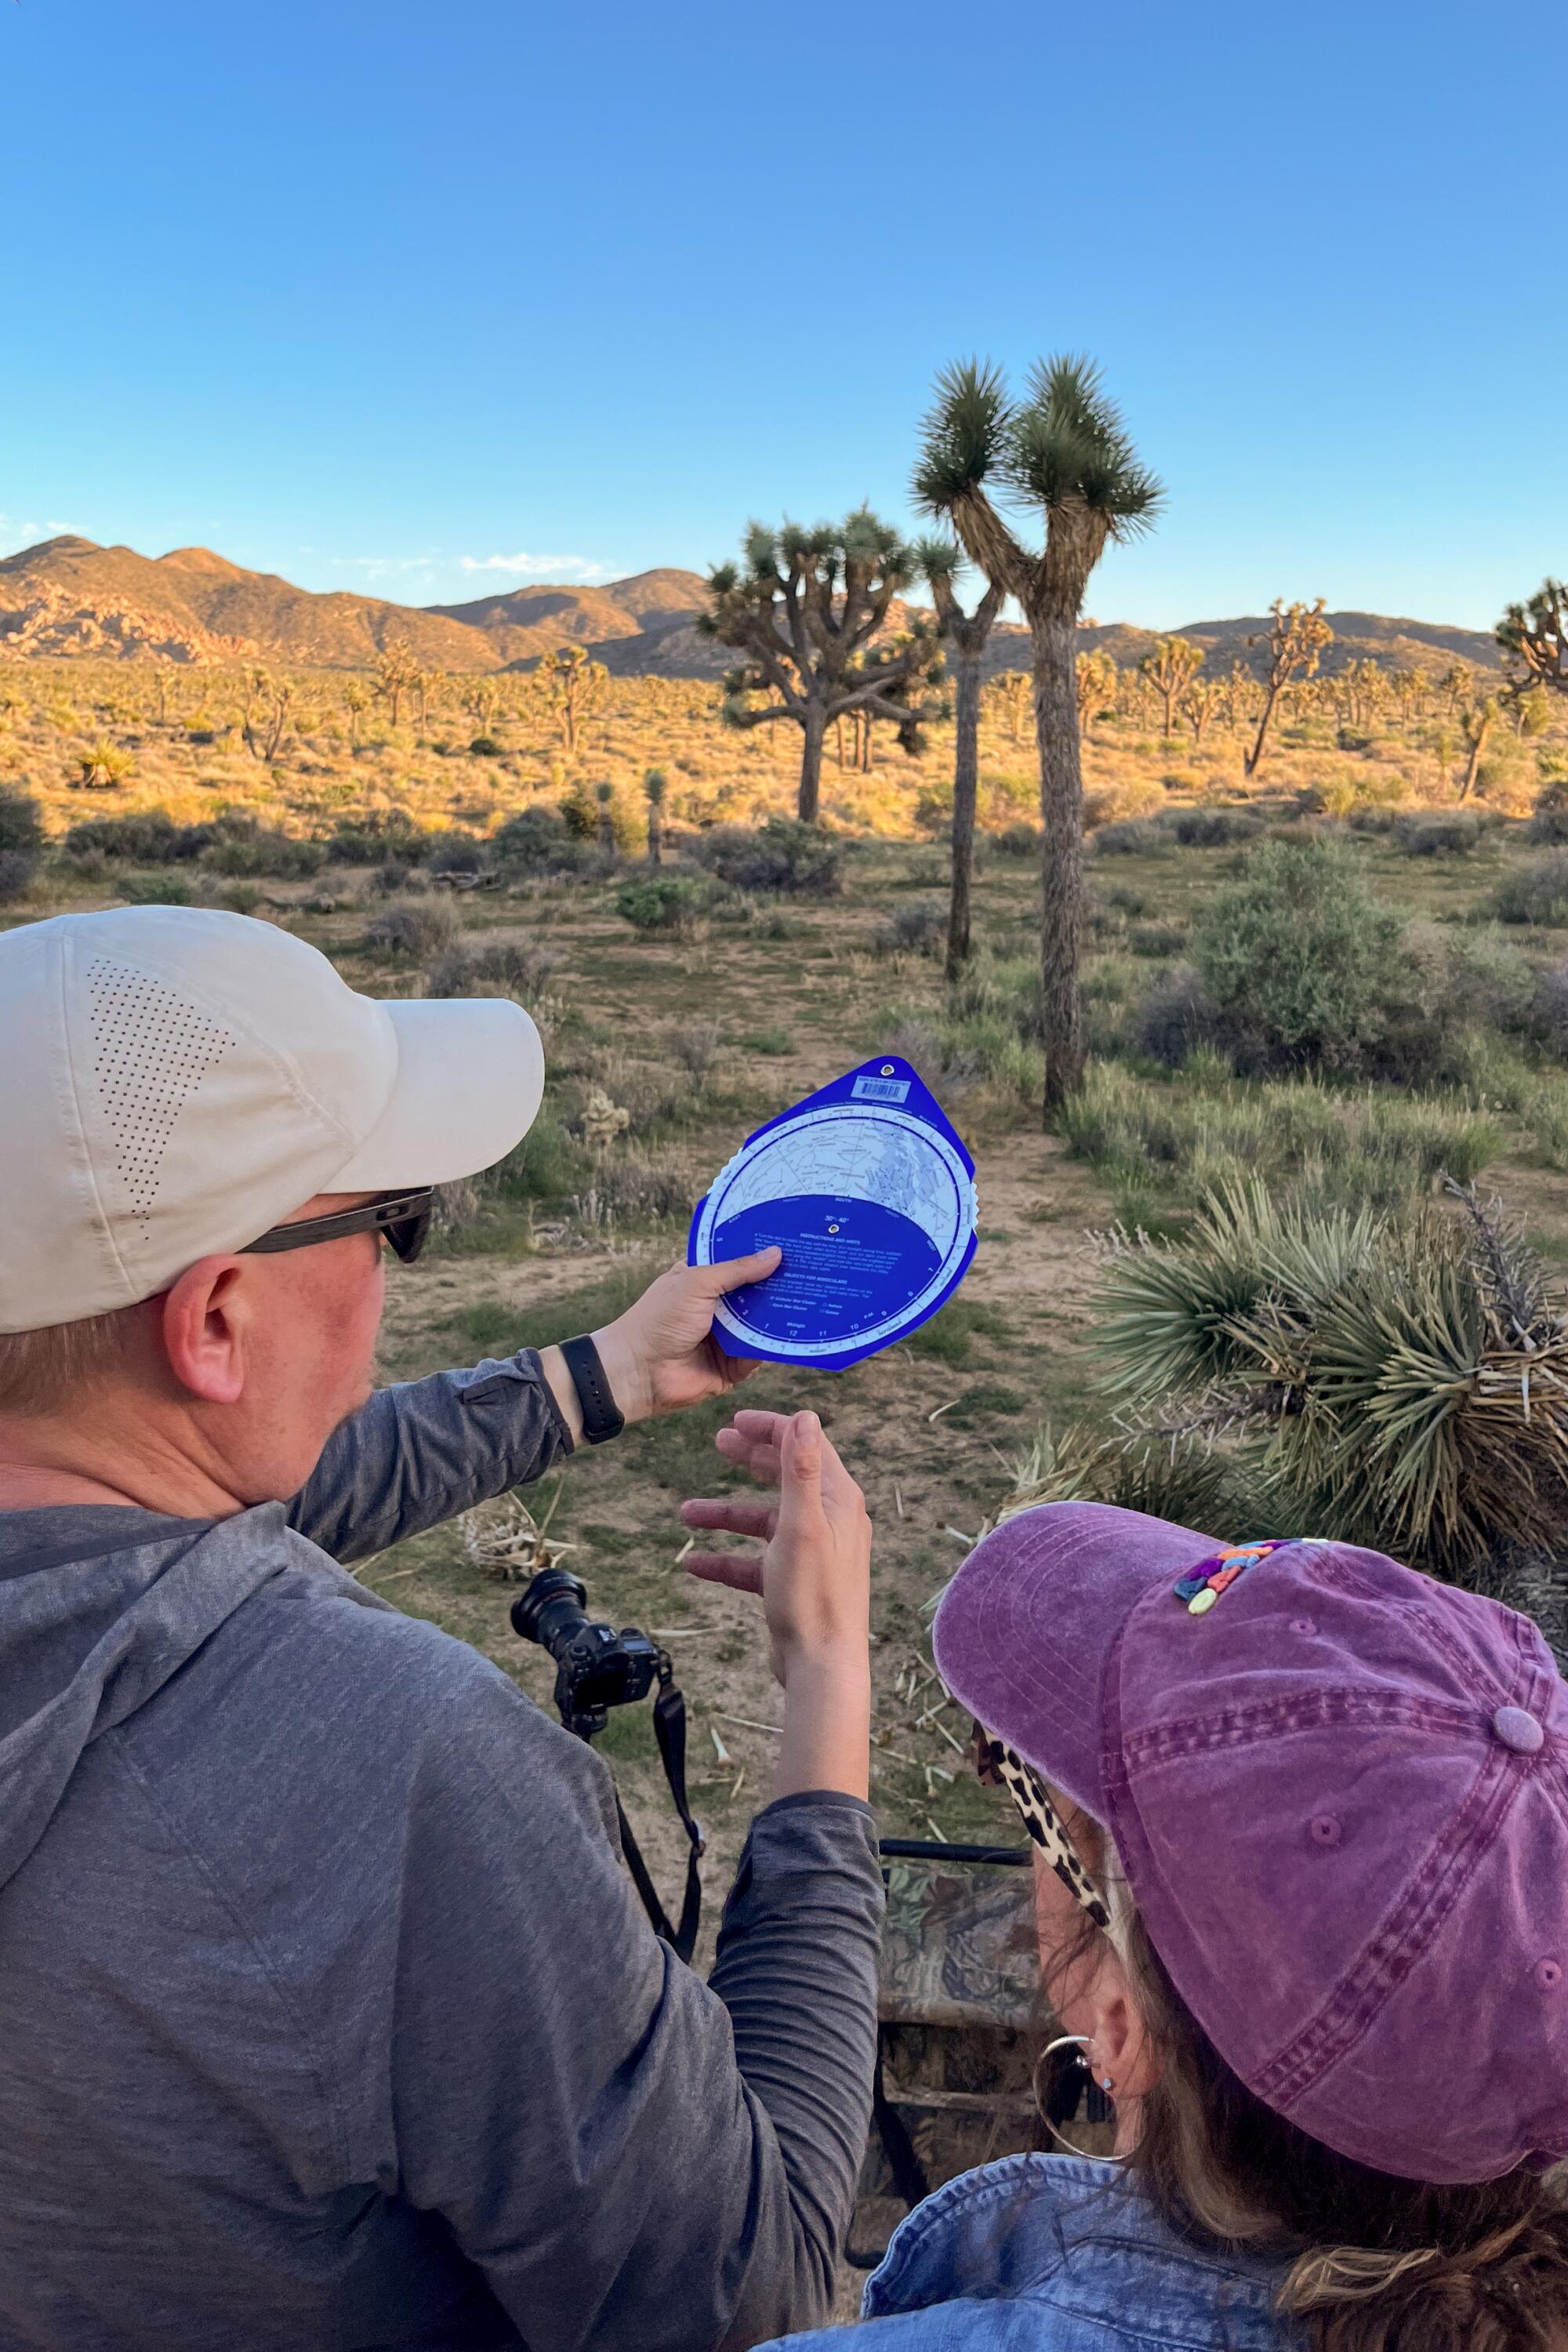
Jon Norris demonstrating how to use a rotating star finder to locate the Milky Way (though he prefers to use an app on his phone).
(Julia Carmel / Los Angeles Times)
Get set up while there’s still light out
By 5:30 p.m., our class of five was gathered in the Cap Rock parking lot — one of the lots that stays open at night for stargazers. After Norris and a park volunteer named Chris checked our names and waivers, we got straight to work on our cameras.
Participants must bring a DSLR or a mirrorless camera that they’re familiar with, but Norris helped each of us set our focus, aperture, exposure and ISO manually to prepare for shooting in the dark.
“What we’re trying to do is capture an image of a very dark scene, and the most important thing in that scene is the stars,” Norris said. “We want the stars to be absolutely pin sharp, so one of the things we need to do before it gets dark is we’re going to set up our focus on something at infinity.”
Once we all managed to focus on a mountain in the distance and finished tinkering with our various camera settings and lenses, Norris taped our focal rings to keep them in place throughout the night, since it’s “impossible” to focus properly in the dark. He helped us set delays (so pressing the shutter button wouldn’t shake the cameras at the beginning of our shots), and instructed us to shoot in RAW — rather than JPEG — since RAW images capture the highest level of detail.
After a reminder to bring water and a rundown of Cap Rock Trail, which is a 0.4-mile loop with a bathroom near the parking lot, Norris led us onto the trail to start planning our shots.
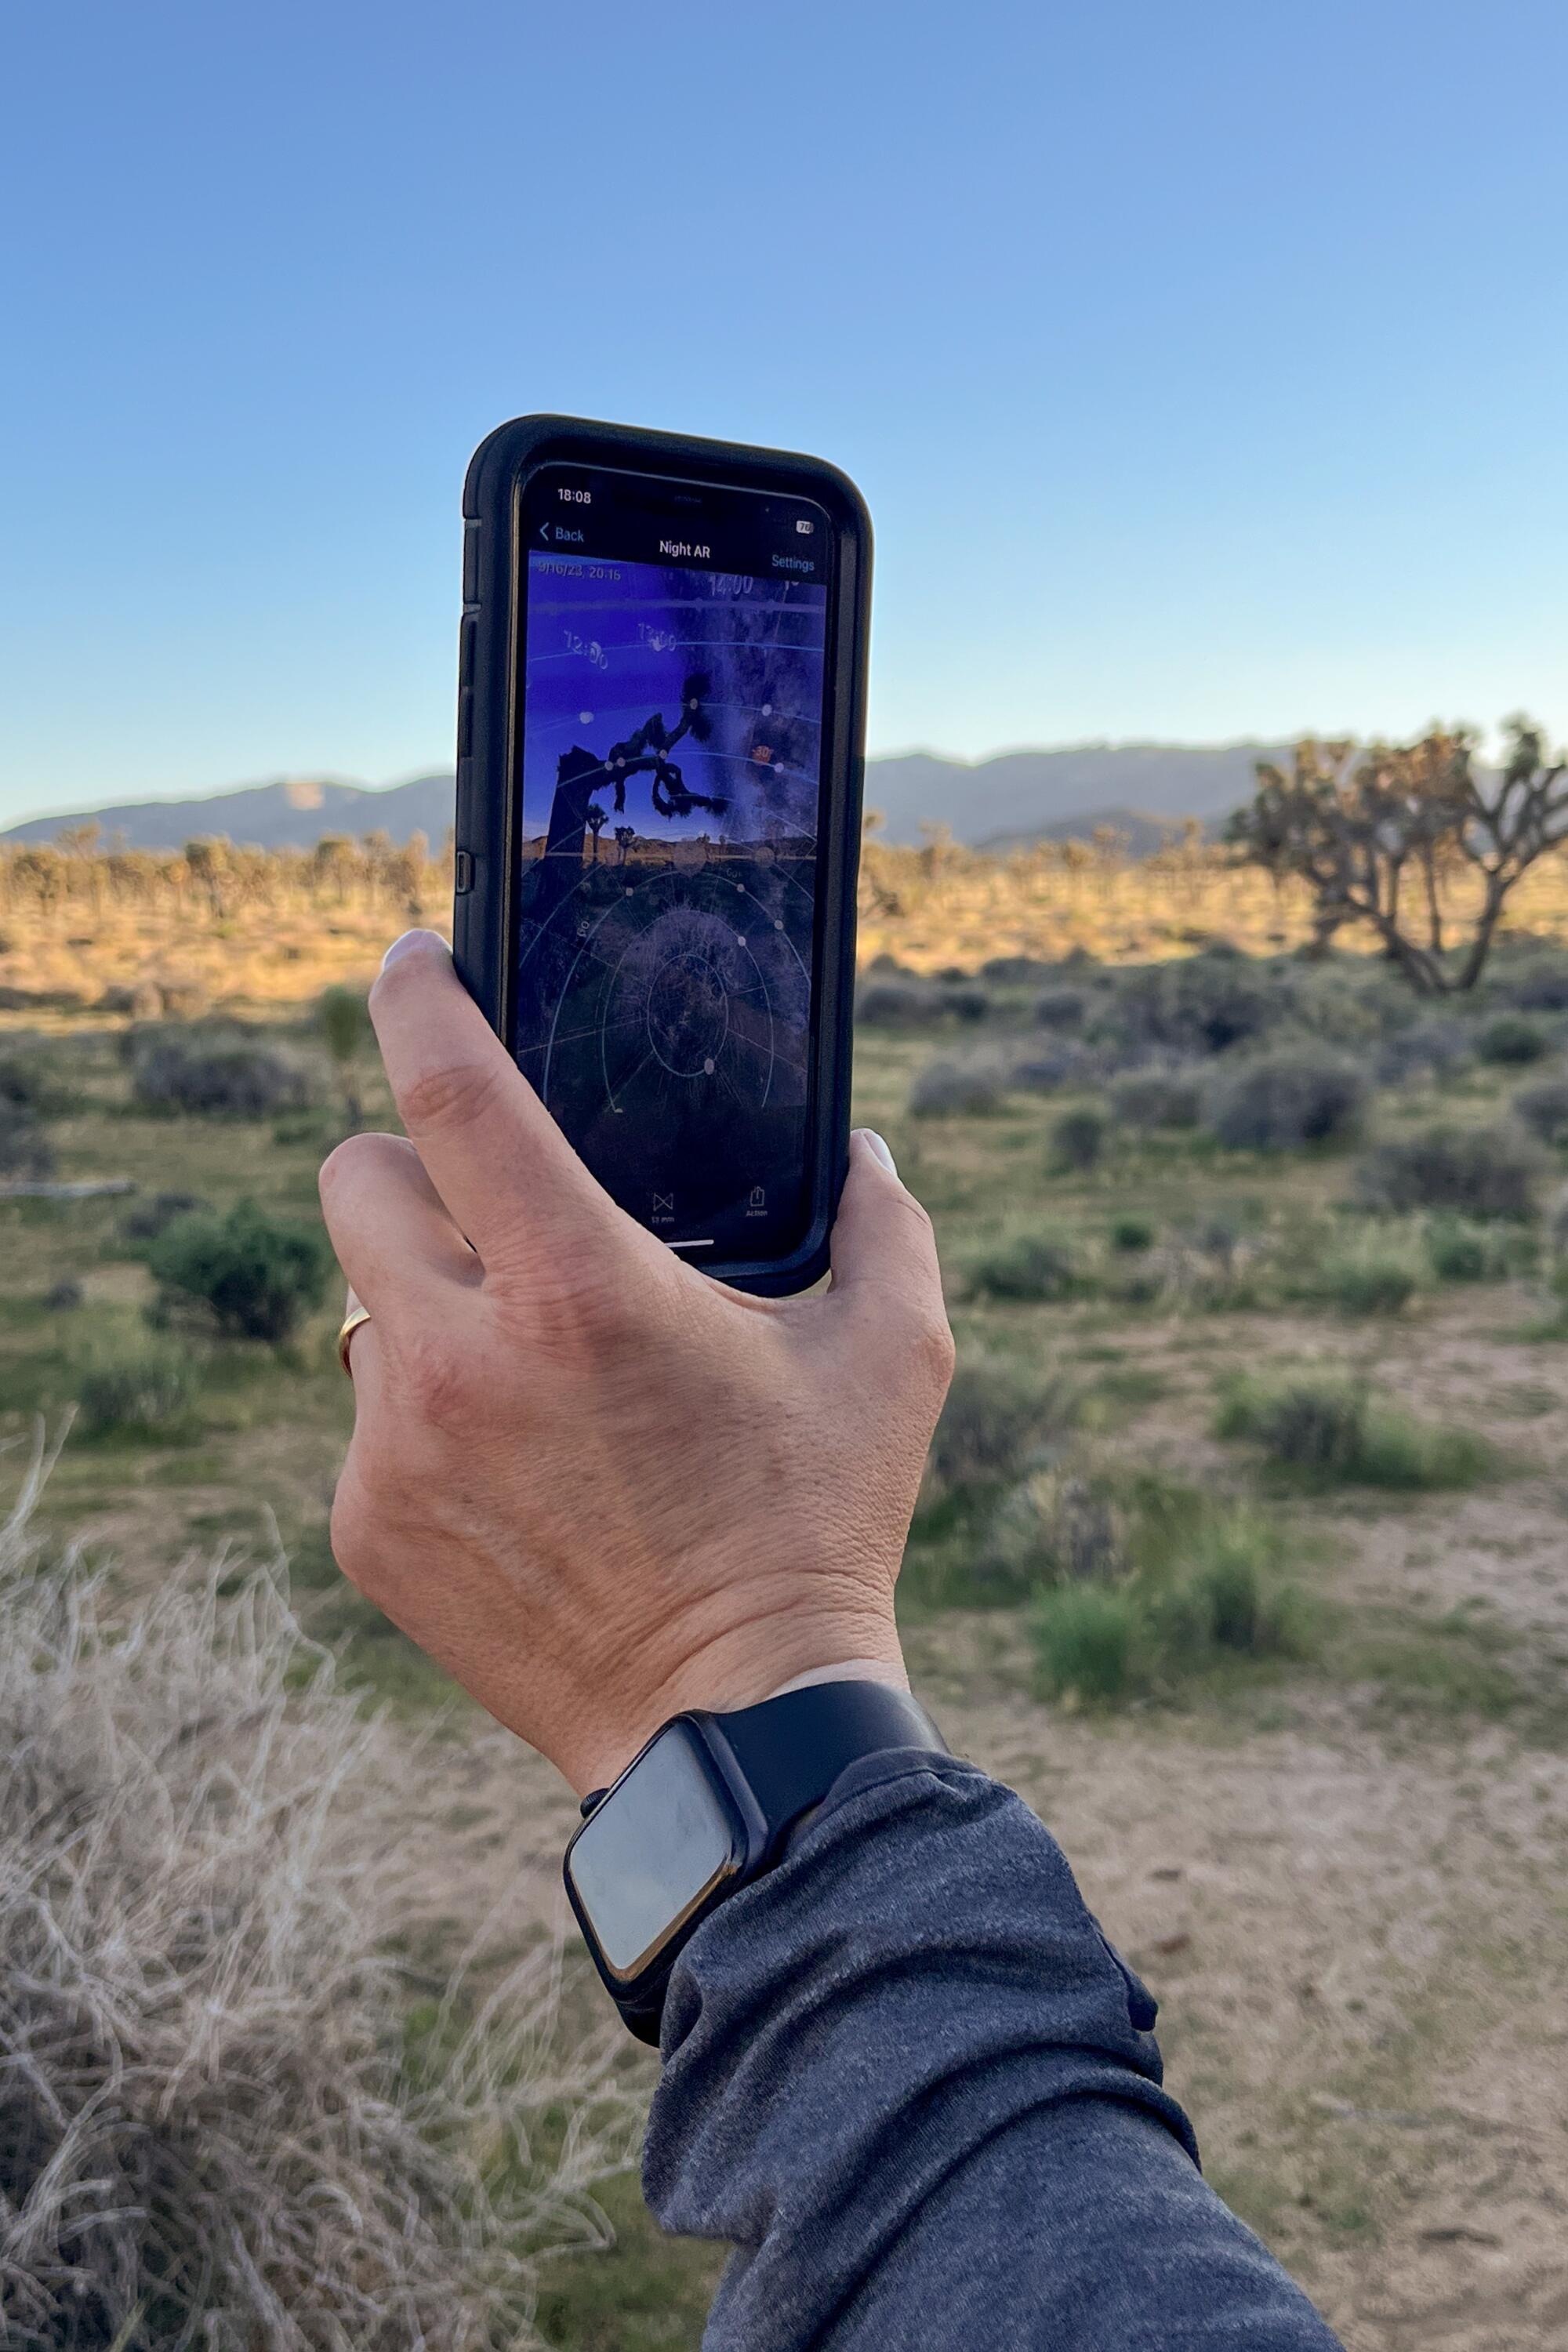
Jon Norris uses PhotoPills to see where the Milky Way will be in a few hours.
(Julia Carmel / Los Angeles Times)
Don’t be afraid of technology
“With a dark-sky photo, preferably, you want to have an interesting foreground, because it helps give it scale and makes the image look more interesting,” Norris said as we left the parking lot. “So we’re going to spend the next hour or so wandering around this trail, looking for different compositions.”
To plan his shots, Norris swears by a phone app called PhotoPills, which allows him to figure out shot compositions ahead of time with the help of nighttime augmented reality. The app also tracks the moon phases and daily timing of moonrise, moonset and galactic center visibility.
PhotoPills works without wifi, so we were able to see where the Milky Way would be at every minute between 8:14 and 11:22 p.m. (when the galactic center was visible that night).

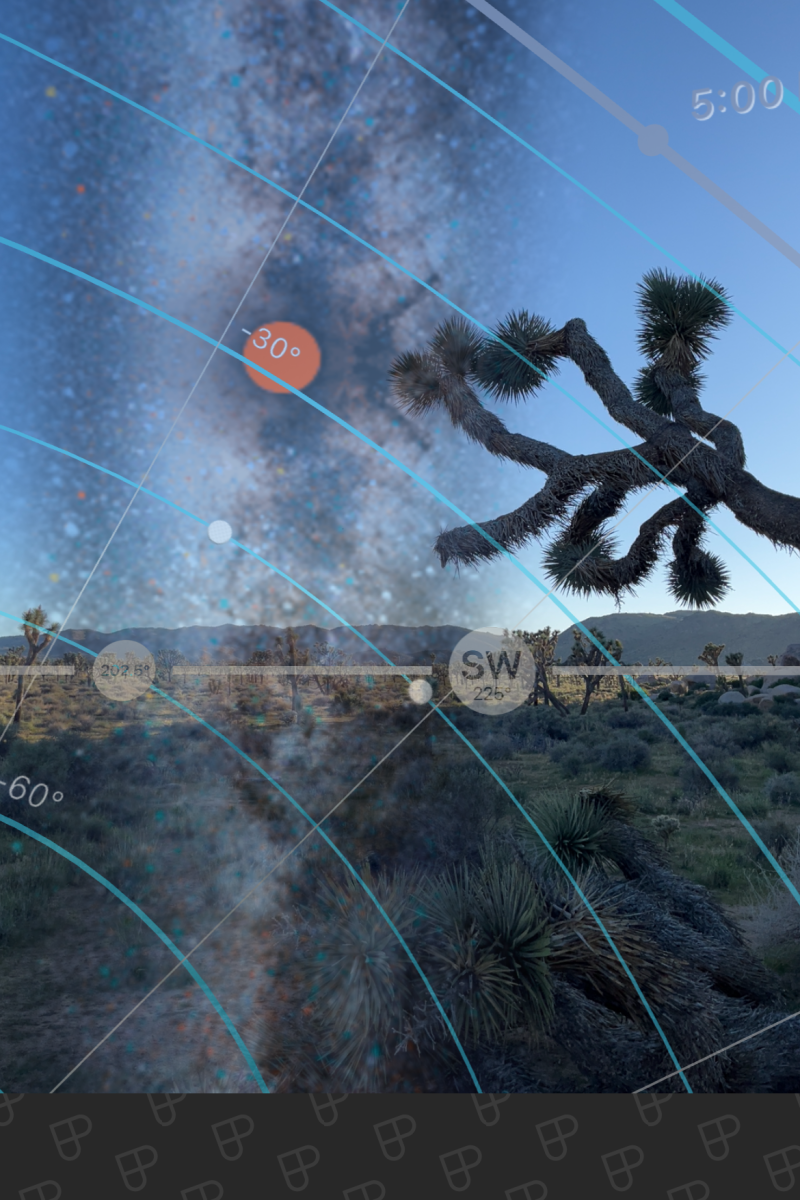
The app also has a photography calculator labeled “spot stars,” which allows you to input your camera model, which millimeter you want to shoot at and your widest aperture to calculate the optimal shutter speed for your camera. That leaves the camera’s ISO as the only guesswork — Norris recommends starting with 1600 and toggling up or down (to 3200 or 800) as you begin shooting.
In terms of composition, Norris suggested that each of us include at least one tree above the ridgeline, so the silhouette can contrast the night sky. When each of us found a shot that we liked, we were able to screenshot the composition on PhotoPills and drop a pin on our maps app to return to the same spot later.
“Well, I mean, knowing where is only half the battle,” Norris said. “It’s still plenty hard enough to get a decent shot.”
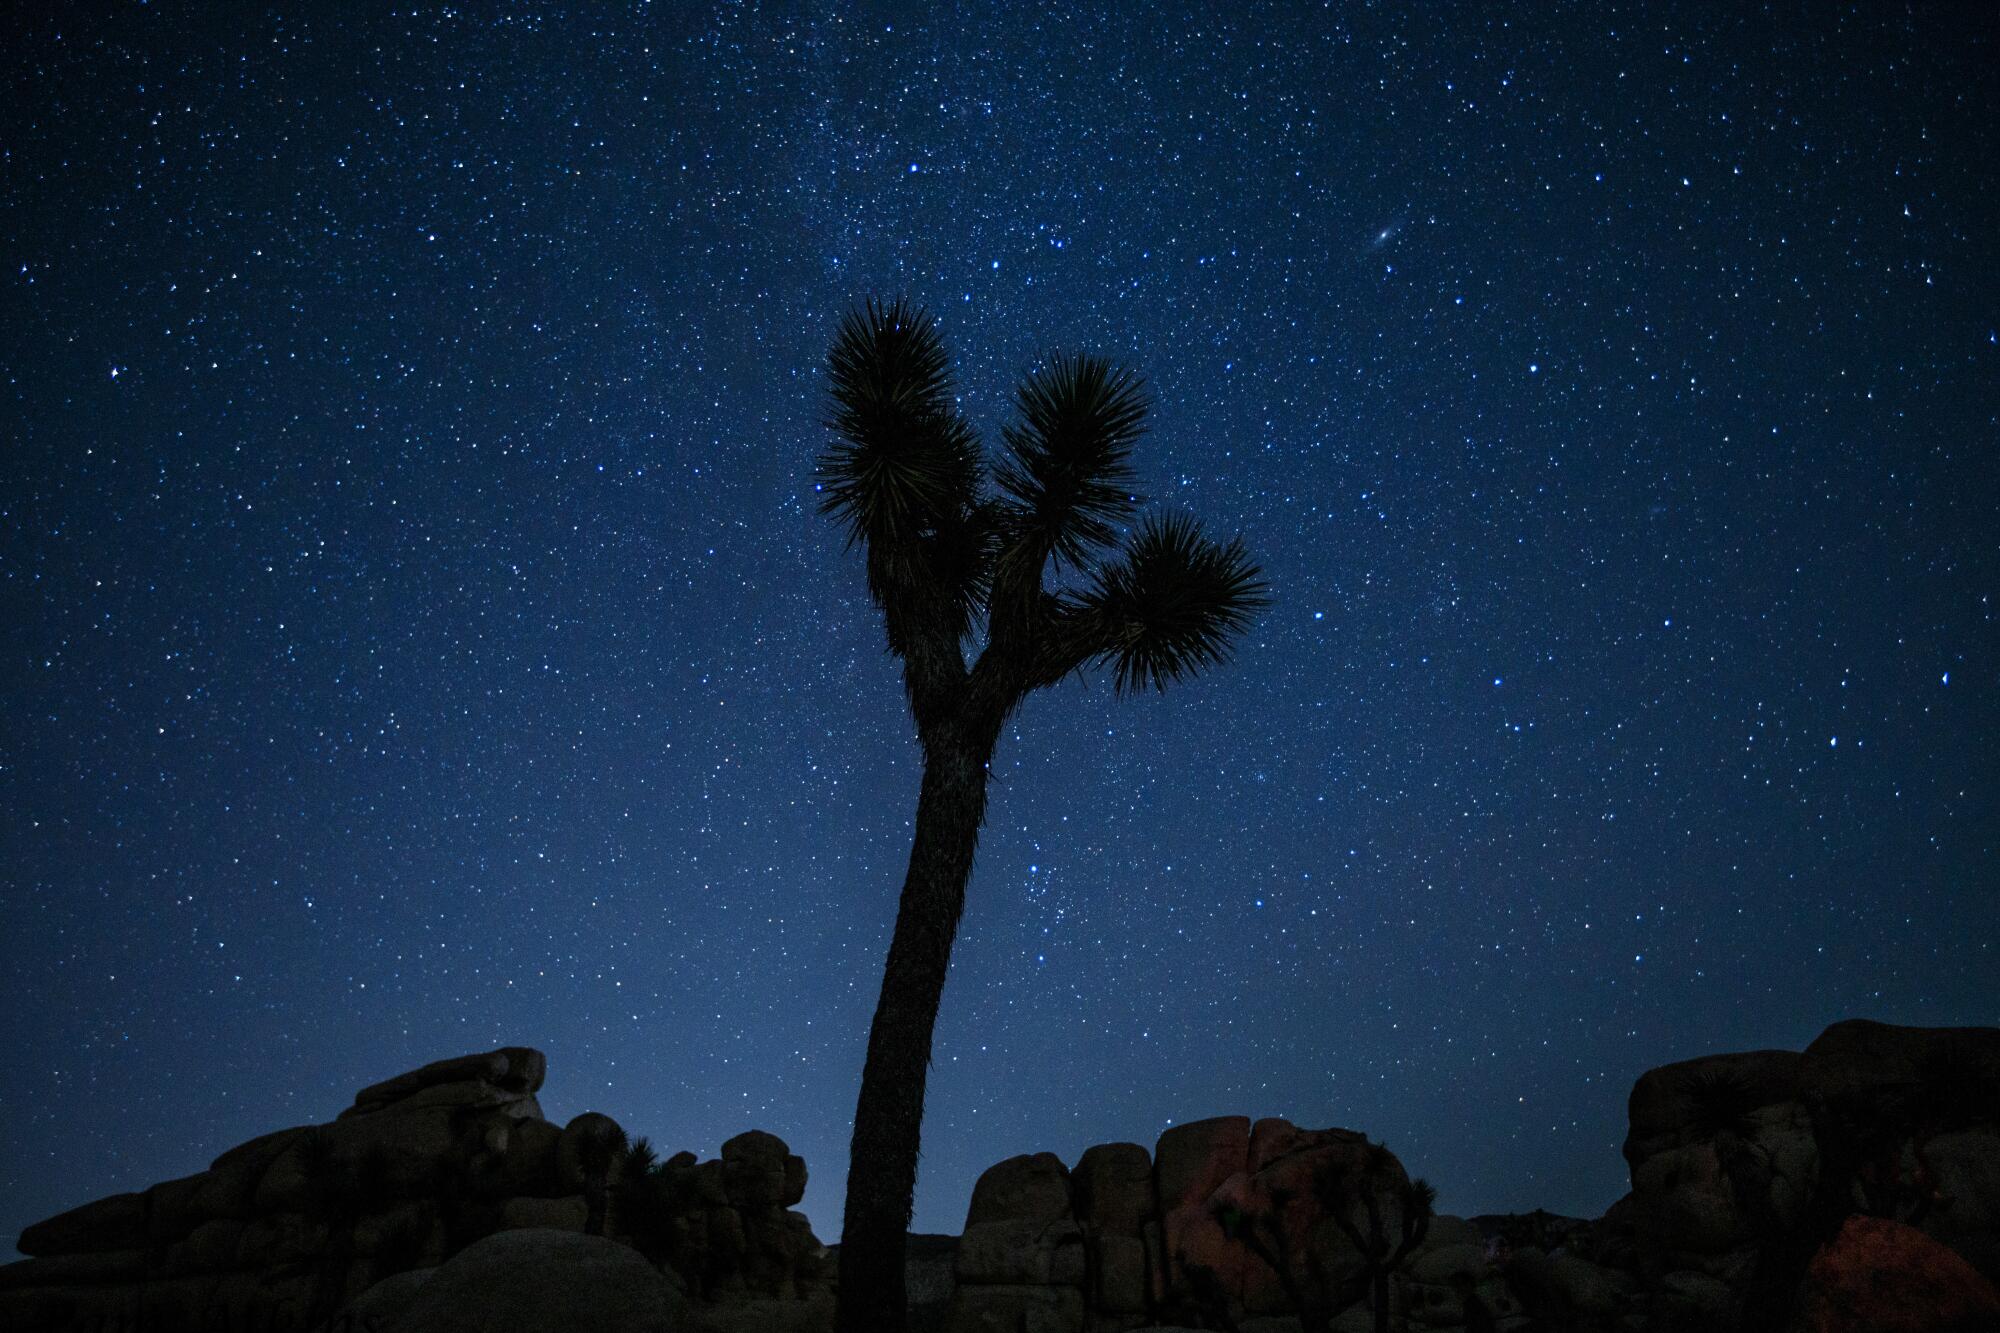
A Joshua tree against the starry night sky, shot by Pam Atkins, a landscape and wildlife photographer in the dark-sky photography workshop.
(Pam Atkins)
Let your creativity run wild
Though the camera settings may be similar for most astrophotographers, there are countless ways to take different photos of the same stars.
Norris likes to keep his images fairly accurate to what he captures in real life, but some photographers incorporate surreal light painting (another class recently offered by the Desert Institute) and other artistic effects.
Lucy Delaney, a biology professor at UC Riverside, was hoping to take a few self-portraits with the stars during our workshop. As we moved around and experimented with different ISO values, she realized that people’s red headlamps and flashlights could make the foreground bright enough to light up her face (and the surrounding Joshua trees) in a portrait.
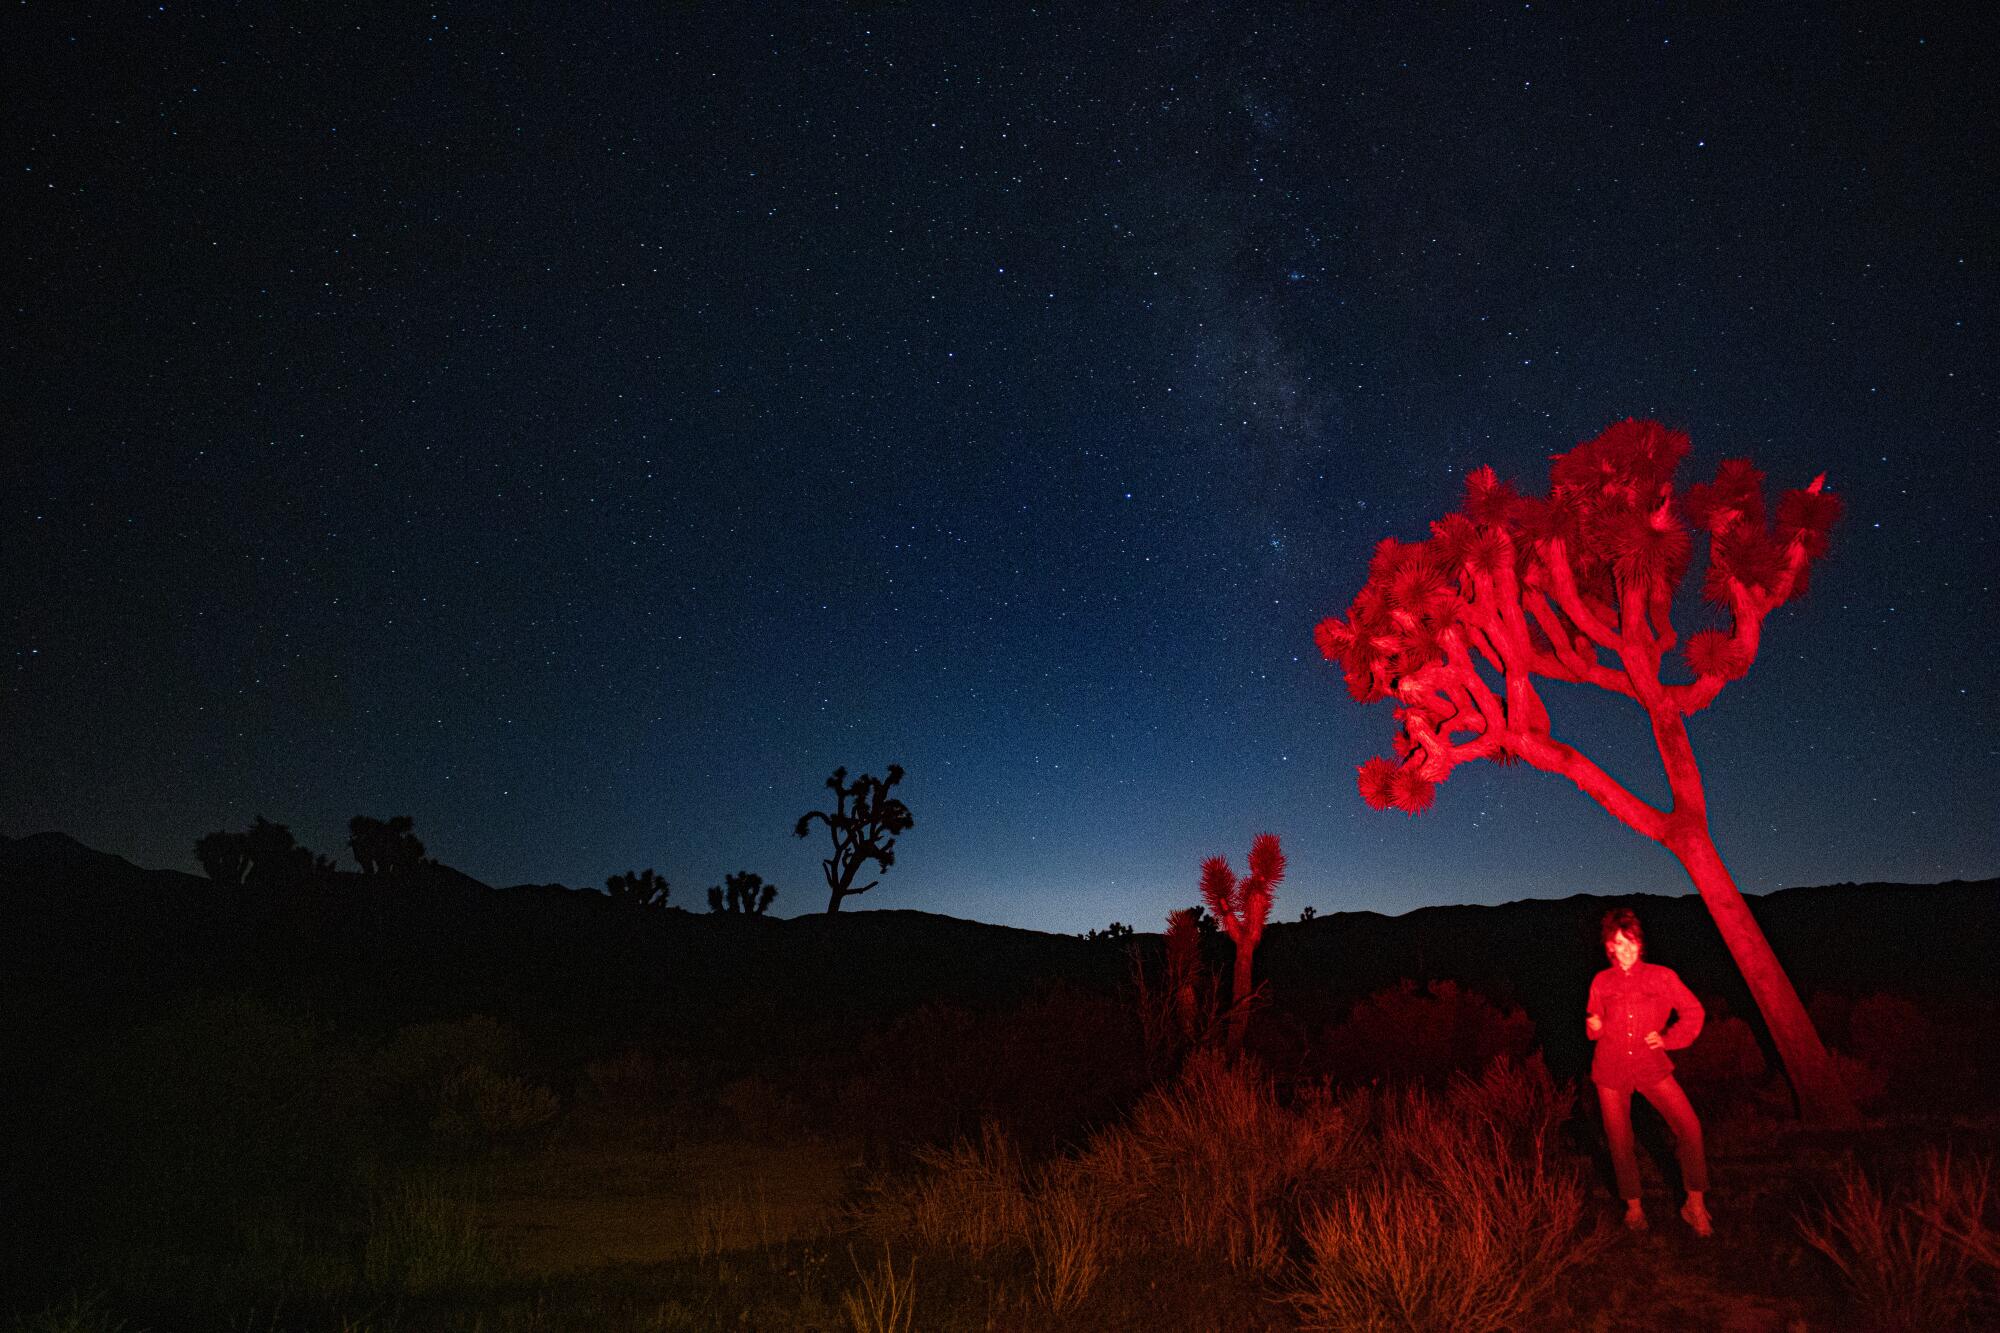
Lucy Delaney poses for a self-portrait during our dark sky photography workshop.
(Lucy Delaney)
Norris explained that it’s also common for photographers to blend multiple images together to reduce noise from passing planes and car headlights. Stacking multiple photos can also make the landscape look a bit more interesting — for example, images where you’re able to see more detail than just a dark silhouette in the foreground are likely composites.
“They’ll take images of the foreground at the end of twilight so you can still see some definition — so you could see bushes, you could see some of these other trees, you can see the ridgeline,” Norris said. “Then they’ll wait two or three hours and then take the Milky Way picture without moving the tripod.”
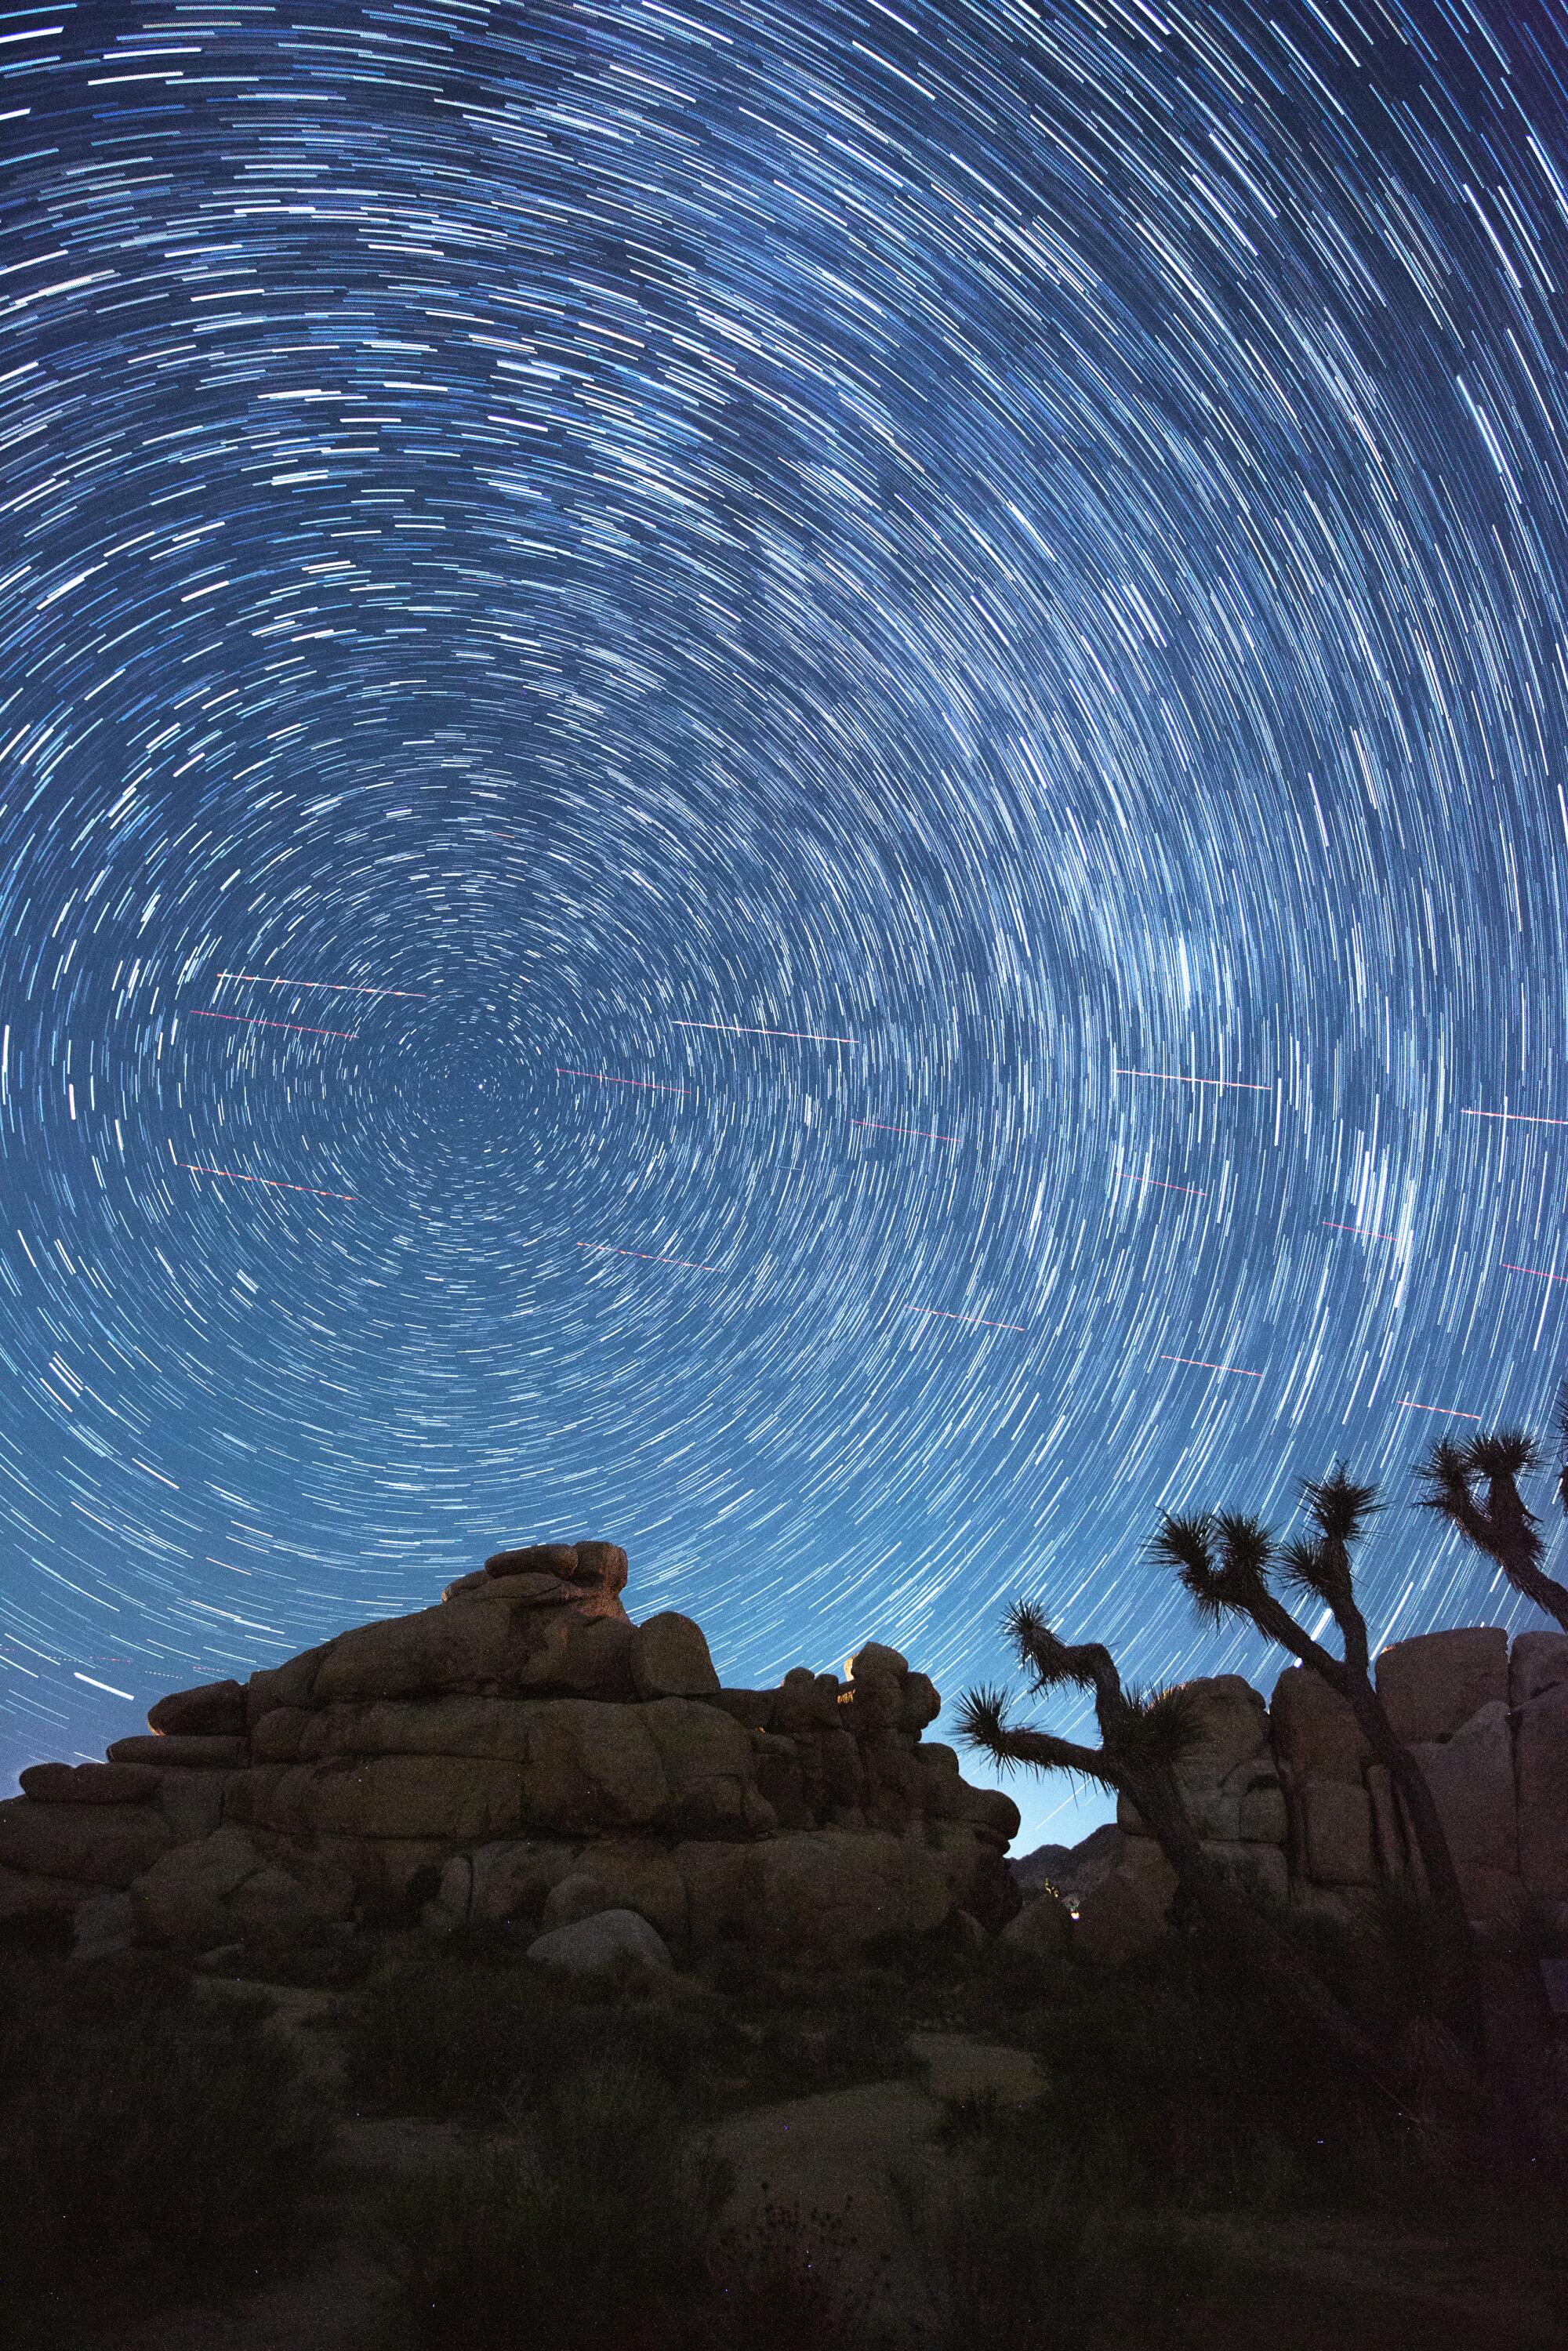
A composite of star photos, made in Joshua Tree during a dark-sky photography workshop, lead by Desert Institute on Sept. 16, 2023.
(Julia Carmel / Los Angeles Times)
Follow the star trails
The latter half of Norris’ workshop involved setting up our cameras in a stationary spot to take hundreds of shots over the course of about an hour. If your camera doesn’t have one built in, he recommends bringing an intervalometer to automatically take time-lapse photos.
Using PhotoPills, we were also able to see what paths the star trails would be moving along.
“With star trails, there’s a couple of different options you’ve got,” Norris said. “So you can find a composition where Polaris is in the shot, and you’ll get concentric rings, or if you move 90 degrees left or right to the pole star, then there’s a diagonal line that’s called the celestial equator.”
And though it makes sense to assume that the stars are in motion, these trails actually show us how the planet is moving.
“The stars aren’t moving, we are,” Norris said. “It’s a bit of a mind melt. You’re basically taking pictures as the Earth spins, but the impression it gives us is that the stars are moving.”
Norris usually takes about 200 photos in the same spot that he later cleans up — “because every fifth shot, I guarantee you, you’re gonna have aircraft lights,” he said. He then exports them as TIFF files, to make sure they don’t lose any data, and uploads them to an application called Starry Sky Stacker, which combines all the photos to build the actual star trails.
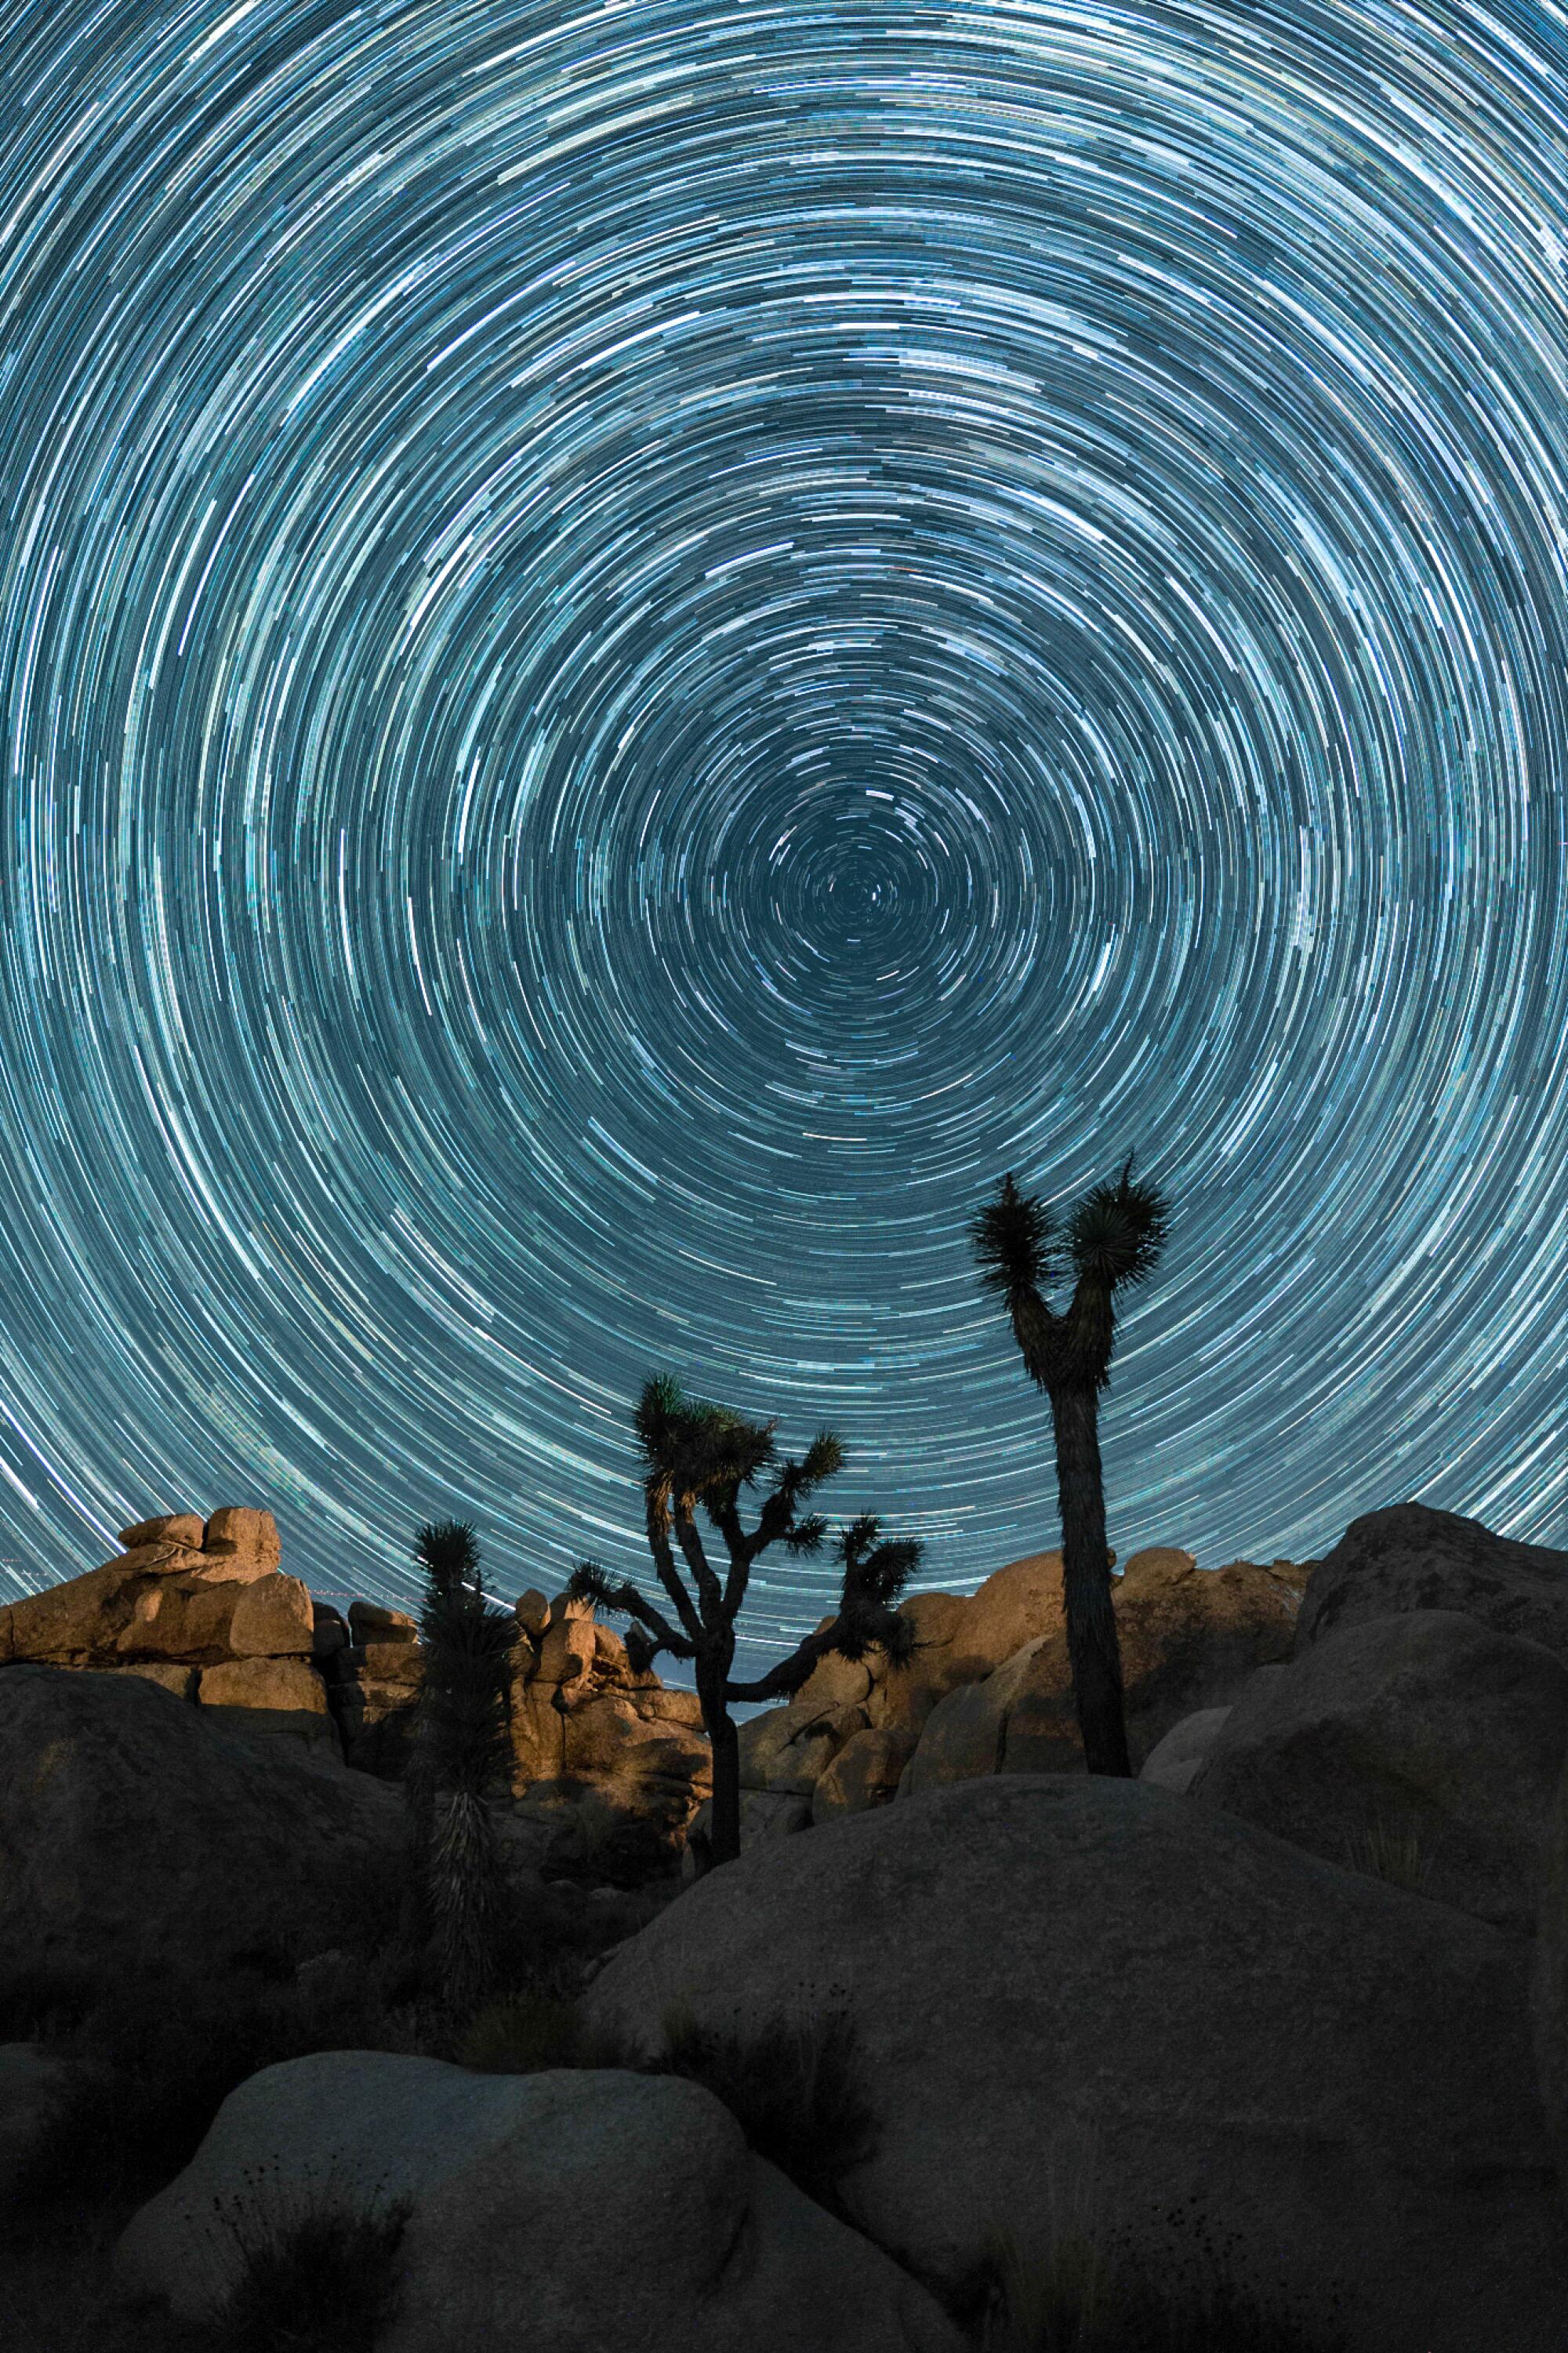
A composite of star photos, made with the software Starry Sky Stacker, in Joshua Tree during a dark-sky photography workshop, lead by Desert Institute.
(Curtis Bojorquiz)
Working on different projects throughout the night also allowed us to learn a bit more about photography faux pas that amateurs typically make.
“I always just leave the shutter open, how come no one does that?” Sung-Ho Tsai, an engineer taking the class, asked earlier in the evening.
“You basically want to have the shutter speed as short as you can get away with, but capturing enough light,” Norris explained. “The good thing about doing shorts is you get less digital noise, but also if some Bozo walks through your shop with a headlamp on — which will happen — it only ruins one 15-second shot, and you can throw it away, and it doesn’t affect the rest of your your final star trail.”
Because I didn’t have an intervalometer, I manually took a photo every 20 seconds for an hour. It was certainly more work than if my camera could space shots out on its own, but at least I had good company.
As we killed an hour taking photos for our respective star trails, the class sat on one big rock, chitchatting about airplanes, aliens and long-distance relationships.
Our conversation was occasionally interrupted by one of us spotting a shooting star, which the rest of the group quickly tried to find in the vast darkness.
“You can’t really find them — they’ll find us,” Norris said as we scoured the star-filled sky for more wishes. “You just have to be looking.”


